Introduction
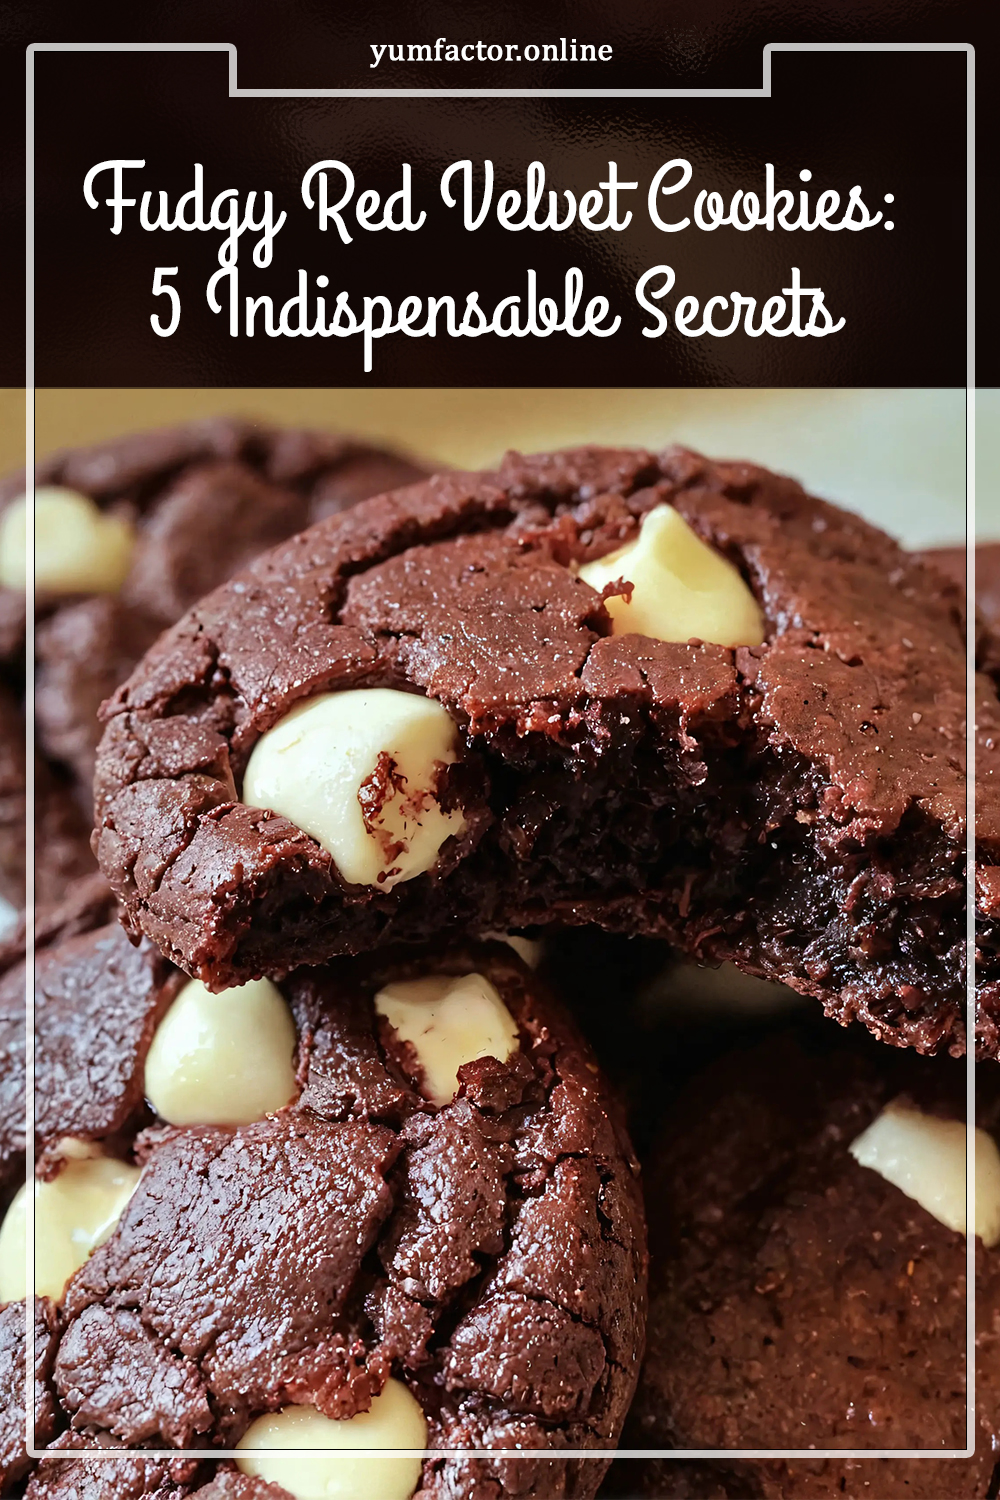
Red velvet cookies have captured the hearts of bakers worldwide with their striking hue and tender crumb.
[tasty-recipe id=”9667″]
When you combine that classic color with a fudgy interior, the result is a cookie that feels indulgent yet approachable.
In this article we will peel back the layers of the recipe and reveal five indispensable secrets that turn an ordinary batch into a bakery‑level masterpiece.
Each secret is backed by food science, practical tips, and personal anecdotes from years of testing.
Read on, and you’ll learn how to achieve perfect texture, flavor balance, and visual appeal every single time.
Secret #1: Perfectly Balanced Flour and Cocoa Ratio
The foundation of any great cookie lies in the dry ingredients, and for red velvet cookies the flour‑to‑cocoa relationship is critical.
Using 1 cup of all‑purpose flour provides structure, while ½ cup of high‑quality cocoa powder introduces a subtle chocolate depth without overwhelming the delicate red hue.
Measure both ingredients with a kitchen scale for consistency; a slight deviation can lead to a dry crumb or a gummy center.
Whisk the flour and cocoa together with the baking soda and salt; this ensures even distribution of leavening agents and prevents streaks of cocoa.
When the dry mix is uniform, the batter will come together smoothly, giving you that coveted fudgy texture.
Secret #2: Creamy Butter and Sugar Integration
Butter and sugar are the heart of the cookie’s mouthfeel, and the way you combine them determines how airy or dense the final product will be.
Start with ½ cup of unsalted butter softened to room temperature; this allows the butter to trap air when creamed.
Gradually add ½ cup of granulated sugar and ½ cup of packed brown sugar, beating until the mixture is light, fluffy, and pale in color.

The brown sugar contributes moisture and a deeper caramel note, while the granulated sugar adds crispness at the edges.
Do not rush this step—over‑creaming can cause the cookies to spread too much, while under‑creaming results in a dense, heavy bite.
Secret #3: The Magic of Red Food Coloring and Flavor
Red food coloring is more than a visual enhancer; it also interacts with the cocoa’s acidity to affect flavor perception.
One tablespoon of vibrant red food coloring, or a natural alternative like beet juice, gives the dough its iconic shade.
When adding the coloring, use a small amount at first and increase gradually until the desired intensity is reached.
Pair the color with 1 teaspoon of pure vanilla extract, which balances the cocoa’s bitterness and amplifies the overall sweetness.
Finally, crack in one large egg, ensuring it is at room temperature; this helps bind the dough and adds richness without compromising the texture.
Secret #4: Baking Soda and Salt for Texture
Baking soda is the leavening hero that creates lift, while salt accentuates every flavor note in the cookie.
Exactly ½ teaspoon of baking soda reacts with the acidic components—cocoa and vanilla—to produce gentle bubbles that keep the interior soft.
Equally important is ½ teaspoon of salt, which cuts through the sweetness and prevents the flavor from becoming cloying.
Both ingredients should be folded into the dry mixture before combining with the wet ingredients, guaranteeing even distribution.
This balance ensures the cookies spread just enough to form a thin, crackly edge while remaining plush in the center.
Secret #5: White Chocolate Chips – The Finishing Touch
White chocolate chips provide sweet, creamy pockets that contrast beautifully with the rich cocoa and buttery base.
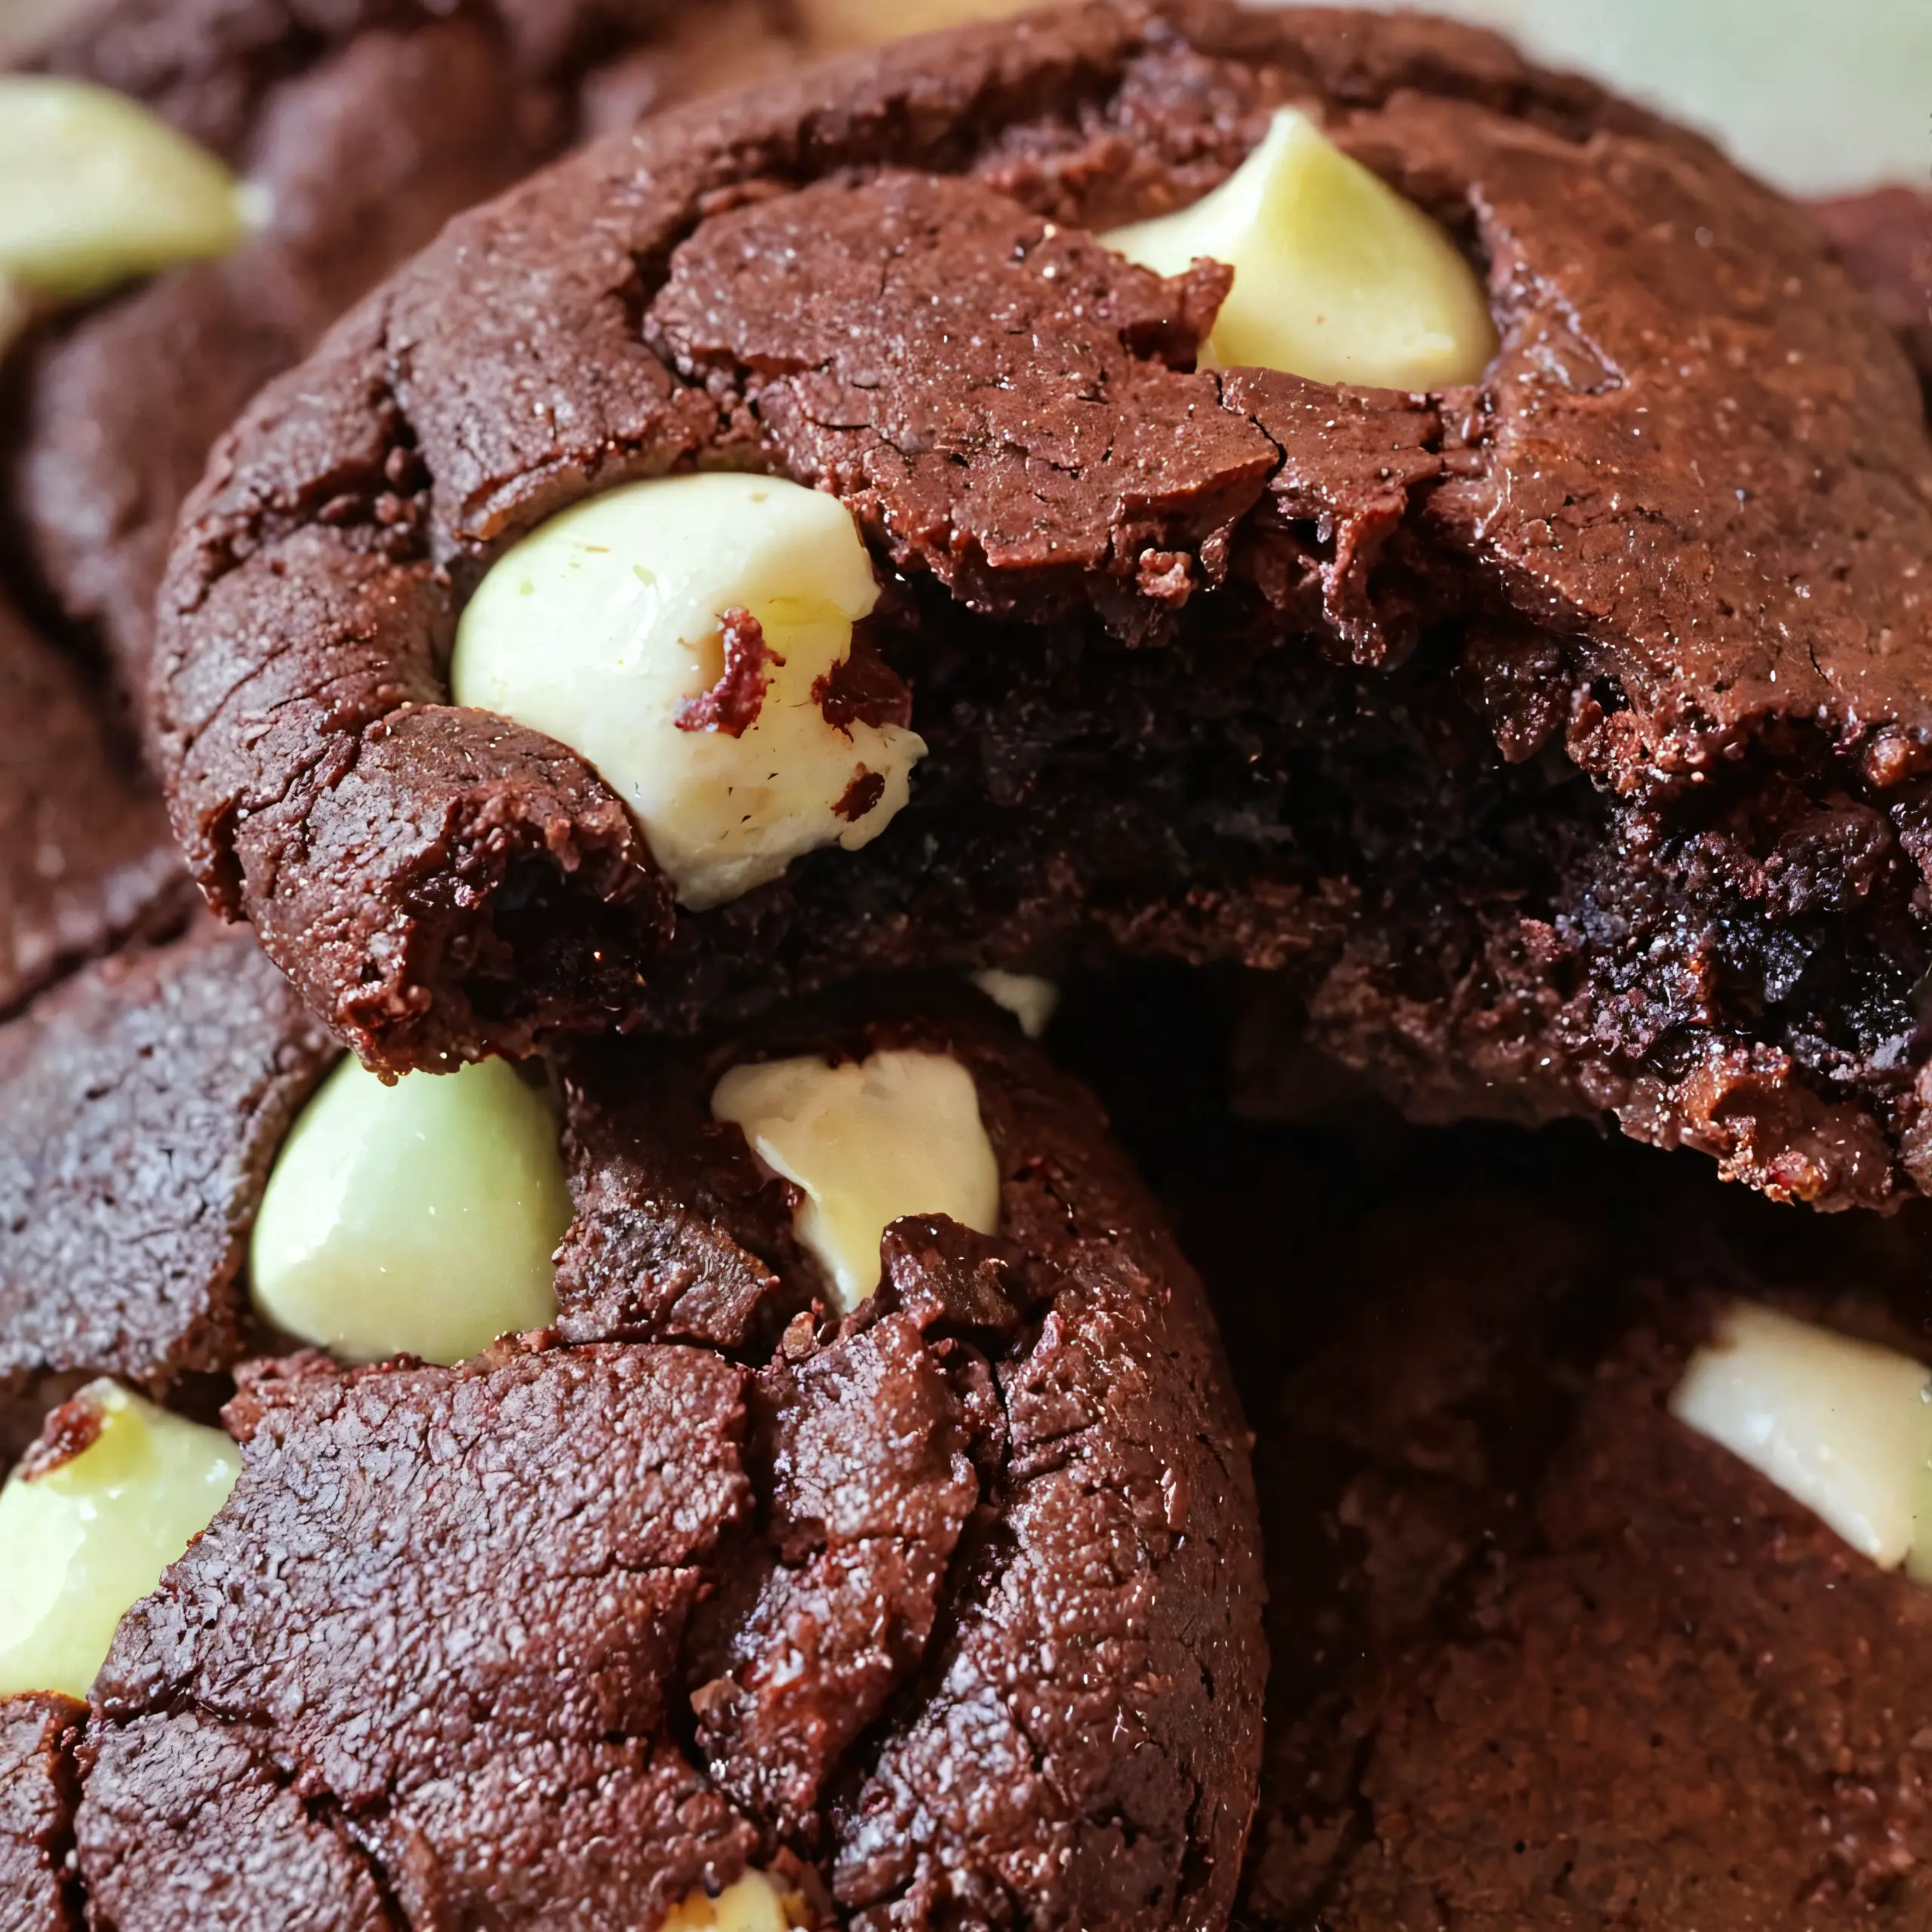
Use ½ cup of white chocolate chips, stirring them in after the dough has come together but before portioning.
For a twist, consider swapping half of the white chocolate for dark chocolate chips or chopped pistachios to add texture.
The chips should be evenly dispersed; this prevents clumping and ensures each bite delivers a burst of melt‑in‑your‑mouth sweetness.
Remember, the chips melt slightly during baking, creating a glossy sheen that makes the cookies look as luxurious as they taste.
Ingredients
- 1 cup all-purpose flour — provides structure; measure by spooning and leveling
- 1/2 cup cocoa powder — use high-quality cocoa for best flavor
- 1/2 cup granulated sugar — adds sweetness and crisp edges
- 1/2 cup brown sugar, packed — supplies moisture and caramel notes
- 1/2 cup unsalted butter, softened — room‑temperature butter creates a light creamed base
- 1 large egg — binds ingredients; use at room temperature
- 1 tablespoon red food coloring — gives iconic hue; natural beet juice works too
- 1 teaspoon vanilla extract — balances cocoa bitterness
- 1/2 teaspoon baking soda — leavening for tender crumb
- 1/2 teaspoon salt — enhances overall flavor
- 1/2 cup white chocolate chips — adds sweet, creamy pockets
Instructions
Preparation
- Preheat the oven to 350°F (175°C). Line two baking sheets with parchment paper or silicone mats.
- In a medium bowl, whisk together the flour, cocoa powder, baking soda, and salt until fully combined.
- In a large mixing bowl, beat the softened butter, granulated sugar, and brown sugar until pale and fluffy, about 3–4 minutes.
- Add the egg, vanilla extract, and red food coloring to the butter mixture; beat until the color is uniform and the egg is fully incorporated.
- Gradually add the dry ingredients to the wet mixture, mixing on low speed just until no streaks remain.
- Fold in the white chocolate chips with a spatula, ensuring even distribution without over‑mixing.
Baking
- Using a cookie scoop or tablespoon, portion dough onto the prepared sheets, spacing each ball about 2 inches apart.
- Gently flatten each ball with the back of a spoon or your hand; this encourages a uniform spread and a flat, crackly top.
- Bake for 10–12 minutes, rotating the sheet halfway through for even browning. Edges should be set, centers still slightly soft.
- Remove from the oven and let the cookies rest on the sheet for 2 minutes before transferring to a wire rack to cool completely.
Tips for Success
- Chill the dough for 20 minutes if the mixture feels too soft; this prevents excessive spreading.
- Use a kitchen scale for precise measurements; small variations in flour or cocoa can alter texture dramatically.
- For extra fudginess, increase the brown sugar to ¾ cup while reducing granulated sugar to ⅓ cup.
- Replace half of the white chocolate chips with toasted coconut flakes for a tropical twist.
- Store cookies in an airtight container with a slice of bread; the bread releases moisture, keeping them soft.
Frequently Asked Questions
Can I use natural beet juice instead of artificial coloring?
Yes, beet juice works well; just use a tablespoon and adjust to achieve the desired intensity.
Why are my cookies spreading too much?
Check that the butter is not overly soft; chilling the dough for 20–30 minutes solves this issue.
Do I need to sift the cocoa powder?
Sifting removes lumps and ensures a smooth batter, which contributes to an even crumb.
Can I freeze the dough?
Absolutely—shape the dough into balls, freeze on a tray, then transfer to a zip‑top bag for up to 3 months.
How do I make the cookies gluten‑free?
Replace the all‑purpose flour with a 1‑to‑1 gluten‑free flour blend; the texture remains fudgy.
Conclusion
Mastering these five secrets elevates your red velvet cookies from good to unforgettable.
By respecting ingredient ratios, perfecting the creaming process, and paying attention to color and texture, you’ll consistently produce cookies that look stunning and taste decadent.
Enjoy them fresh from the oven, share with friends, or pack them for a delightful treat any time of day.