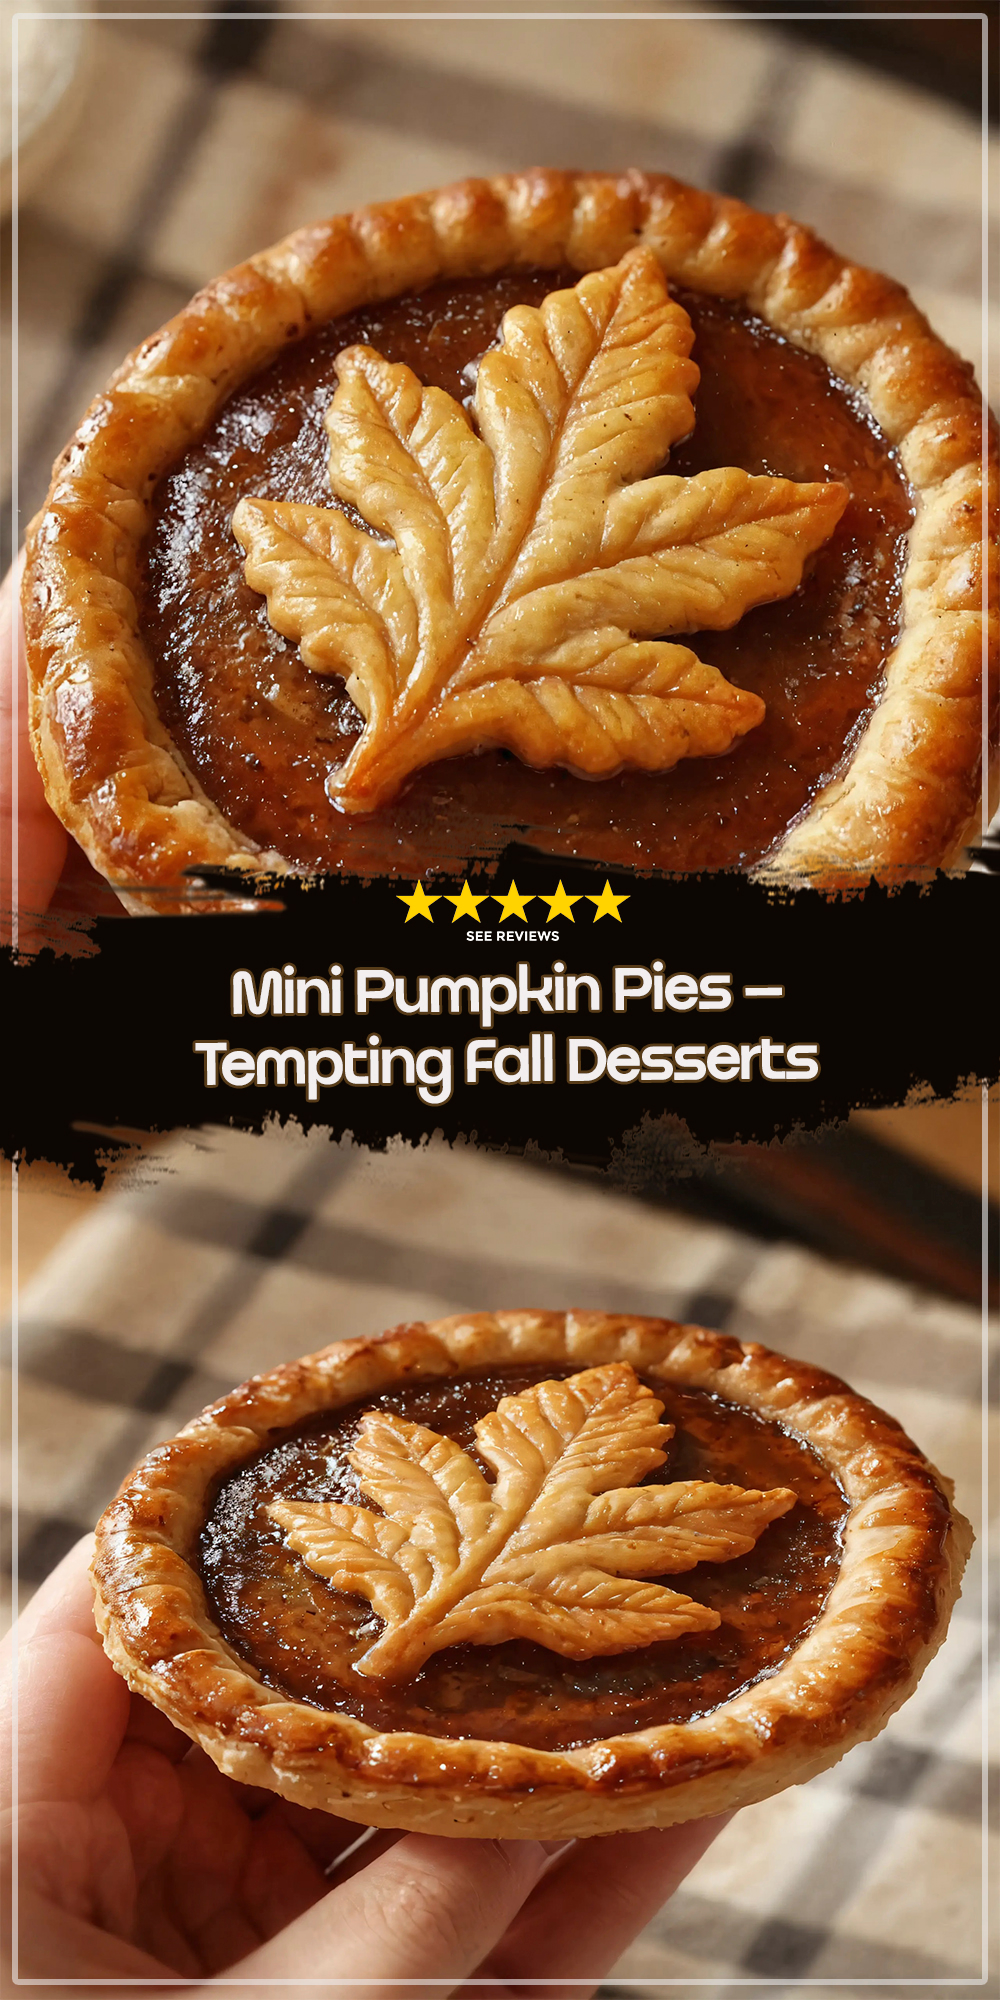
Mini Pumpkin Pies – Introduction
The kitchen fills with the warm perfume of roasted pumpkin, sweet caramelized sugar, and a whisper of nutmeg before the first bite even lands on the tongue. That scent alone tells why mini pumpkin pies belong on any autumn gathering: they combine the comforting familiarity of classic pumpkin pie with a bite‑size format that invites endless sampling. Whether it’s a cozy family dinner, a potluck spread, or a quick after‑school treat, these tiny tarts deliver big flavor without the need for a large pie dish.
[tasty-recipe id=”10501″]
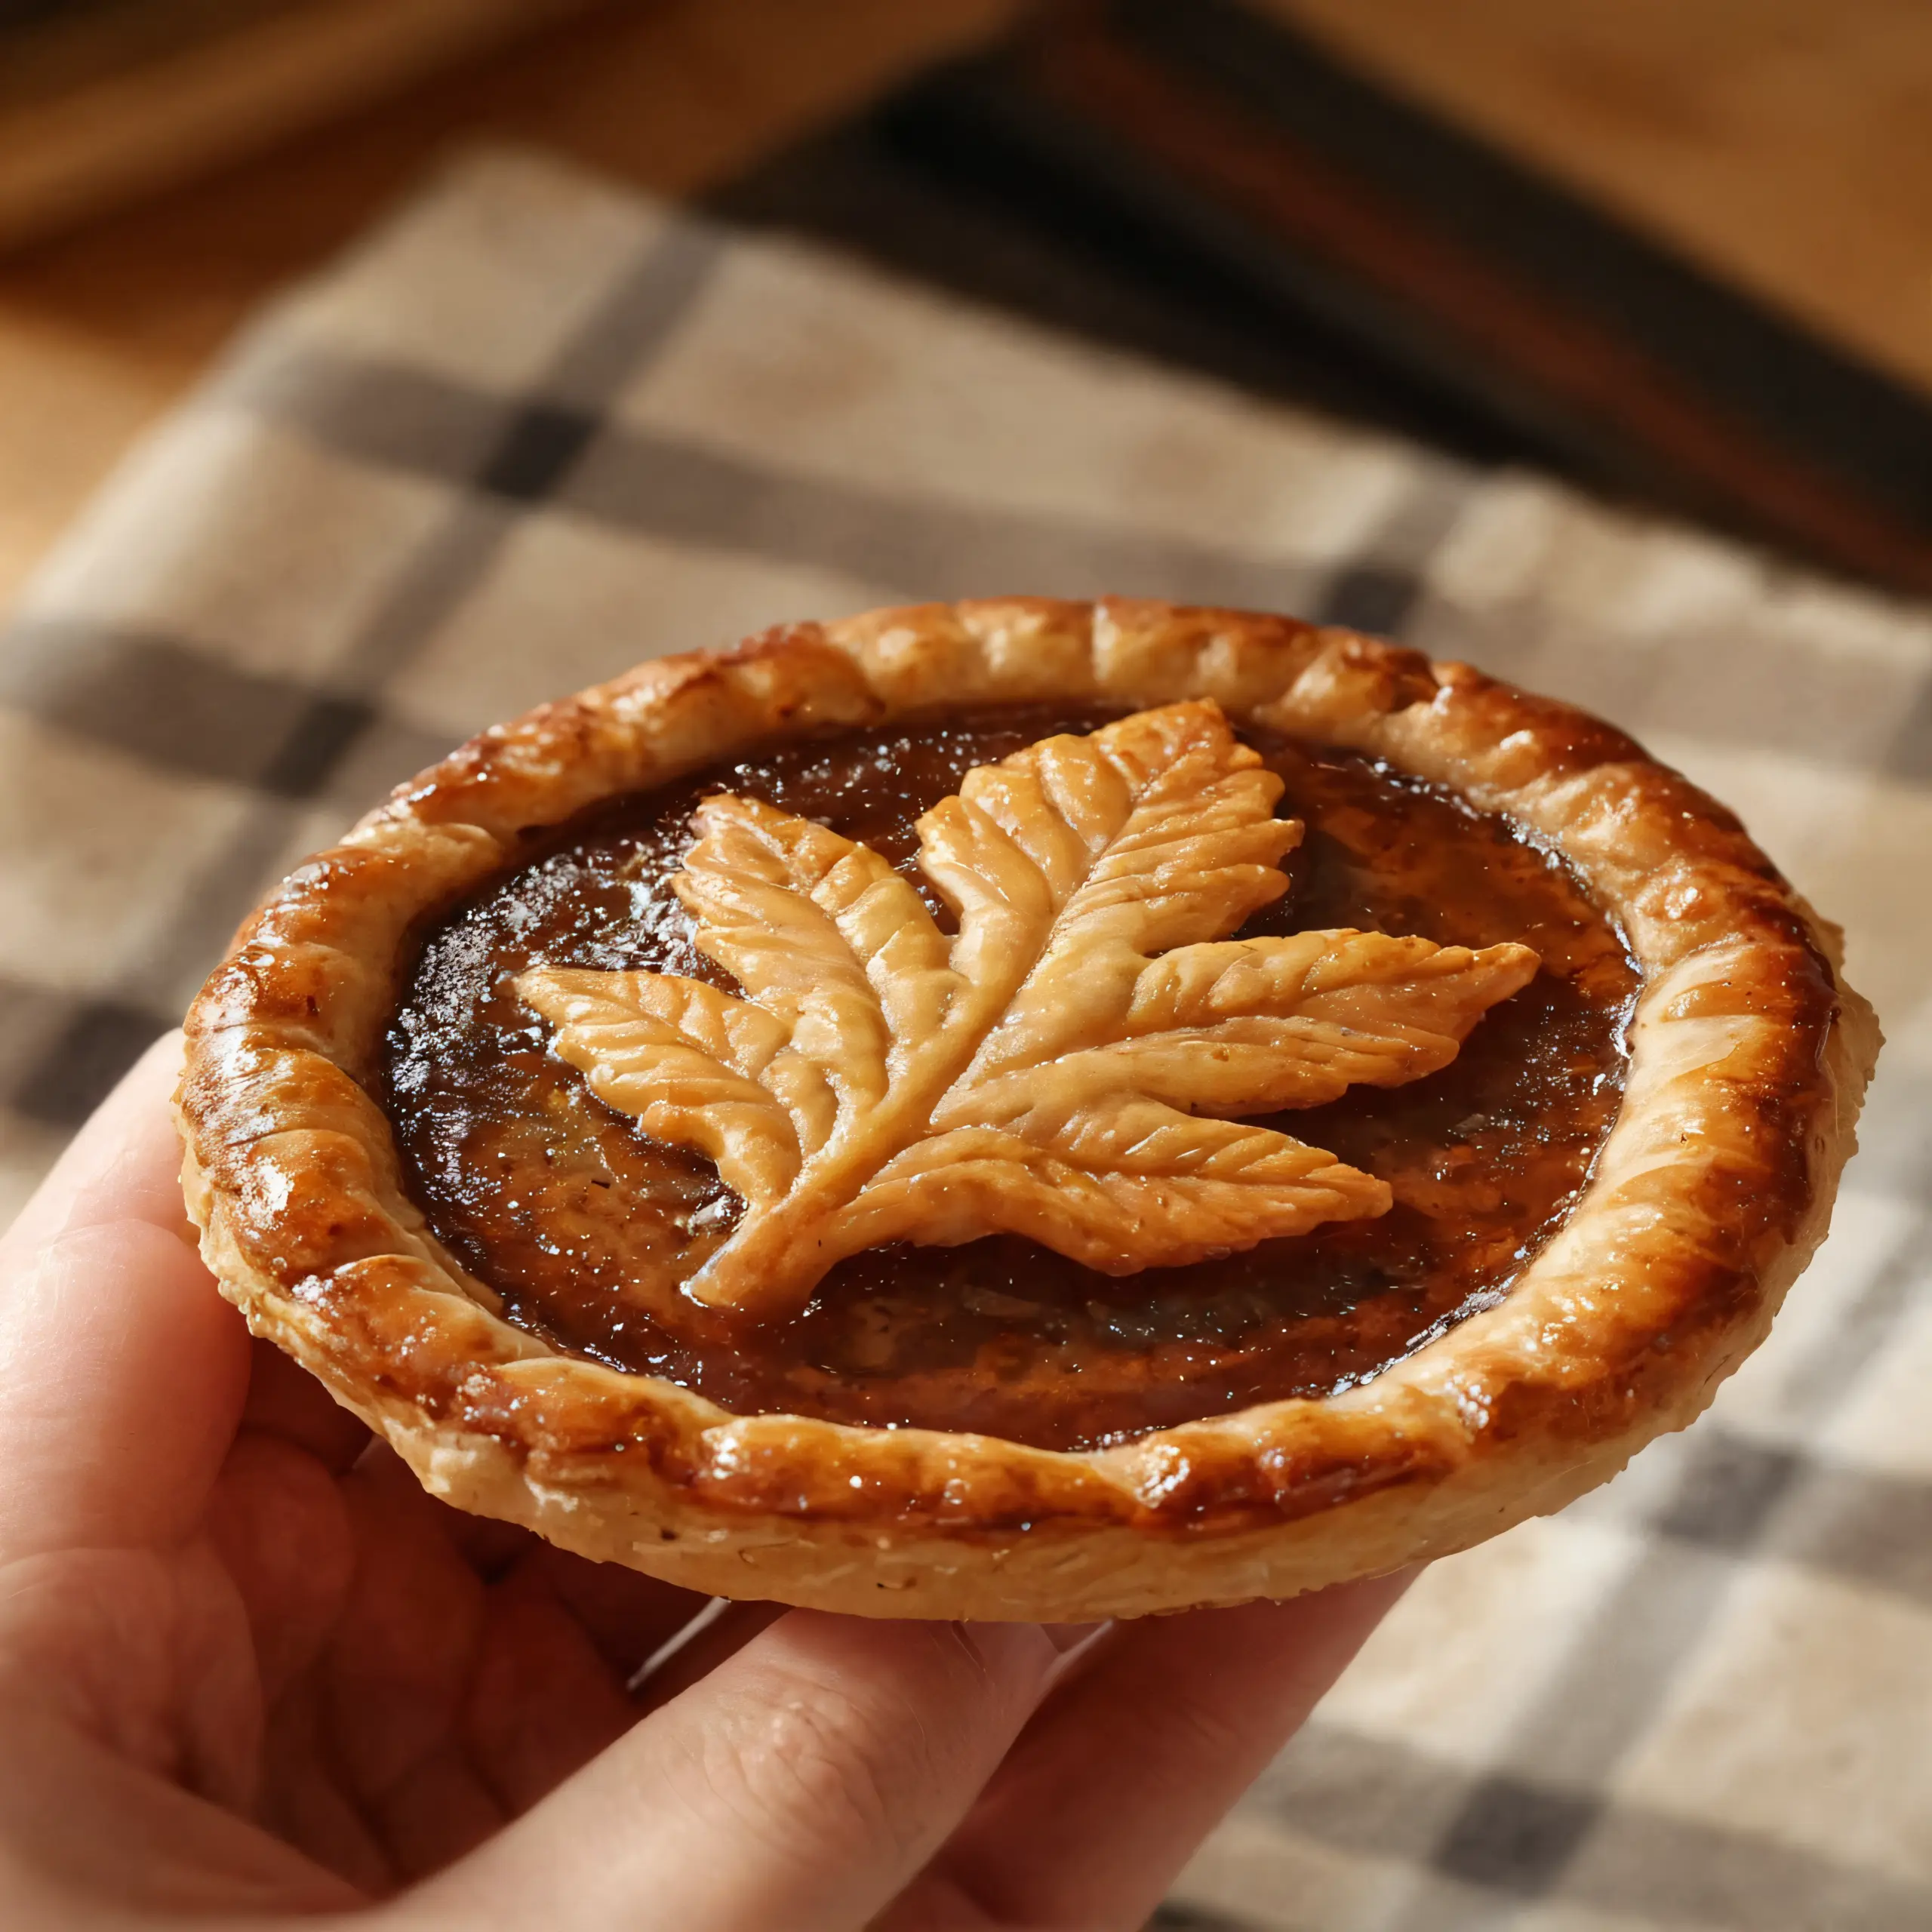
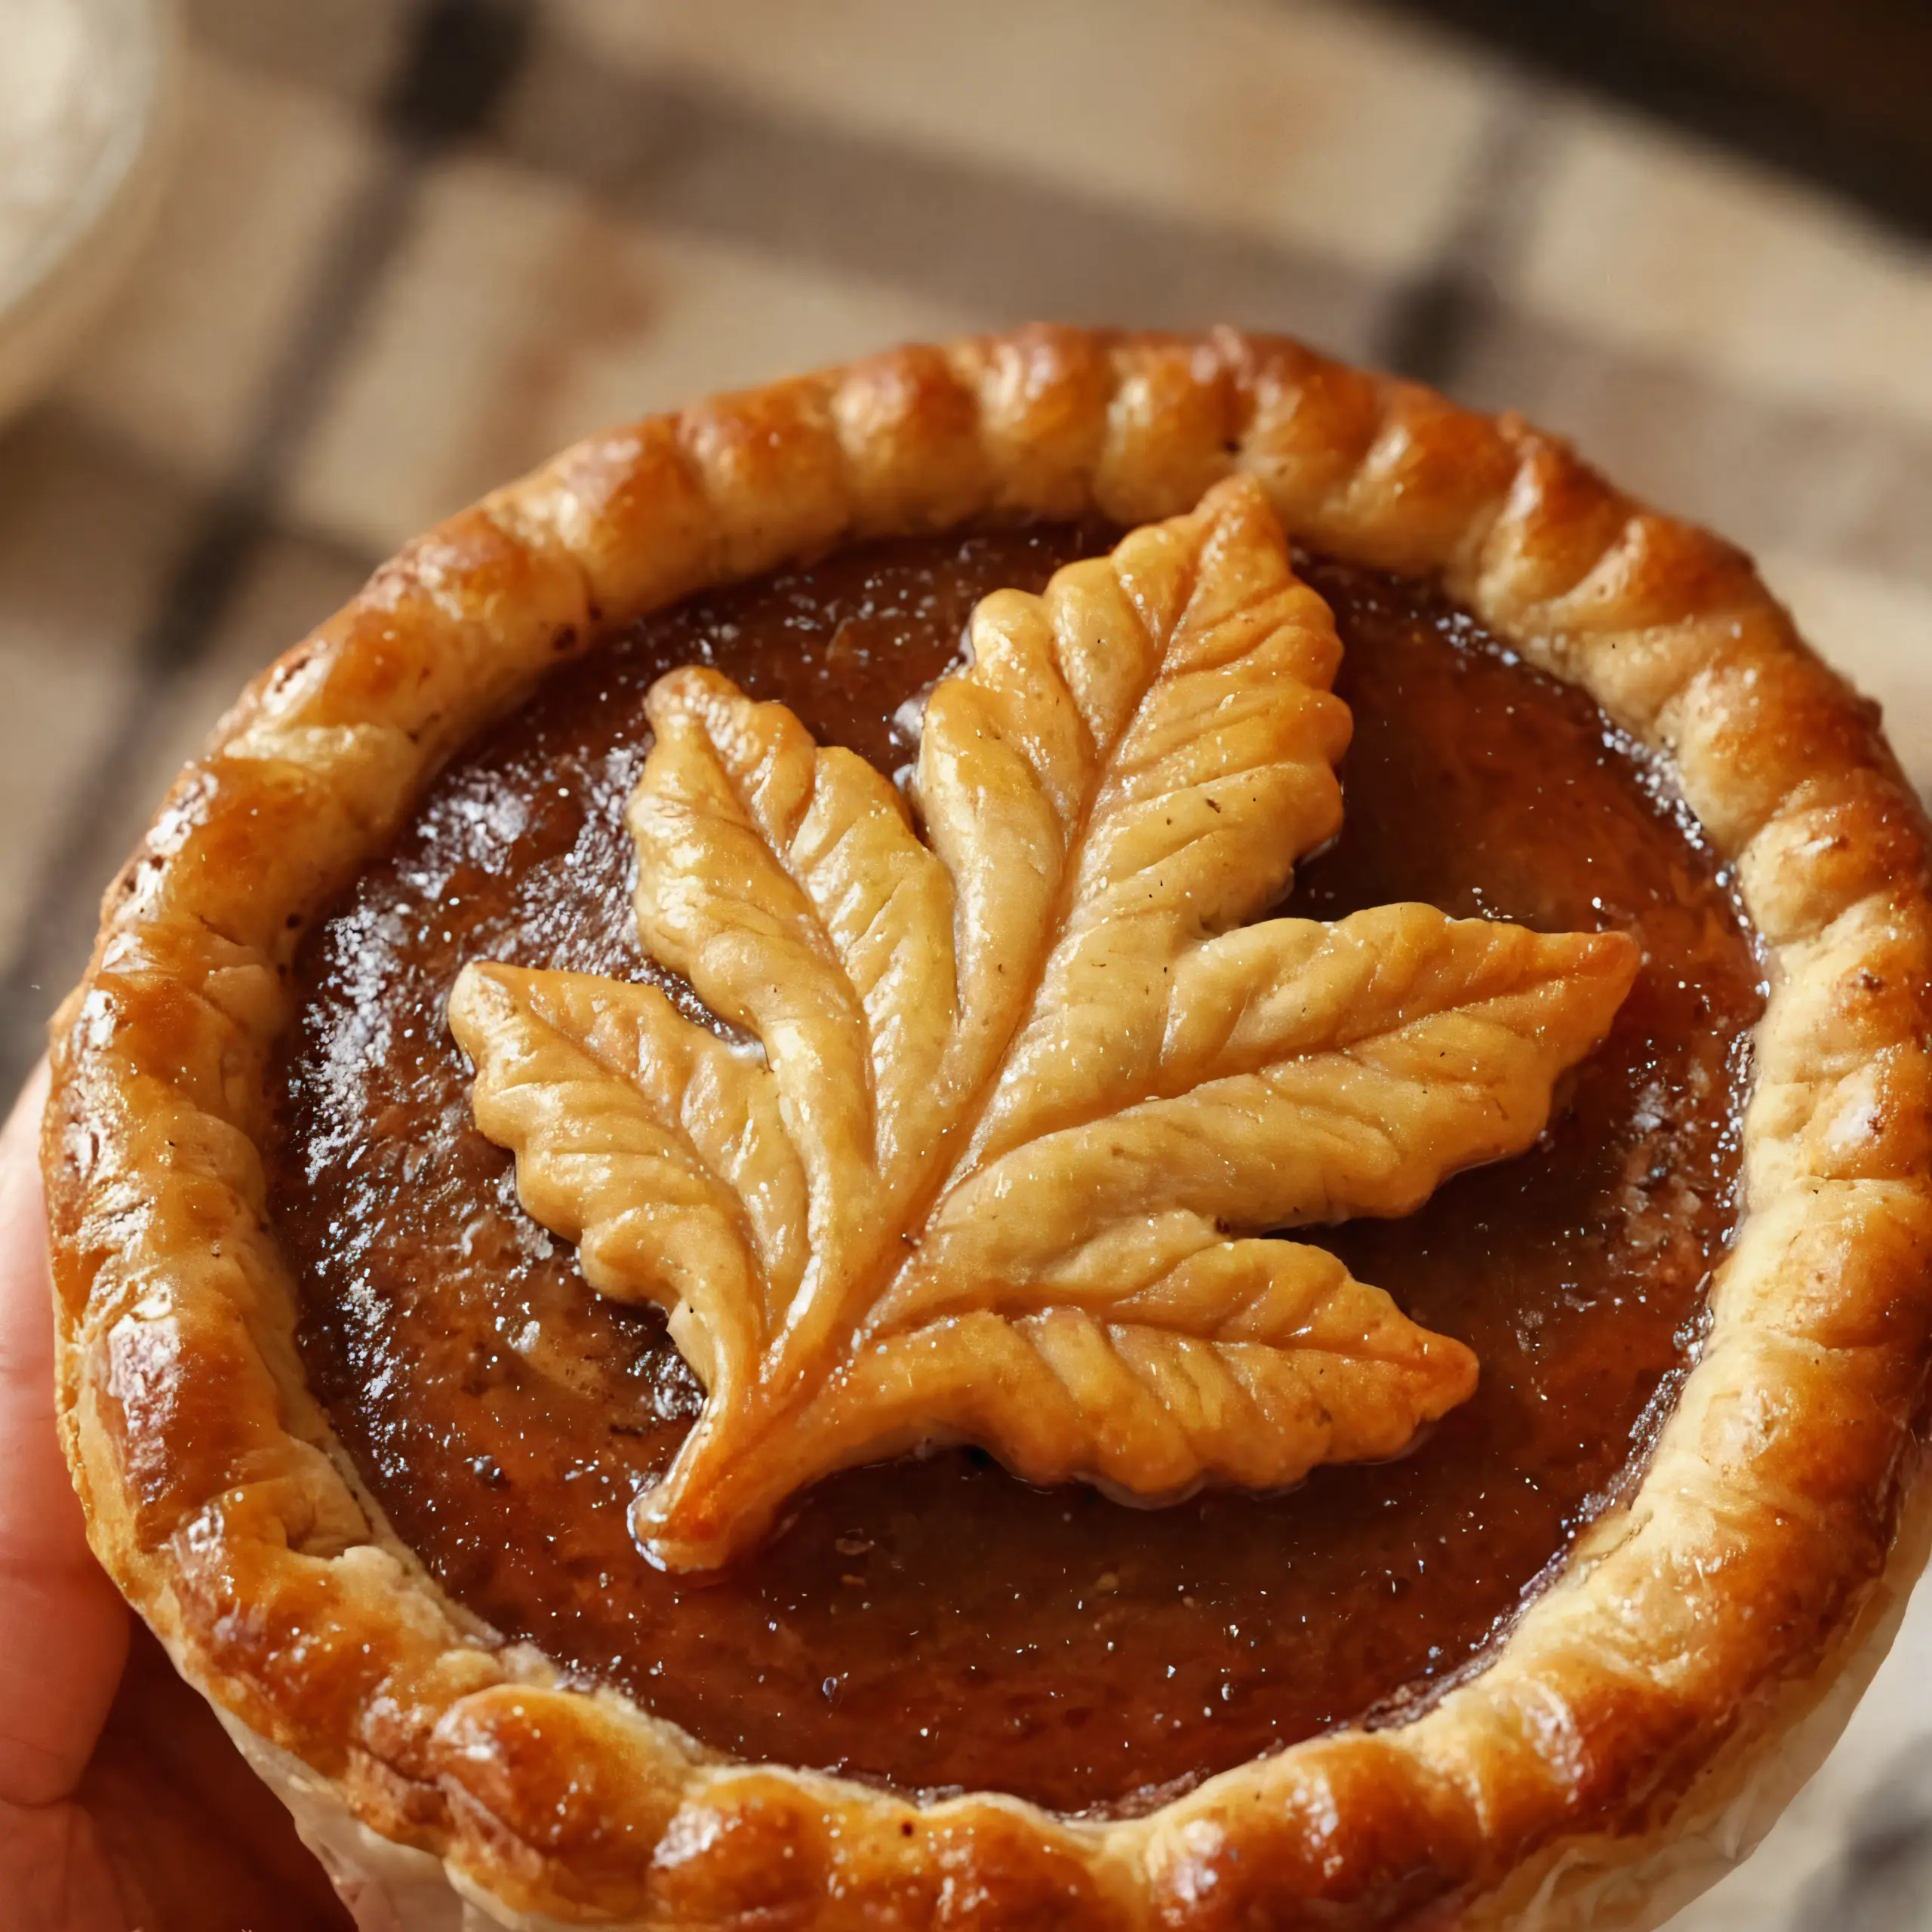
The crust turns buttery and flaky, while the filling stays silky, offering a contrast that feels both rich and airy. A glossy butter wash on the crust’s leaf‑shaped edges adds a glossy, caramel‑kissed finish that catches the eye. Home cooks who value speed, portion control, or a polished presentation will find this recipe especially rewarding.
Ready to see the full ingredient list and start assembling these fall‑perfect bites? Scroll down and gather everything you need.
Ingredients
- 3 sheets pie crust – provides a buttery, flaky base; use pre‑rolled for convenience
- 2 Tbsp melted unsalted butter – creates a glossy butter wash on crust leaves; can substitute with melted coconut oil for dairy‑free
- 1/2 cup pumpkin purée – gives authentic pumpkin flavor and smooth texture; canned pumpkin works well
- 1/3 cup brown sugar – adds caramel sweetness and moisture; dark brown sugar deepens flavor
- 1/2 cup heavy cream – enriches filling and creates a velvety mouthfeel; substitute with full‑fat coconut milk for vegan
- 2 tsp pumpkin pie spice – balances sweet and spicy notes; can replace with equal cinnamon, ginger, and nutmeg mix
- 1 tsp vanilla extract – rounds out the flavor profile; pure extract preferred
- Pinch salt – enhances overall taste; sea salt preferred
This precise combination yields a filling that sets firmly yet stays creamy, while the crust stays crisp after baking.
Step‑By‑Step Instructions
Preparation
- Heat oven to 175°C / 350°F and position the rack in the middle.
- Roll each sheet of pie crust on a lightly floured surface and cut into 4‑inch circles using a cookie cutter.
- Place each circle into a mini muffin tin, pressing gently to form a shallow cup; trim excess dough with a knife.
- Freeze the crust cups for 10 minutes – this prevents shrinkage during baking.
Cooking
- Mix pumpkin purée, brown sugar, heavy cream, pumpkin pie spice, vanilla extract, and salt in a bowl until smooth; the mixture should be glossy and free of lumps.
- Press the chilled crust cups with a fork to create a decorative pattern on the bottom – this adds texture and helps prevent sogginess.
- Fill each crust cup about three‑quarters full with the pumpkin mixture; the surface should be slightly domed.
- Bake for 18–20 minutes, or until the edges of the crust turn golden brown and the filling begins to set but still jiggles slightly in the center (do not overbake).
- Remove from oven and immediately brush the exposed crust edges with melted butter; the butter wash gives a glossy, caramel‑kissed finish (do not skip – it adds flavor and visual appeal).
Assembly
- Allow the pies to cool in the tin for 5 minutes, then transfer to a wire rack to cool completely; they will firm up as they reach room temperature.
- Optional: dust lightly with additional pumpkin pie spice or a pinch of cinnamon for extra aroma.
Serving
- Serve the mini pumpkin pies at room temperature or slightly chilled; they are ready when the crust is crisp and the filling has a smooth, custard‑like sheen.
Why This Recipe Works
Chilling the crust cups before baking creates a solid fat layer that melts slowly in the oven, producing a flaky, tender texture rather than a soggy base. The butter wash applied immediately after baking not only adds a glossy sheen but also reinforces the crust’s crispness by sealing the surface against steam.
The combination of heavy cream and brown sugar creates a custard that sets at a higher temperature than a typical pumpkin puree filling, allowing the edges to brown without the center over‑cooking. Pumpkin pie spice, with its balanced blend of cinnamon, ginger, nutmeg, and cloves, interacts with the natural sugars in the pumpkin to develop a deeper, more rounded flavor profile during the short bake.
Finally, using pre‑rolled pie crust ensures consistent thickness across each mini cup, which is crucial for uniform baking. This method avoids the common pitfall of uneven crusts that either burn or remain doughy.
Tips for Reliable Results
- If the crust cups lose shape while filling, return them to the freezer for an additional 5 minutes – the cold firm dough holds better.
- Overmixing the filling can incorporate excess air, leading to cracks; stir just until the mixture is smooth and glossy.
- When brushing the butter wash, use a pastry brush and apply a thin, even layer; too much butter can make the crust soggy, too little leaves it dull.
- For a perfectly crisp edge, bake on a pre‑heated pizza stone or a heavy baking sheet; the extra heat from the stone helps the bottom set quickly.
- Common mistake: filling the crust cups too high – this causes overflow and uneven tops. Fill only three‑quarters full for a neat dome.
- Equipment note: a mini muffin pan with shallow wells (about 1‑inch deep) works best; deeper wells create a thicker crust that may not bake through.
- Ingredient quality: choose a pumpkin purée that is 100 % pumpkin with no added sugars or spices; this gives control over sweetness and seasoning.
- Make‑ahead: bake the crust cups and store them airtight at room temperature for up to 2 days; add the butter wash and fill just before serving.
- Storage: once filled and cooled, refrigerate the pies in a sealed container for up to 3 days. Re‑warm gently at 150°C / 300°F for 5 minutes if a warm serving is desired.
Variations
- Maple‑Pecan Mini Pies – replace half the brown sugar with pure maple syrup and fold in 2 Tbsp chopped toasted pecans into the filling; the nuts add crunch while maple deepens caramel notes.
- Spiced Chai Mini Pies – swap pumpkin pie spice for 1 tsp chai spice blend and add a pinch of ground cardamom; this creates an exotic, aromatic twist without changing the texture.
- Vegan Coconut Mini Pies – use a vegan pie crust, replace heavy cream with full‑fat coconut milk, and melt coconut oil instead of butter for the wash; the result is a dairy‑free version that retains richness.
- Gluten‑Free Almond Flour Crust – blend 1 cup almond flour, 2 Tbsp melted butter, and 1 Tbsp honey to form a dough; press into mini tins and bake 8 minutes before adding filling. This yields a nutty crust that pairs beautifully with the pumpkin filling.
Time and Yield
Prep time: 25 minutes
Cook time: 20 minutes
Cooling time: 15 minutes
Total time: 60 minutes
Yield: 24 mini pumpkin pies (depending on tin size)
Frequently Asked Questions
- Can I use fresh pumpkin instead of canned purée? Yes – roast peeled, cubed pumpkin at 200°C / 400°F until tender, then puree in a food processor. Expect a slightly thinner consistency; add 1‑2 Tbsp extra thickening agent such as cornstarch.
- Why did my crust turn soggy after baking? This usually happens when the filling is too wet or the crust wasn’t pre‑chilled. Ensure the pumpkin purée is well‑drained and freeze the crust cups before filling.
- How long can I store the baked mini pies? Keep them refrigerated in an airtight container for up to 3 days. For longer storage, freeze the baked crusts and add fresh filling after thawing.
- What if I don’t have a mini muffin pan? Use a regular muffin pan and press the crust into smaller circles; the pies will be larger but the baking time remains similar. Alternatively, shape the dough into bite‑size tartlets on a baking sheet.
- Can I make these pies ahead for a holiday party? Absolutely – bake the crusts and store them separately, then fill and butter‑wash the day of the event. This prevents the crust from becoming soggy.
- Is there a way to make the filling firmer for a slice‑and‑serve style? Increase the heavy cream to 2/3 cup and add 1 tsp cornstarch; the extra starch helps the custard set more firmly without compromising flavor.
Conclusion
The chemistry behind chilling the crust, the precise butter wash, and the balanced spice blend makes these mini pumpkin pies consistently delightful. While the base recipe is reliable, the suggested variations invite creative twists that suit any dietary need or flavor craving. With the tips and troubleshooting advice provided, home cooks can confidently produce a batch of bite‑size autumn treats that look as good as they taste, perfect for any fall gathering.