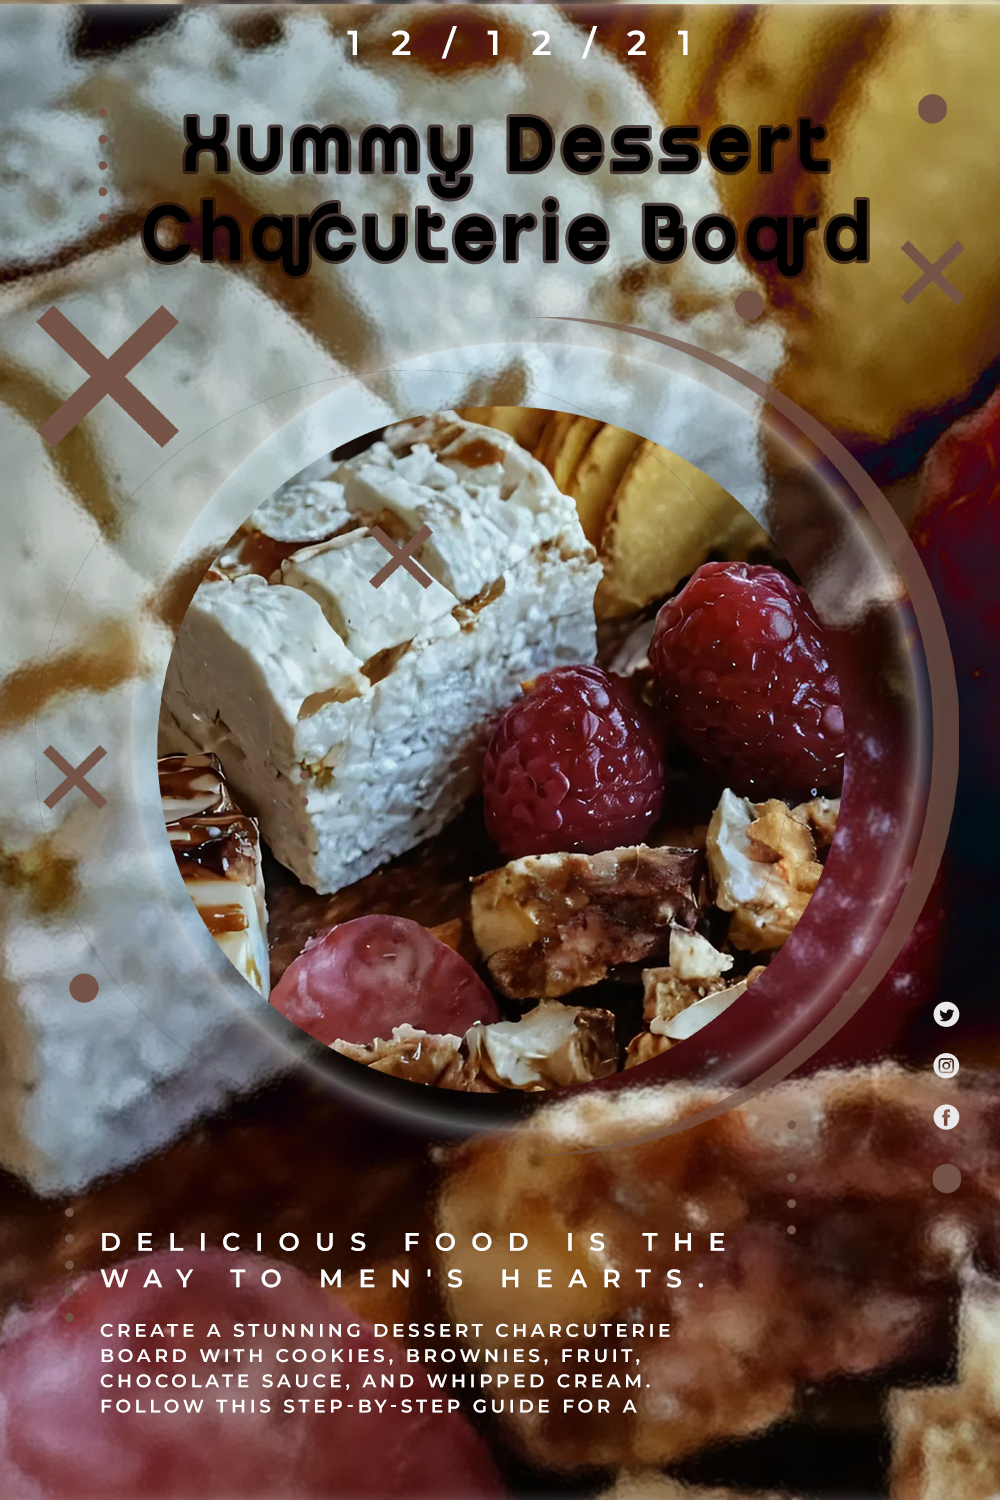
Yummy Dessert Charcuterie Board
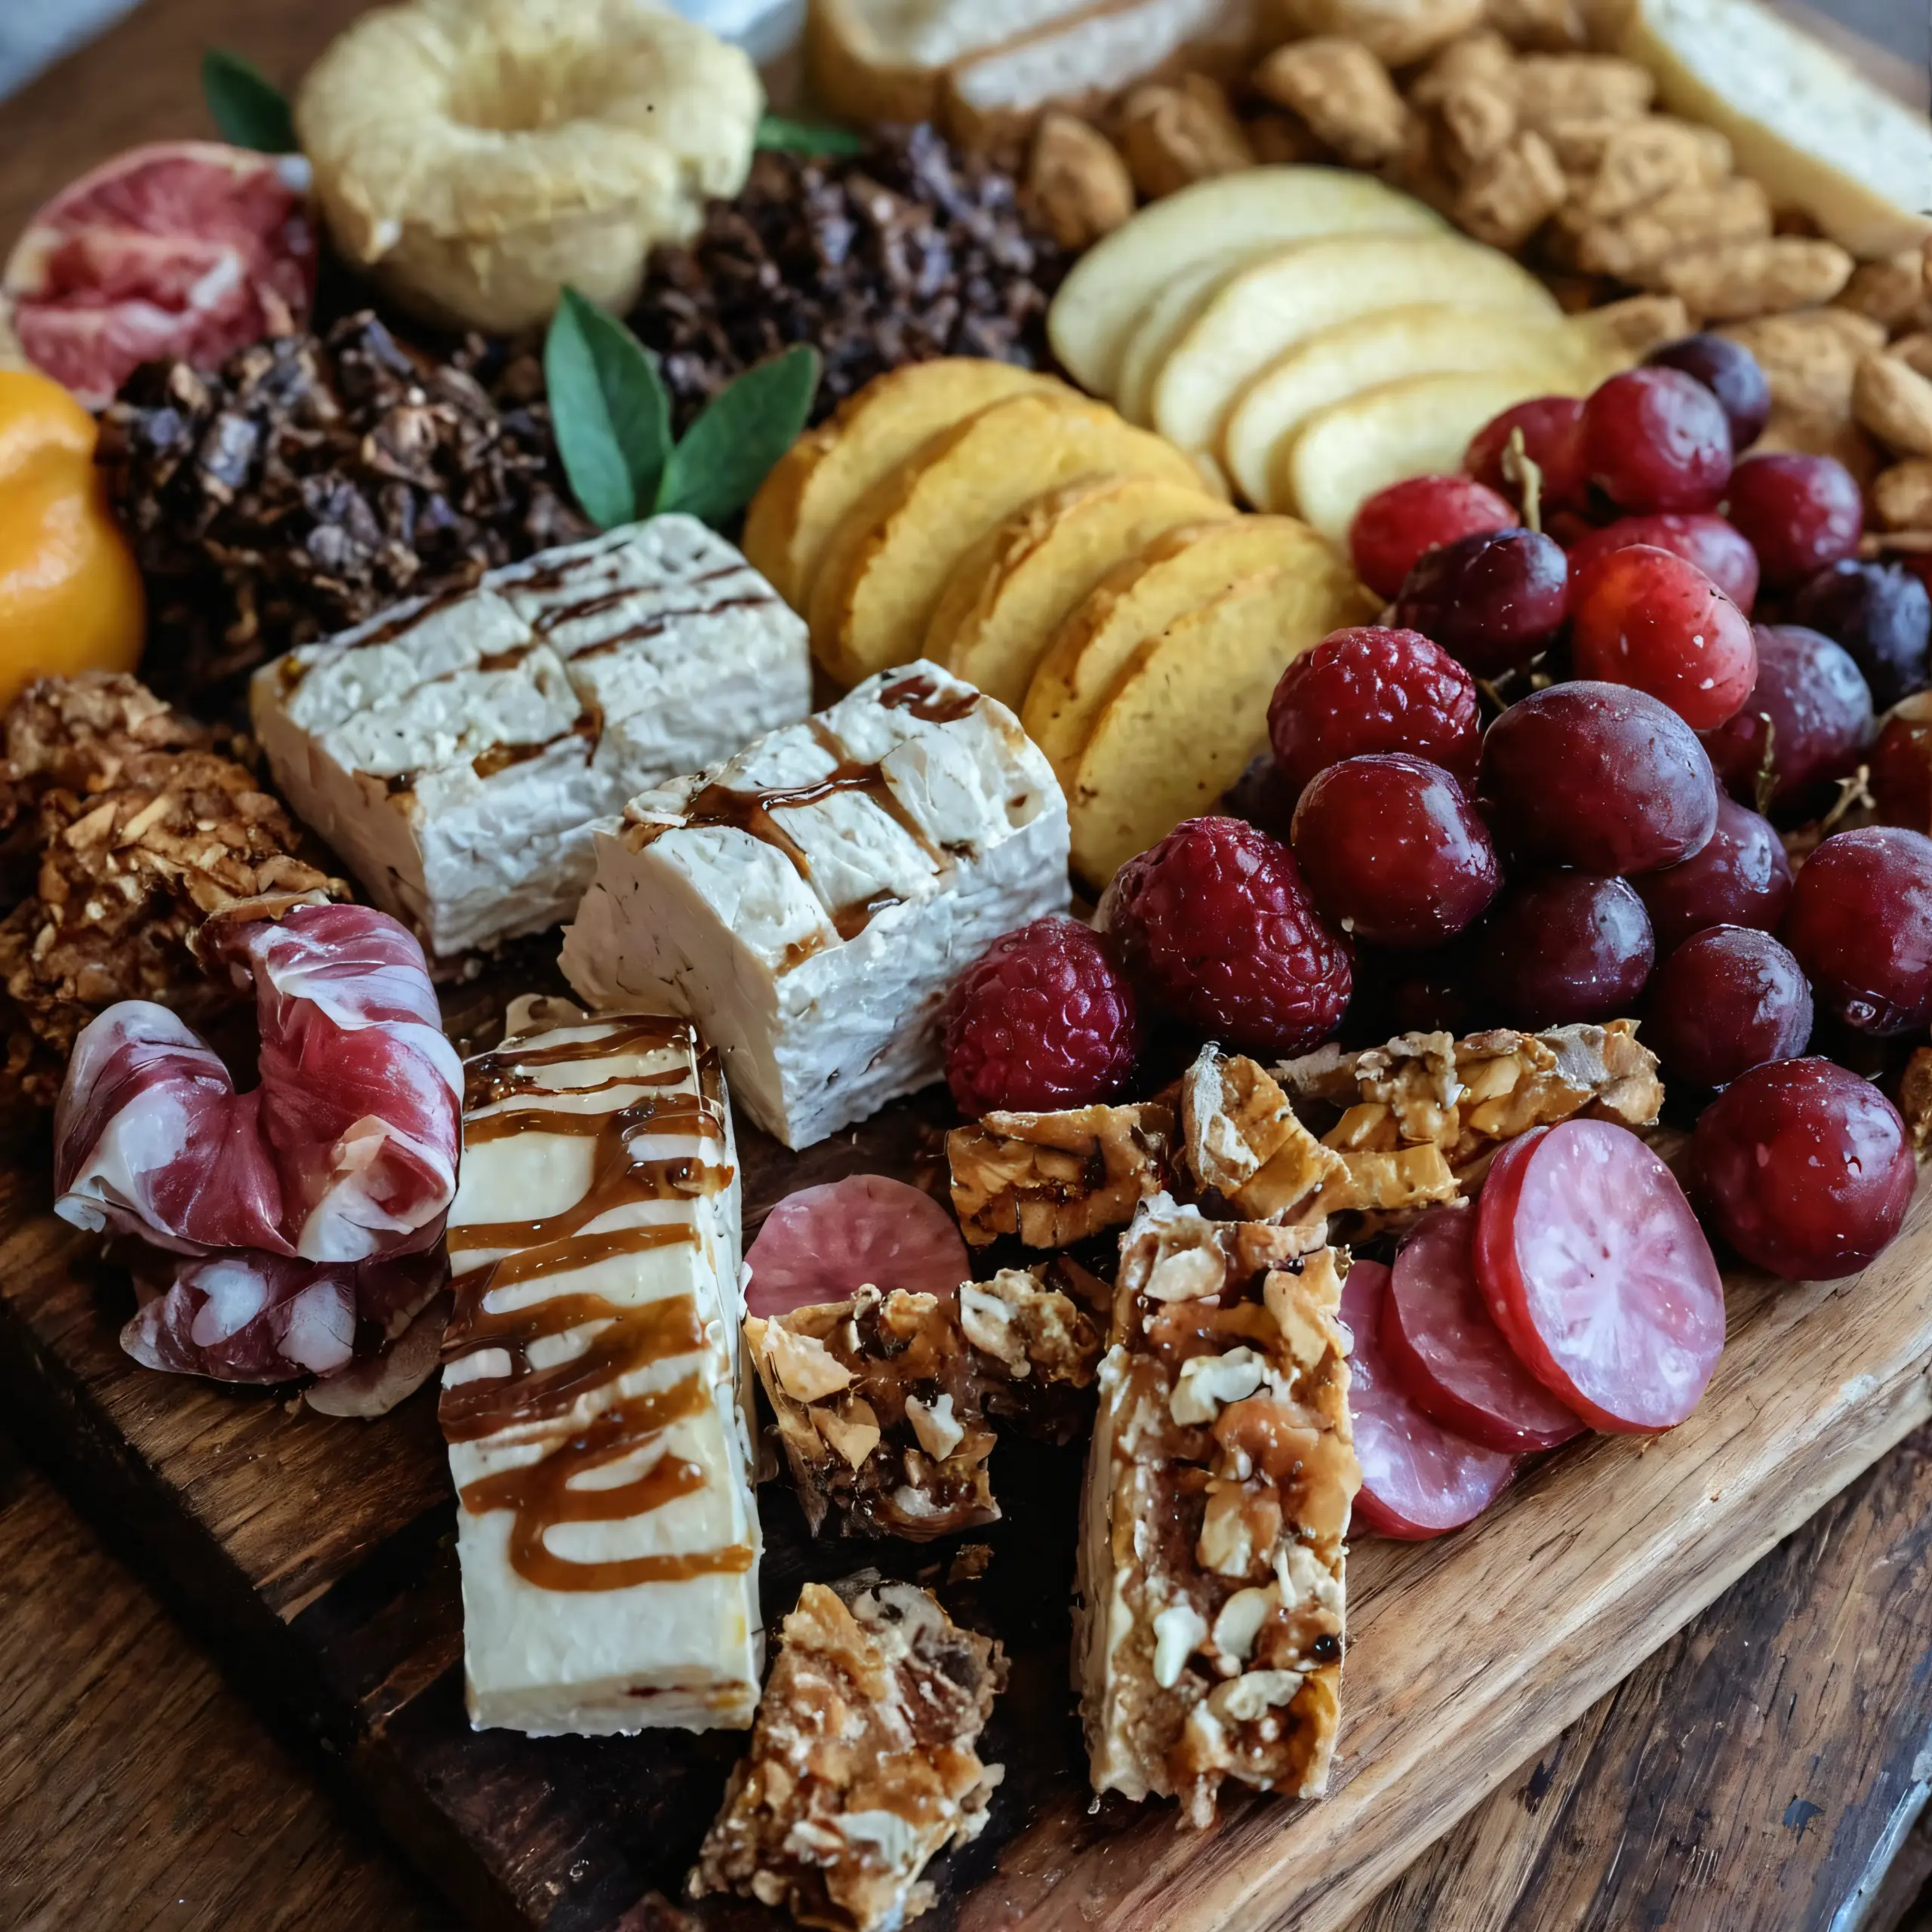
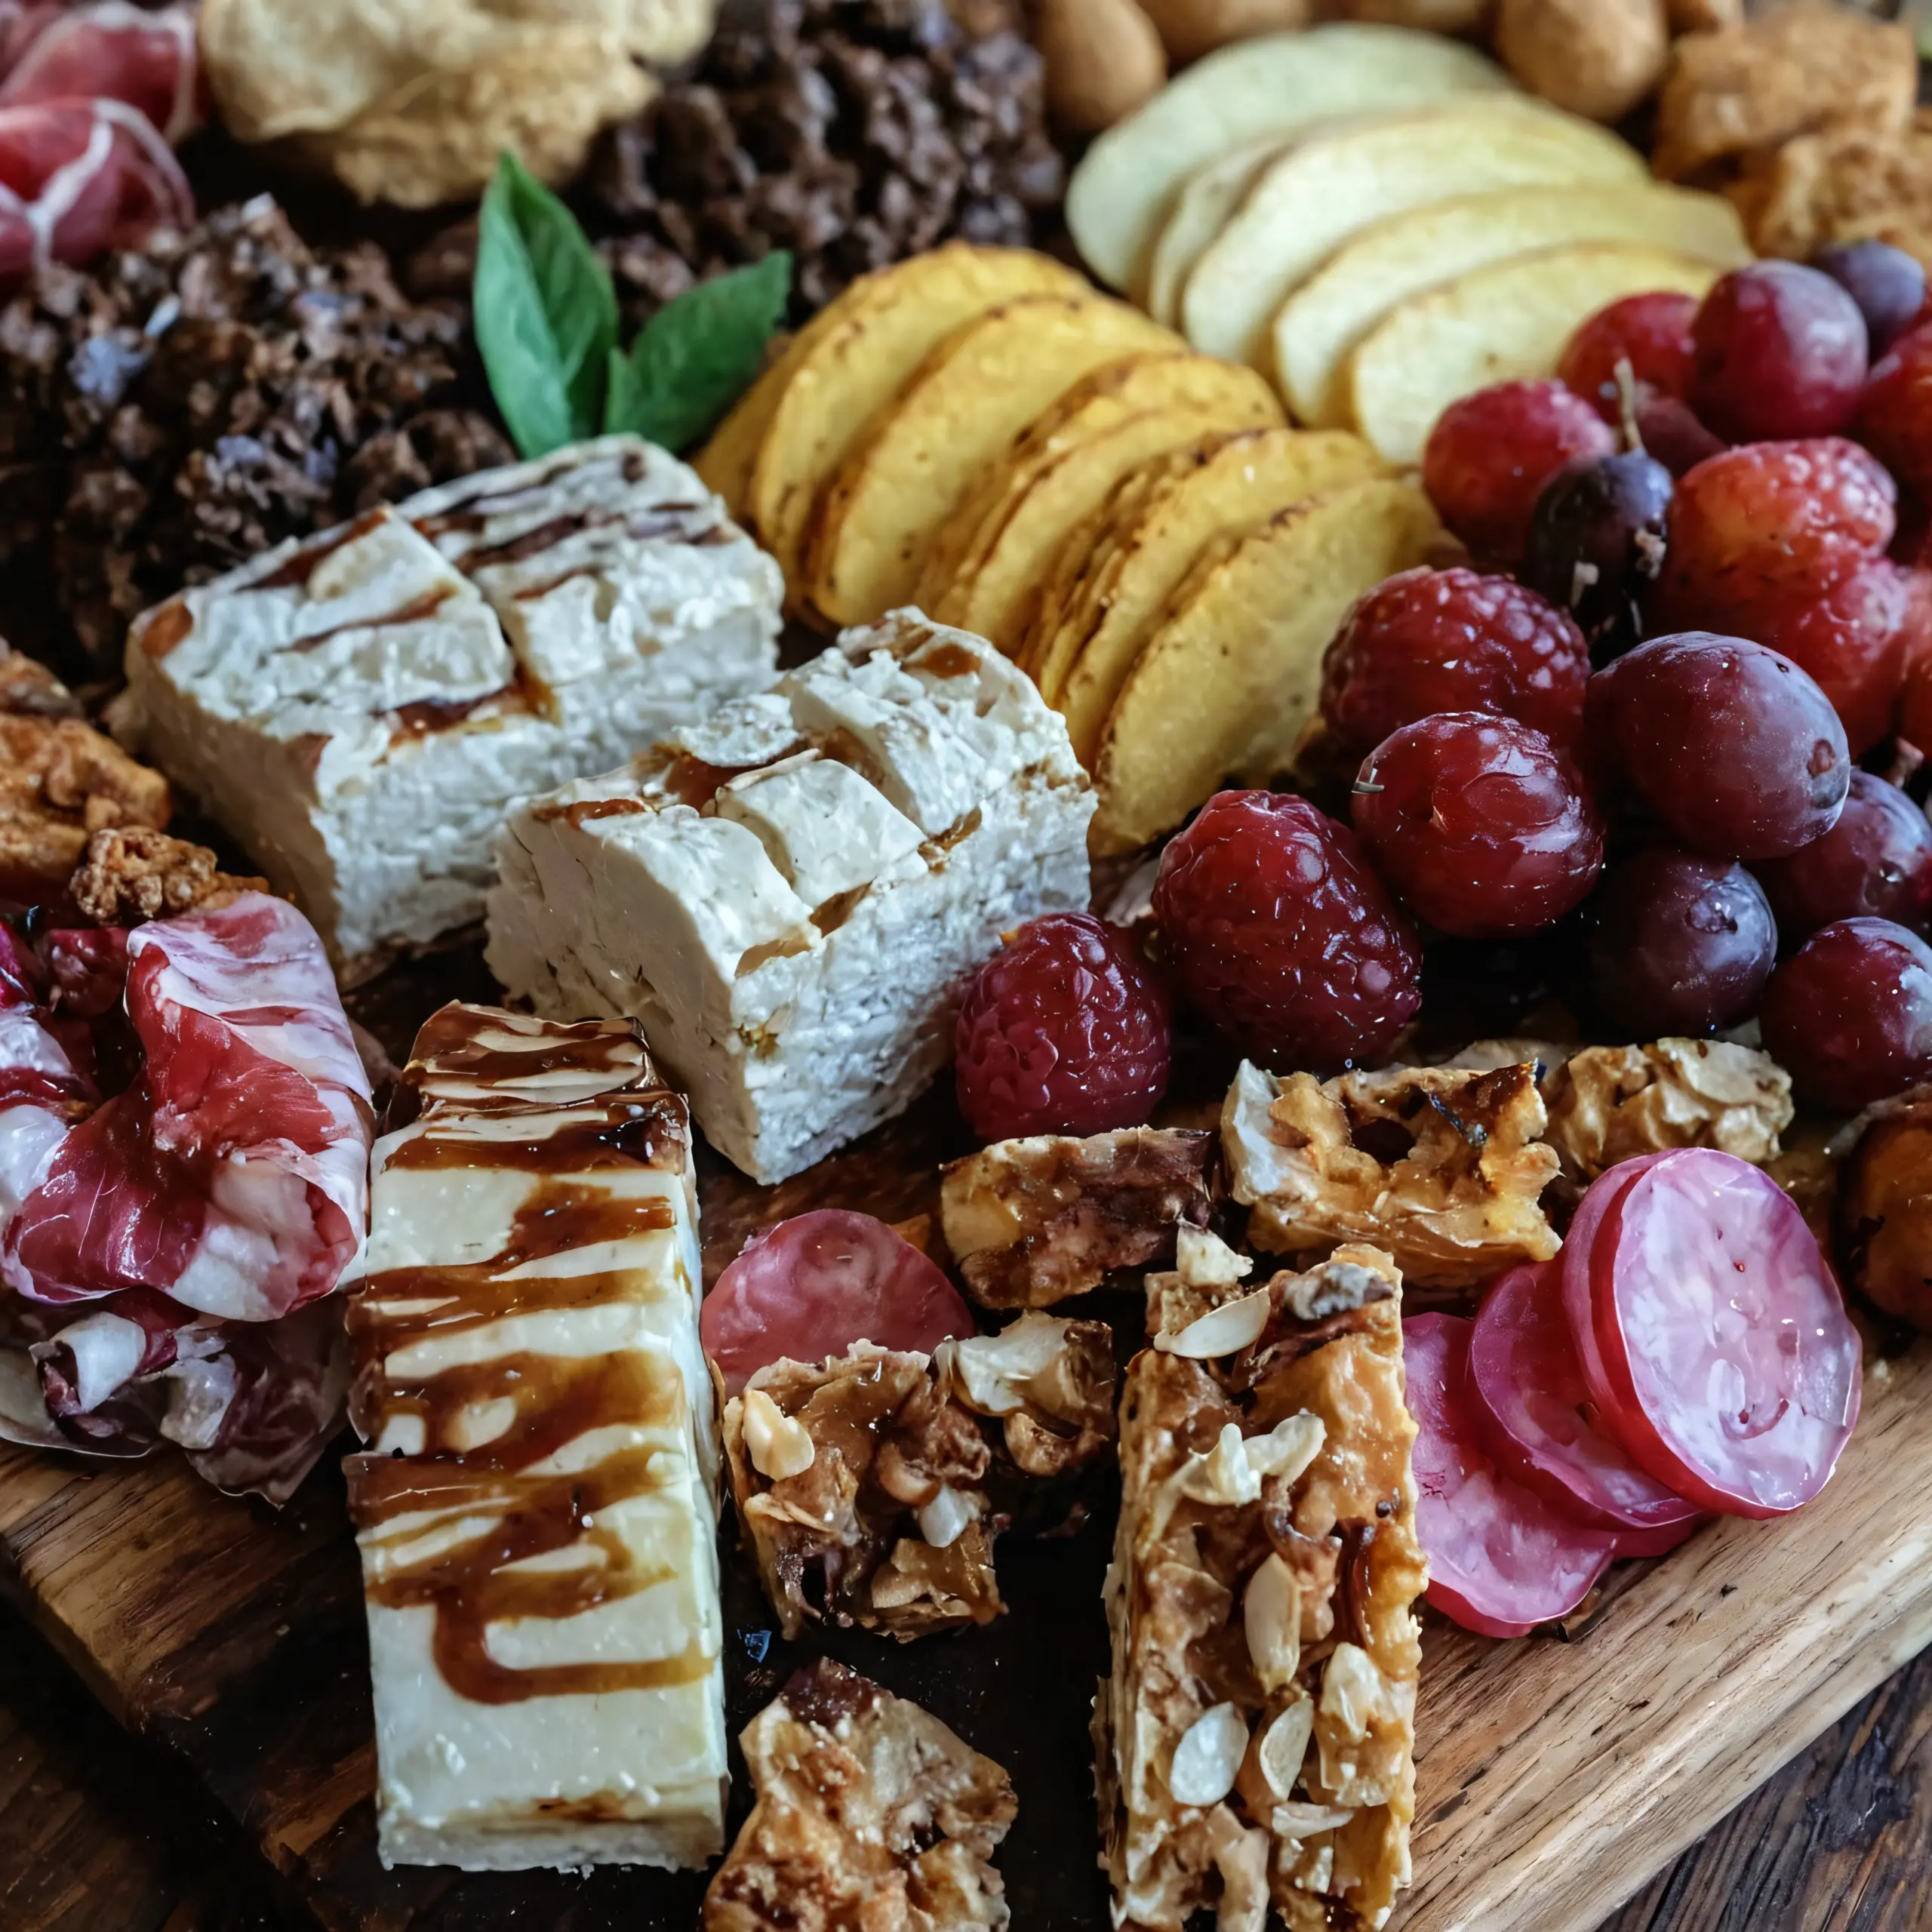
The faint aroma of fresh‑baked cookies mingles with the rich scent of melted chocolate, instantly pulling the eye to the colorful spread laid out on the table. A dessert charcuterie board turns an ordinary gathering into a visual feast, offering sweet bites that invite guests to pick, pair, and savor at their own pace. This concept works perfectly for weekend brunches, casual movie nights, or upscale cocktail parties because it requires no cooking beyond a few quick assembly steps. The combination of crisp cookies, fudgy brownies, juicy seasonal fruit, and silky chocolate sauce creates a balance of textures that keeps the palate engaged from the first bite to the last.
[tasty-recipe id=”10416″]
Home cooks who enjoy arranging food as much as they enjoy eating will find this board both approachable and impressive. The layout is forgiving—any assortment of cookies or fruit works, and the quantities can be scaled up for larger crowds or trimmed down for an intimate duo. Whether a beginner or a seasoned entertainer, the clear sections below guide the creation of a polished, Instagram‑ready dessert spread.
Scroll down to the ingredient list, then follow the step‑by‑step guide to assemble a board that looks professionally styled while staying completely doable in a home kitchen.
Ingredients
- 1‑2 dozen assorted cookies – provide crunchy variety; substitute with store‑bought wafer sticks
- 6‑12 pieces brownies, cut into bite‑size squares – add dense chocolate richness; substitute with store‑bought fudge bars
- 1‑2 cups seasonal fruits (apples, pears, grapes) – contribute fresh juiciness and color; substitute with berries or kiwi
- ½ cup chocolate sauce – offers a warm dipping element; substitute with caramel sauce
- ½ cup whipped cream or marshmallow fluff – adds airy sweetness; substitute with vanilla yogurt
- ½ cup nuts (optional, almonds or walnuts) – give a crunchy contrast; substitute with toasted pumpkin seeds
- 1 handful mint leaves (optional) – brightens presentation; substitute with basil leaves
This exact combination balances crunch, chew, creaminess, and fruit‑bright acidity, ensuring every forkful delivers a satisfying contrast.
Step‑by‑Step Instructions
Preparation
- Heat the oven to 175°C / 350°F if brownies need reheating; place brownies on a parchment‑lined tray and warm for 5‑7 minutes until the surface feels soft (Do not overheat – brownies become dry).
- Mix whipped cream with a pinch of vanilla extract in a small bowl until soft peaks form; set aside at room temperature (Do not over‑whip – it will turn buttery).
- Wash and dry the fruit; slice apples and pears into thin wedges, leaving grapes whole for visual pop (Do not slice fruit too thick – they become soggy).
- If using nuts, toast them in a dry skillet over medium heat for 2‑3 minutes until fragrant; transfer to a plate to cool (Do not burn – they become bitter).
Assembly
- Arrange the assorted cookies on the left side of a large wooden board, spacing them evenly to create a tidy border (Look for a uniform gap between pieces).
- Place the warm brownie squares in a line opposite the cookies, allowing a small drizzle of chocolate sauce to pool beneath (The sauce should be glossy, not grainy).
- Create a fruit cluster in the center, alternating colors for maximum visual impact; tuck a few mint leaves among the fruit for freshness (Fruit should be vibrant, not bruised).
- Drizzle the remaining chocolate sauce over the brownies and a few cookie edges, using a spoon to control flow (Sauce should coat but not drown).
- Spoon dollops of whipped cream or marshmallow fluff onto the board, arranging them near the fruit for a contrasting cool element (Cream should hold its shape).
- Scatter toasted nuts around the edges, ensuring they are evenly distributed for crunch in every bite (Nuts should be visible, not hidden).
- Finish with a final sprinkle of mint leaves across the board for a fresh aroma and bright green accent (Mint should be whole, not shredded).
Serving
- Serve the board at room temperature; encourage guests to pick their preferred combinations, such as a cookie dipped in chocolate sauce beside a juicy grape (The board is ready when the chocolate sauce glistens and the whipped cream holds soft peaks).
Why This Recipe Works
The success of a dessert charcuterie board hinges on contrast—both textural and temperature‑based. Warm brownies soften the dense chocolate, while cool whipped cream provides a refreshing counterpoint that prevents the palate from becoming overwhelmed by sweetness. Toasted nuts introduce a subtle bitterness that cuts through the rich flavors, enhancing overall balance.
Chilling the whipped cream or marshmallow fluff stabilizes air bubbles, allowing the dollops to keep their shape when placed among fruit and nuts. Meanwhile, the brief reheating of brownies reactivates the cocoa butter, creating a glossy surface that readily accepts chocolate sauce without becoming soggy. Finally, the strategic placement of mint leaves releases essential oils that lift the entire board’s aroma, making each bite feel fresher than the last.
Tips for Reliable Results
- If cookies crumble while arranging, let them sit at room temperature for 5 minutes to soften the glaze; this prevents breakage caused by overly crisp edges.
- When chocolate sauce thickens too much after reheating, stir in a teaspoon of neutral oil (such as grapeseed) to restore fluidity without altering flavor.
- Use a chilled metal spoon to scoop whipped cream; this helps maintain peak stability, especially in warm kitchens.
- To avoid fruit oxidation, drizzle a light coating of lemon juice on apple and pear slices immediately after cutting; this keeps the fruit bright and prevents browning.
- For a uniform appearance, select cookies of similar size; irregular sizes can create visual gaps that make the board look uneven.
- Make‑ahead tip: Prepare the toasted nuts and sliced fruit up to 2 hours ahead, covering them with a damp paper towel to retain freshness.
- Storage tip: Cover the assembled board loosely with parchment paper and refrigerate for up to 4 hours; the chocolate sauce may thicken, so gently re‑warm before serving.
- Equipment note: A large wooden or marble board provides a sturdy surface that keeps heavy brownie squares from sliding, ensuring a tidy presentation.
Variations
- Salted caramel drizzle – replace chocolate sauce with caramel infused with flaky sea salt; the salty note amplifies the sweetness of brownies and adds a sophisticated flavor layer.
- Berry‑focused board – swap seasonal apples and pears for mixed berries (strawberries, blueberries, raspberries); the higher acidity balances the rich whipped cream and creates a brighter color palette.
- Vegan adaptation – use dairy‑free whipped coconut cream and vegan chocolate sauce; substitute regular nuts with roasted chickpeas for crunch, keeping the board entirely plant‑based.
- Gluten‑free version – select gluten‑free cookies and brownies; the texture remains comparable, and the board stays inclusive for guests with gluten sensitivities.
Time and Yield
Prep time: 20 minutes
Cook time: 7 minutes (reheating brownies)
Cooling/resting time: 5 minutes (letting fruit settle)
Total time: 32 minutes
Yield: Serves 6‑8 people
Frequently Asked Questions
Can I prepare the entire board a day ahead?
Yes, assemble all components except the chocolate sauce and whipped cream. Store the board wrapped in plastic wrap in the refrigerator; add sauce and cream just before serving to maintain texture.
What if the chocolate sauce becomes too thick after cooling?
Gently reheat the sauce in a microwave for 10‑15 seconds, stirring halfway. If it’s still thick, whisk in a teaspoon of neutral oil until it reaches a smooth, pourable consistency.
Why did my brownies turn dry after reheating?
Overheating causes moisture loss; limit reheating to 5‑7 minutes and cover the tray loosely with foil to trap steam, preserving the fudgy interior.
Is it okay to use pre‑made whipped topping instead of homemade whipped cream?
Pre‑made topping works, but it often contains stabilizers that affect flavor. If using it, add a splash of vanilla extract to enhance taste and keep dollops light.
Can I substitute the nuts with something else for a nut‑free version?
Yes, toasted pumpkin seeds or sunflower seeds provide a similar crunch without nuts, making the board safe for allergy‑prone guests.
Conclusion
The dessert charcuterie board shines because it leverages simple, contrasting elements—warm brownies, crisp cookies, fresh fruit, and silky sauces—to create a dynamic tasting experience. By following the precise assembly steps and applying the troubleshooting tips, home cooks can produce a polished spread that feels both indulgent and effortless. Experiment with the suggested variations, such as salted caramel or berry‑focused options, to tailor the board to seasonal moods or dietary needs. The final result invites guests to explore flavor pairings at their own pace, turning any gathering into a memorable sweet celebration.