Introduction
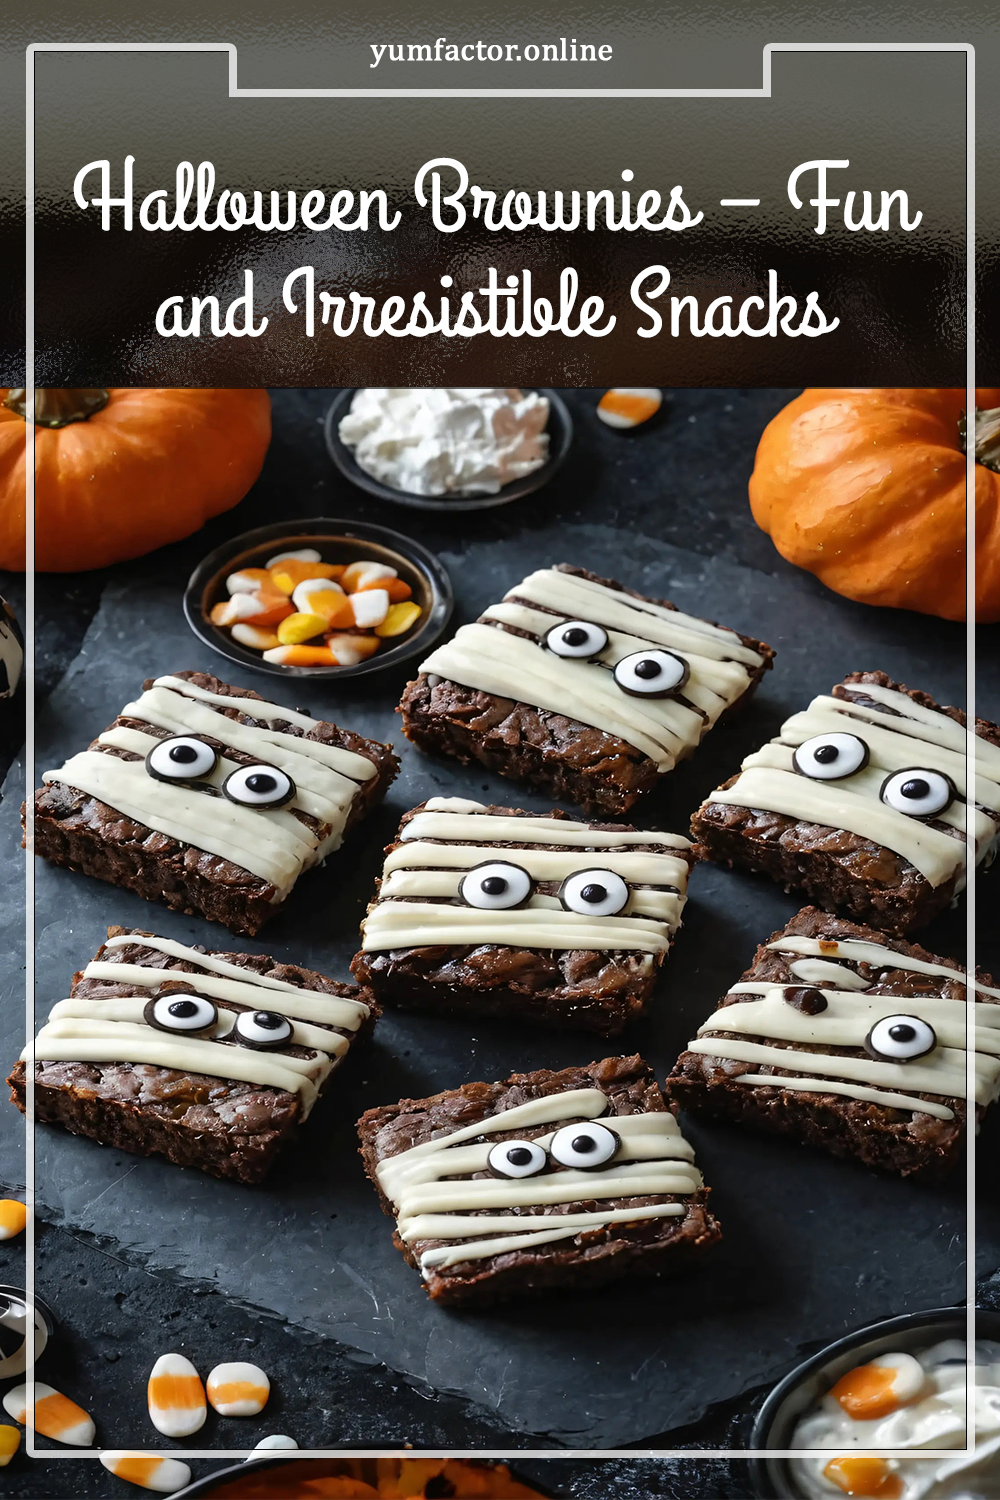
When the nights grow longer and pumpkins line the windowsills, there’s a craving for treats that capture the spirit of the season. Halloween Brownies answer that call with a perfect blend of rich chocolate and playful, spooky decorations. These bite‑size delights are ideal for parties, trick‑or‑treat gatherings, or a cozy night in front of a flickering screen.
[tasty-recipe id=”9391″]
Beyond their striking appearance, these brownies offer a moist, fudgy texture that keeps everyone reaching for another piece. The recipe balances simple pantry staples with a few festive embellishments, making it accessible for bakers of all skill levels. Whether you’re a seasoned home cook or a first‑time baker, you’ll find the process straightforward and rewarding.
In this article we’ll walk through every step, from selecting the right cocoa powder to mastering the iconic spiderweb icing. You’ll also discover tips for achieving the perfect crumb, creative variations for different dietary needs, and answers to common questions that arise when preparing Halloween treats.
Why Choose Halloween Brownies?
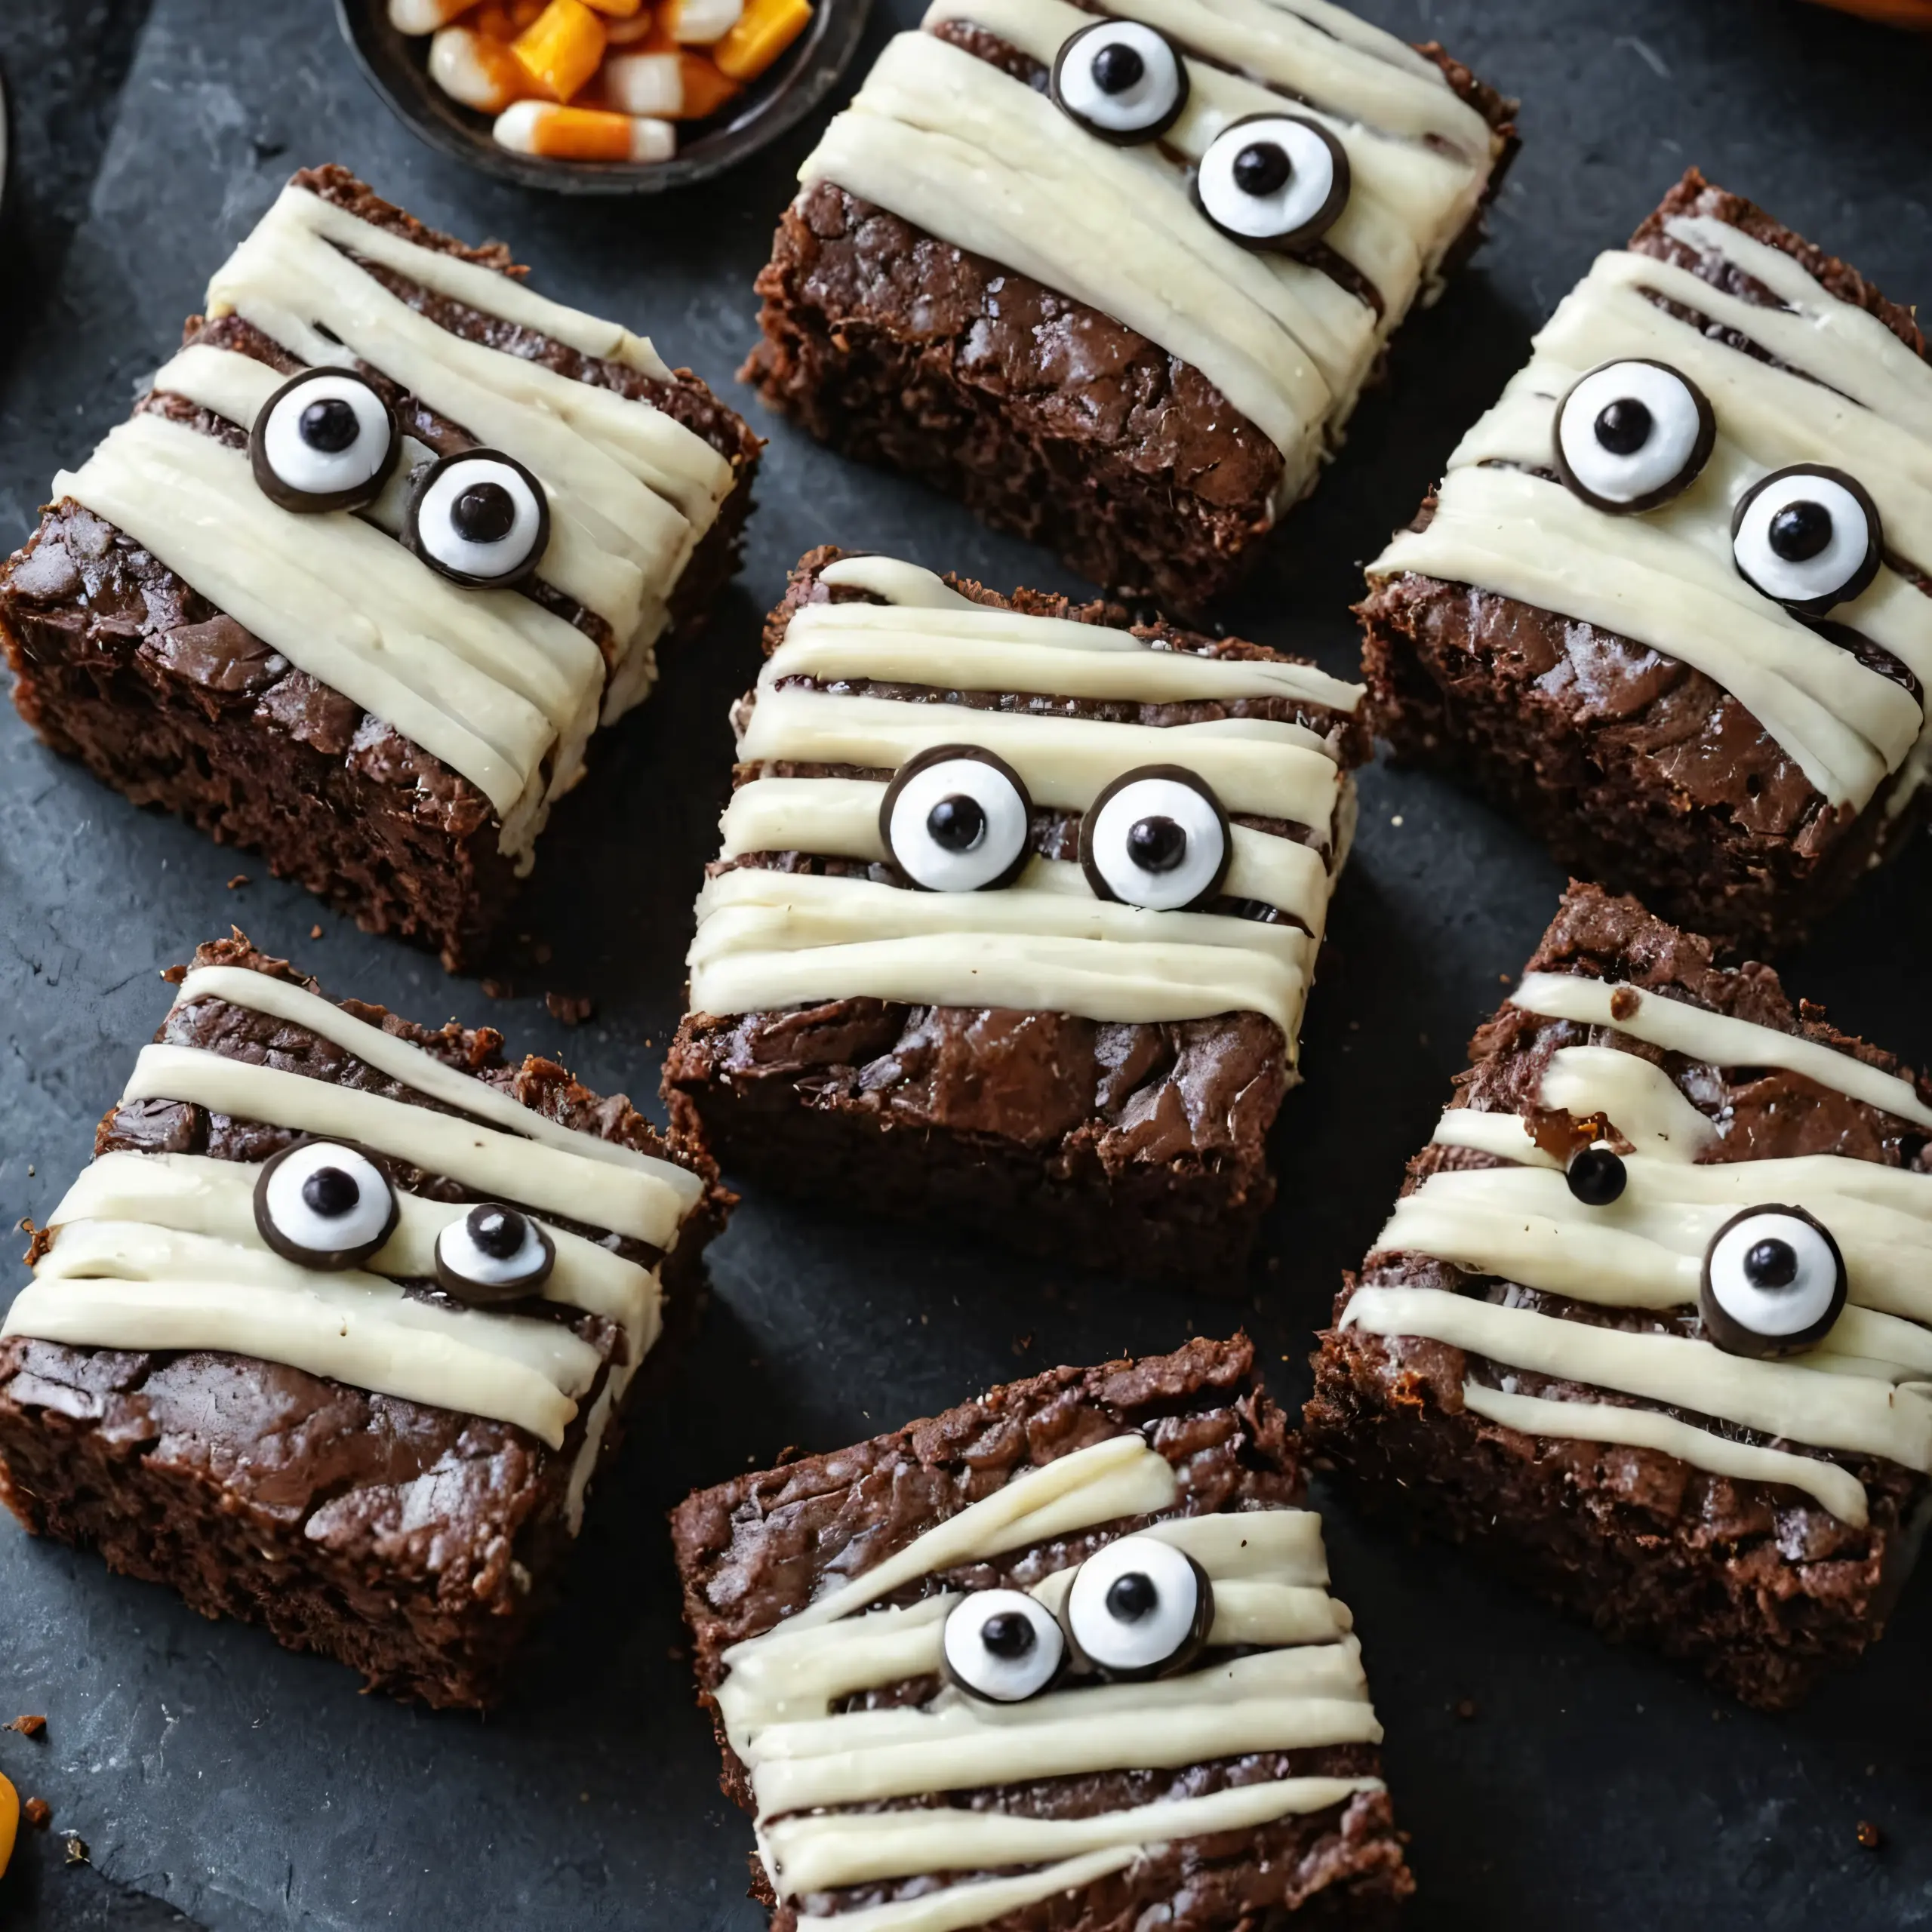
Chocolate brownies are a timeless favorite, but adding a Halloween twist turns them into conversation‑starting centerpieces. The deep, glossy surface of a freshly baked brownie provides a perfect canvas for bright orange sprinkles, creepy candy eyeballs, and delicate white icing that mimics a spider’s silk. This visual contrast makes the desserts instantly recognizable as festive.
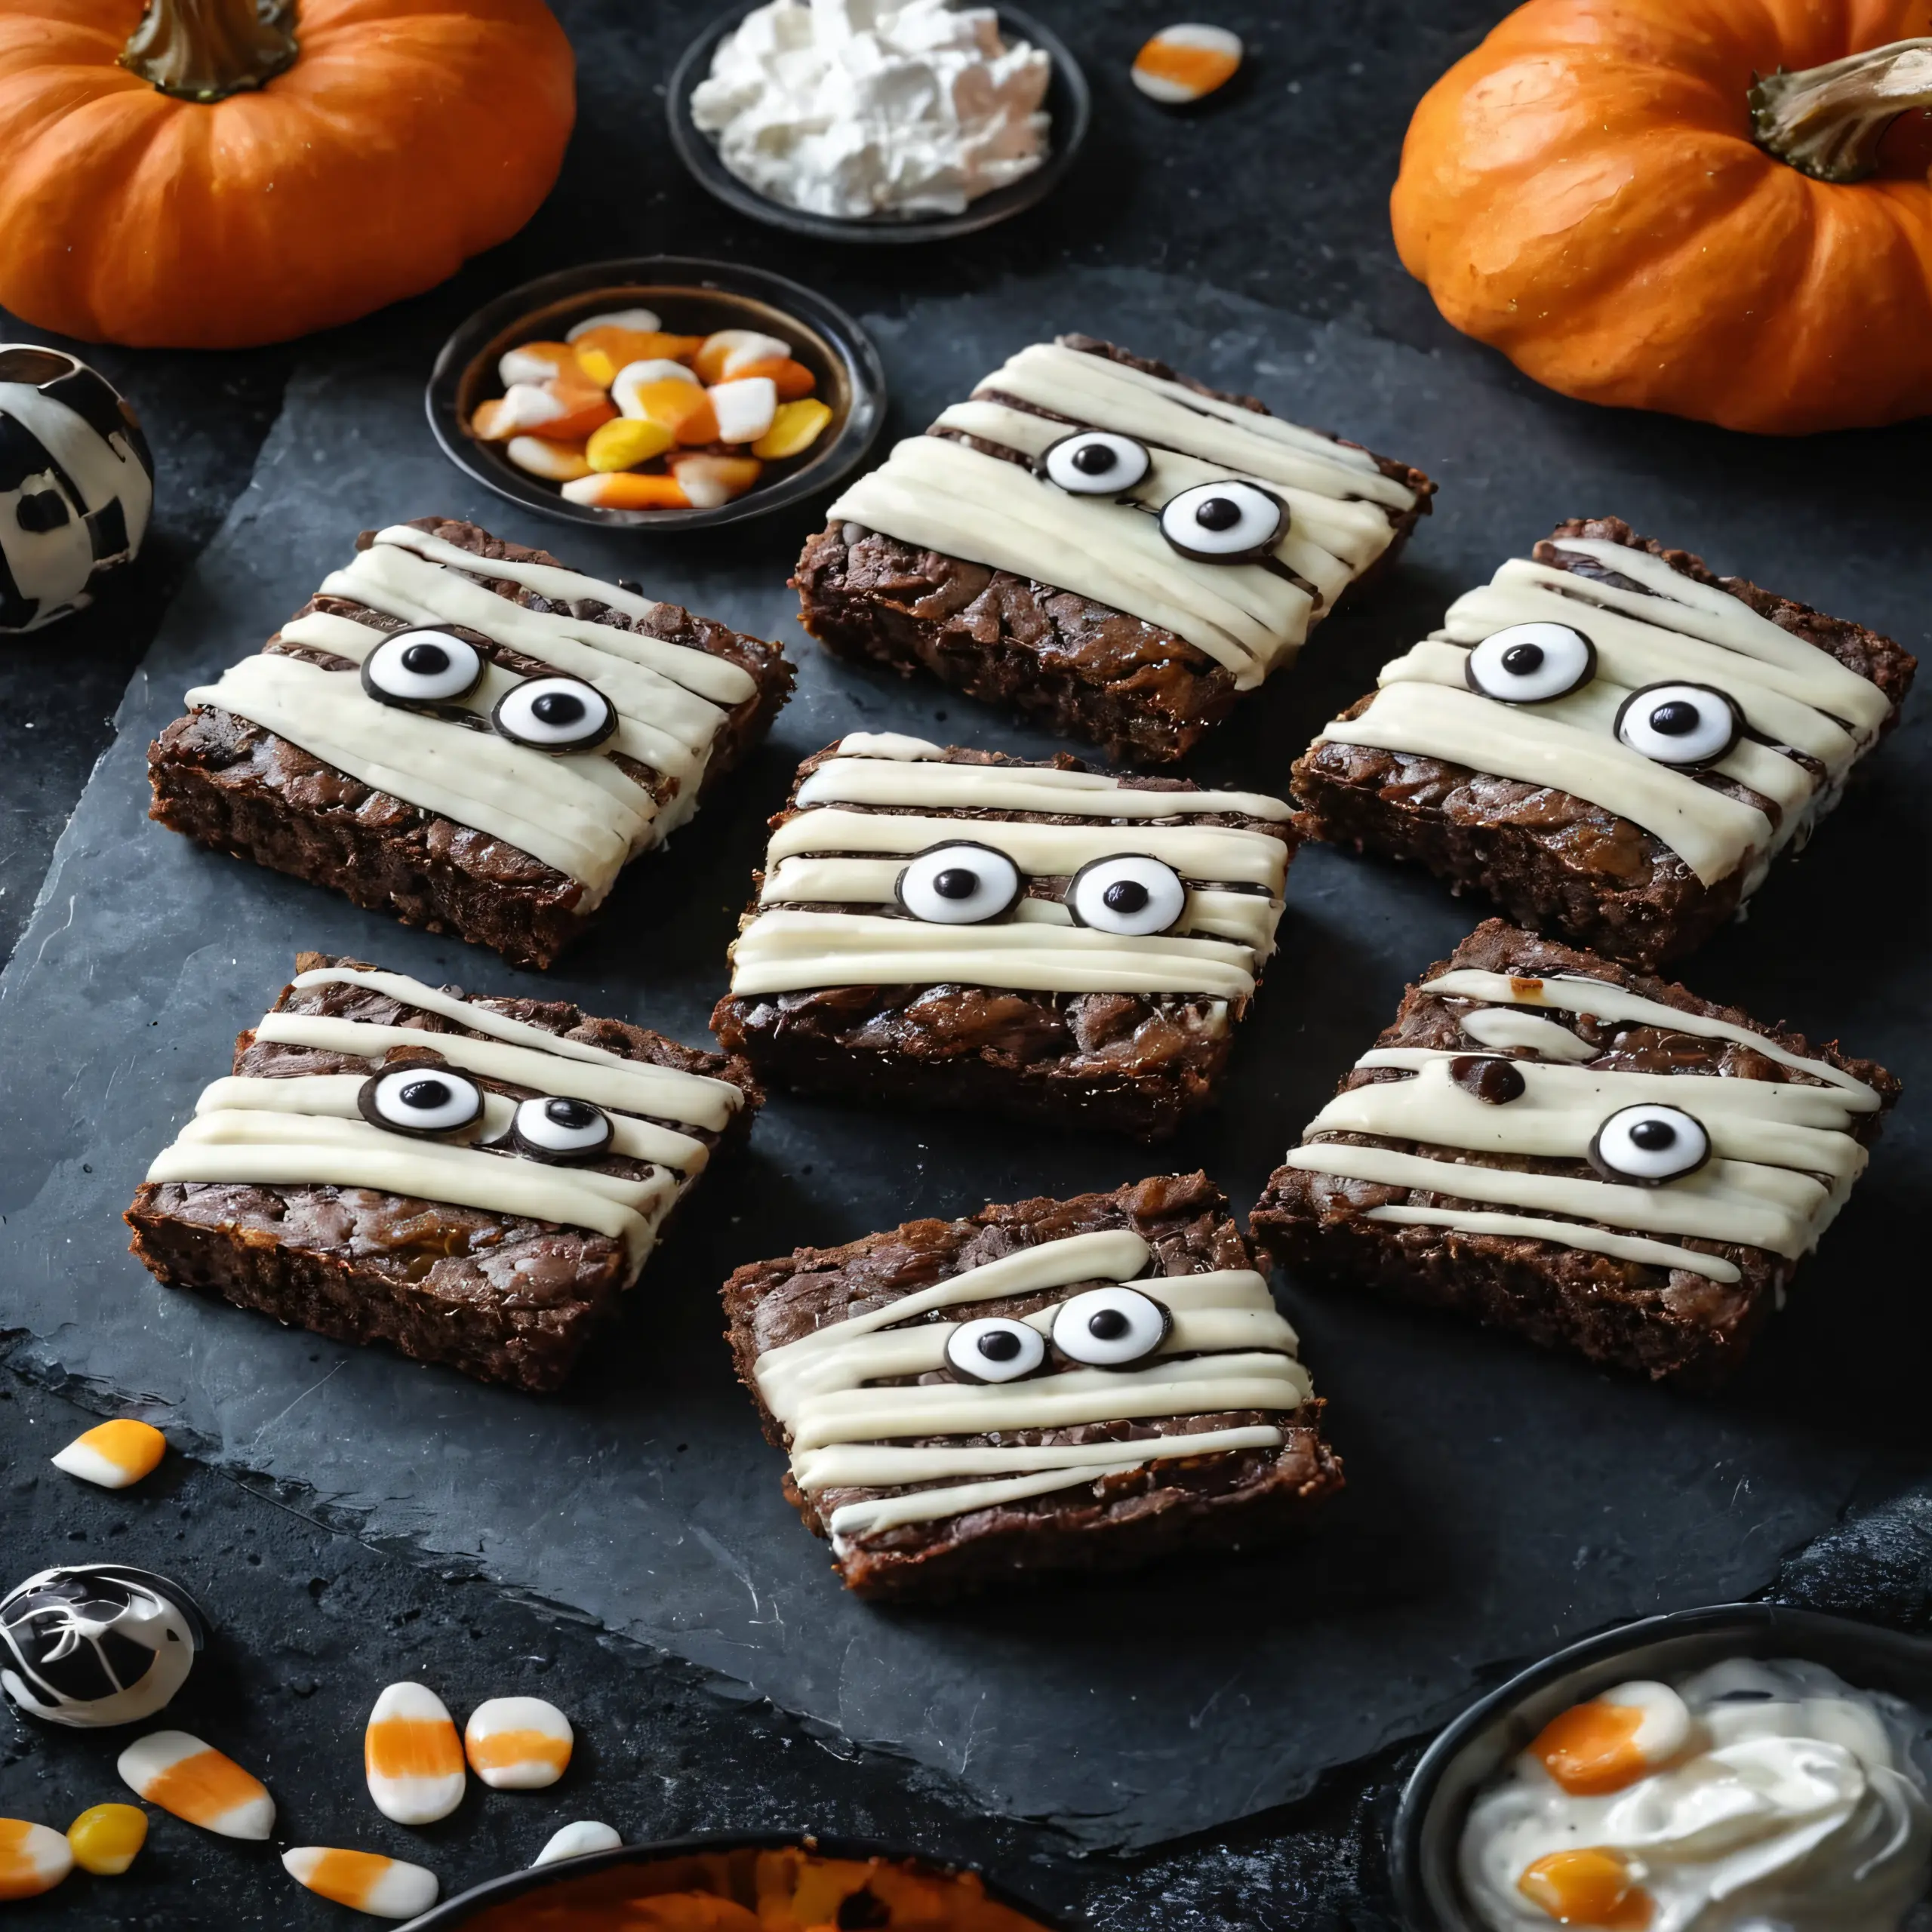
From a flavor perspective, the combination of unsalted butter, granulated sugar, and high‑quality cocoa creates a balanced sweetness that isn’t overly cloying. The subtle bitterness of the cocoa highlights the sweetness of the decorations, resulting in a harmonious bite that satisfies both kids and adults. The addition of a pinch of salt further deepens the chocolate flavor, ensuring each mouthful feels indulgent.
Finally, the recipe’s flexibility allows you to experiment with different shapes, toppings, or even gluten‑free flour alternatives without compromising the core texture. This adaptability means you can tailor the brownies to suit dietary restrictions while still delivering that unmistakable Halloween vibe.
Ingredients
- 1 cup unsalted butter — provides richness and helps create a tender crumb
- 2 cups granulated sugar — adds sweetness and contributes to the fudgy texture
- 4 large eggs — bind the batter and add moisture
- 1 teaspoon vanilla extract — enhances the chocolate flavor with a subtle aromatic note
- 1 cup all-purpose flour — gives structure while keeping the brownies soft
- 1 cup unsweetened cocoa powder — delivers deep, intense chocolate flavor
- 1/2 teaspoon salt — balances sweetness and intensifies cocoa
- 1/2 teaspoon baking powder — provides a slight lift for a tender crumb
- Spiderweb icing (for decoration) — creates the signature spooky web pattern
- Candy eyeballs (for decoration) — adds a creepy, fun detail
- Pumpkin-shaped sprinkles (for decoration) — brings a burst of orange color and seasonal flair
Instructions
Preparation
- Preheat your oven to 350°F (175°C) and line a 9×13‑inch baking pan with parchment paper, allowing excess to hang over the sides for easy removal.
- Melt the unsalted butter in a medium saucepan over low heat, stirring until smooth; remove from heat and let it cool slightly.
- In a large mixing bowl, whisk together the granulated sugar and melted butter until fully combined, creating a glossy base.
- Add the eggs one at a time, whisking after each addition to ensure they are fully incorporated and the mixture stays light.
- Stir in the vanilla extract, then sift the all‑purpose flour, unsweetened cocoa powder, salt, and baking powder over the wet ingredients.
- Gently fold the dry ingredients into the wet mixture using a rubber spatula, being careful not to over‑mix; the batter should be thick and glossy.
- Pour the batter into the prepared pan, spreading it evenly with the spatula to create a uniform surface.
Baking
- Place the pan in the preheated oven and bake for 25‑30 minutes, or until a toothpick inserted into the center comes out with a few moist crumbs attached.
- While the brownies bake, prepare a cooling rack nearby so you can transfer the pan as soon as they are done, preventing over‑cooking.
- Remove the pan from the oven and allow the brownies to cool in the pan for 10 minutes; this helps them set and makes them easier to lift.
- Using the parchment overhang, lift the entire block of brownies onto the cooling rack and let them cool completely, about 30‑45 minutes.
Decoration
- Once cooled, spread a thin, even layer of spiderweb icing over the top of the brownies using an offset spatula; the icing should be glossy but not too thick.
- Using a small piping bag fitted with a fine tip, draw a spiderweb pattern by creating concentric circles and connecting them with radiating lines, mimicking a classic Halloween motif.
- Place candy eyeballs strategically across the surface, allowing them to sit partially in the icing for a three‑dimensional effect.
- Scatter pumpkin‑shaped sprinkles around the edges and in the gaps of the web to add bursts of orange and a playful texture.
- Allow the decorations to set for 10‑15 minutes before cutting; this ensures the icing and toppings stay in place when sliced.
- Cut the brownies into squares or rectangles using a sharp knife, wiping the blade between cuts for clean edges.
Tips for Perfect Halloween Brownies
- Use high‑quality unsweetened cocoa powder for the deepest chocolate flavor; Dutch‑process cocoa can add extra richness.
- Do not over‑mix the batter after adding the flour; this prevents gluten development that could make the brownies cakey.
- For an extra fudgy center, slightly underbake the brownies and let residual heat finish the cooking process.
- If you prefer a glossy finish, brush a thin layer of melted chocolate over the top before adding the spiderweb icing.
- To keep the candy eyeballs from melting, add them after the icing has set and the brownies are fully cooled.
- Store any leftover brownies in an airtight container at room temperature for up to three days, or freeze for longer storage.
- For a gluten‑free version, replace the all‑purpose flour with a 1‑to‑1 gluten‑free flour blend and add a tablespoon of xanthan gum.
- Experiment with colored icing—add orange or green food coloring to the spiderweb for a unique twist on the classic white web.
Frequently Asked Questions
Can I make the brownies ahead of time?
Yes, you can bake and cool the brownies up to 24 hours in advance; just add the decorations shortly before serving to keep them fresh.
How do I keep the spiderweb icing from cracking?
Ensure the brownies are completely cool before applying the icing, and work quickly with a smooth, even layer to prevent air pockets that cause cracks.
What can I substitute for unsalted butter?
Use an equal amount of melted coconut oil for a dairy‑free alternative; the flavor will be slightly different but the texture remains tender.
Is there a way to make these brownies vegan?
Replace the butter with vegan margarine, use flaxseed eggs (1 tbsp ground flaxseed + 3 tbsp water per egg), and choose a plant‑based cocoa powder; the rest of the recipe stays the same.
Can I use a different shape of pan?
A 9‑inch square pan works well, but a 10‑inch round pan will produce a thicker brownie; just adjust baking time by a few minutes.
Serving Suggestions
Arrange the decorated brownies on a rustic wooden board or a themed Halloween platter, adding extra pumpkin‑shaped sprinkles around the edges for visual impact. Pair them with a glass of chilled milk or a warm cup of spiced apple cider for a comforting contrast. For a party setting, label each batch with playful names like “Spider’s Delight” or “Ghostly Goo” to enhance the festive atmosphere.
Storage and Shelf Life
Store leftover brownies in an airtight container at room temperature; they will stay moist and flavorful for up to three days. For longer preservation, wrap individual pieces in plastic wrap and freeze them for up to two months, then thaw at room temperature before serving.
Conclusion
These Halloween Brownies combine the beloved fudgy texture of classic chocolate brownies with eye‑catching decorations that embody the spirit of the season. By following the detailed steps and incorporating the handy tips, you’ll create a batch of treats that are both delicious and visually striking. Invite friends and family to indulge, and watch as the spooky, sweet flavors become the highlight of your Halloween celebration.