Introduction
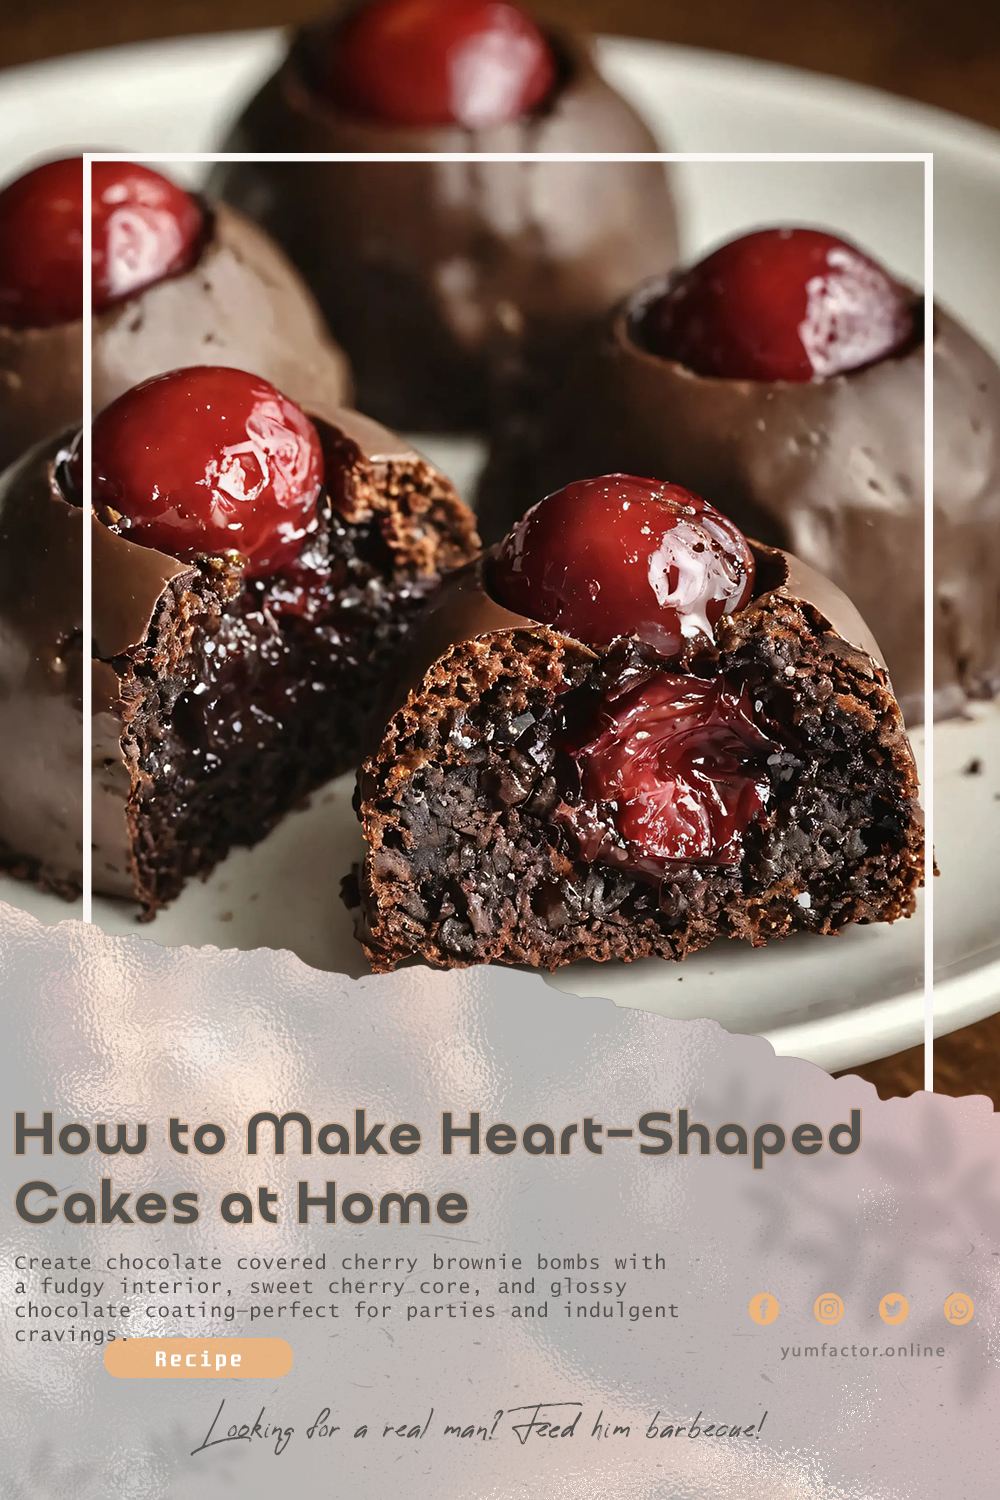
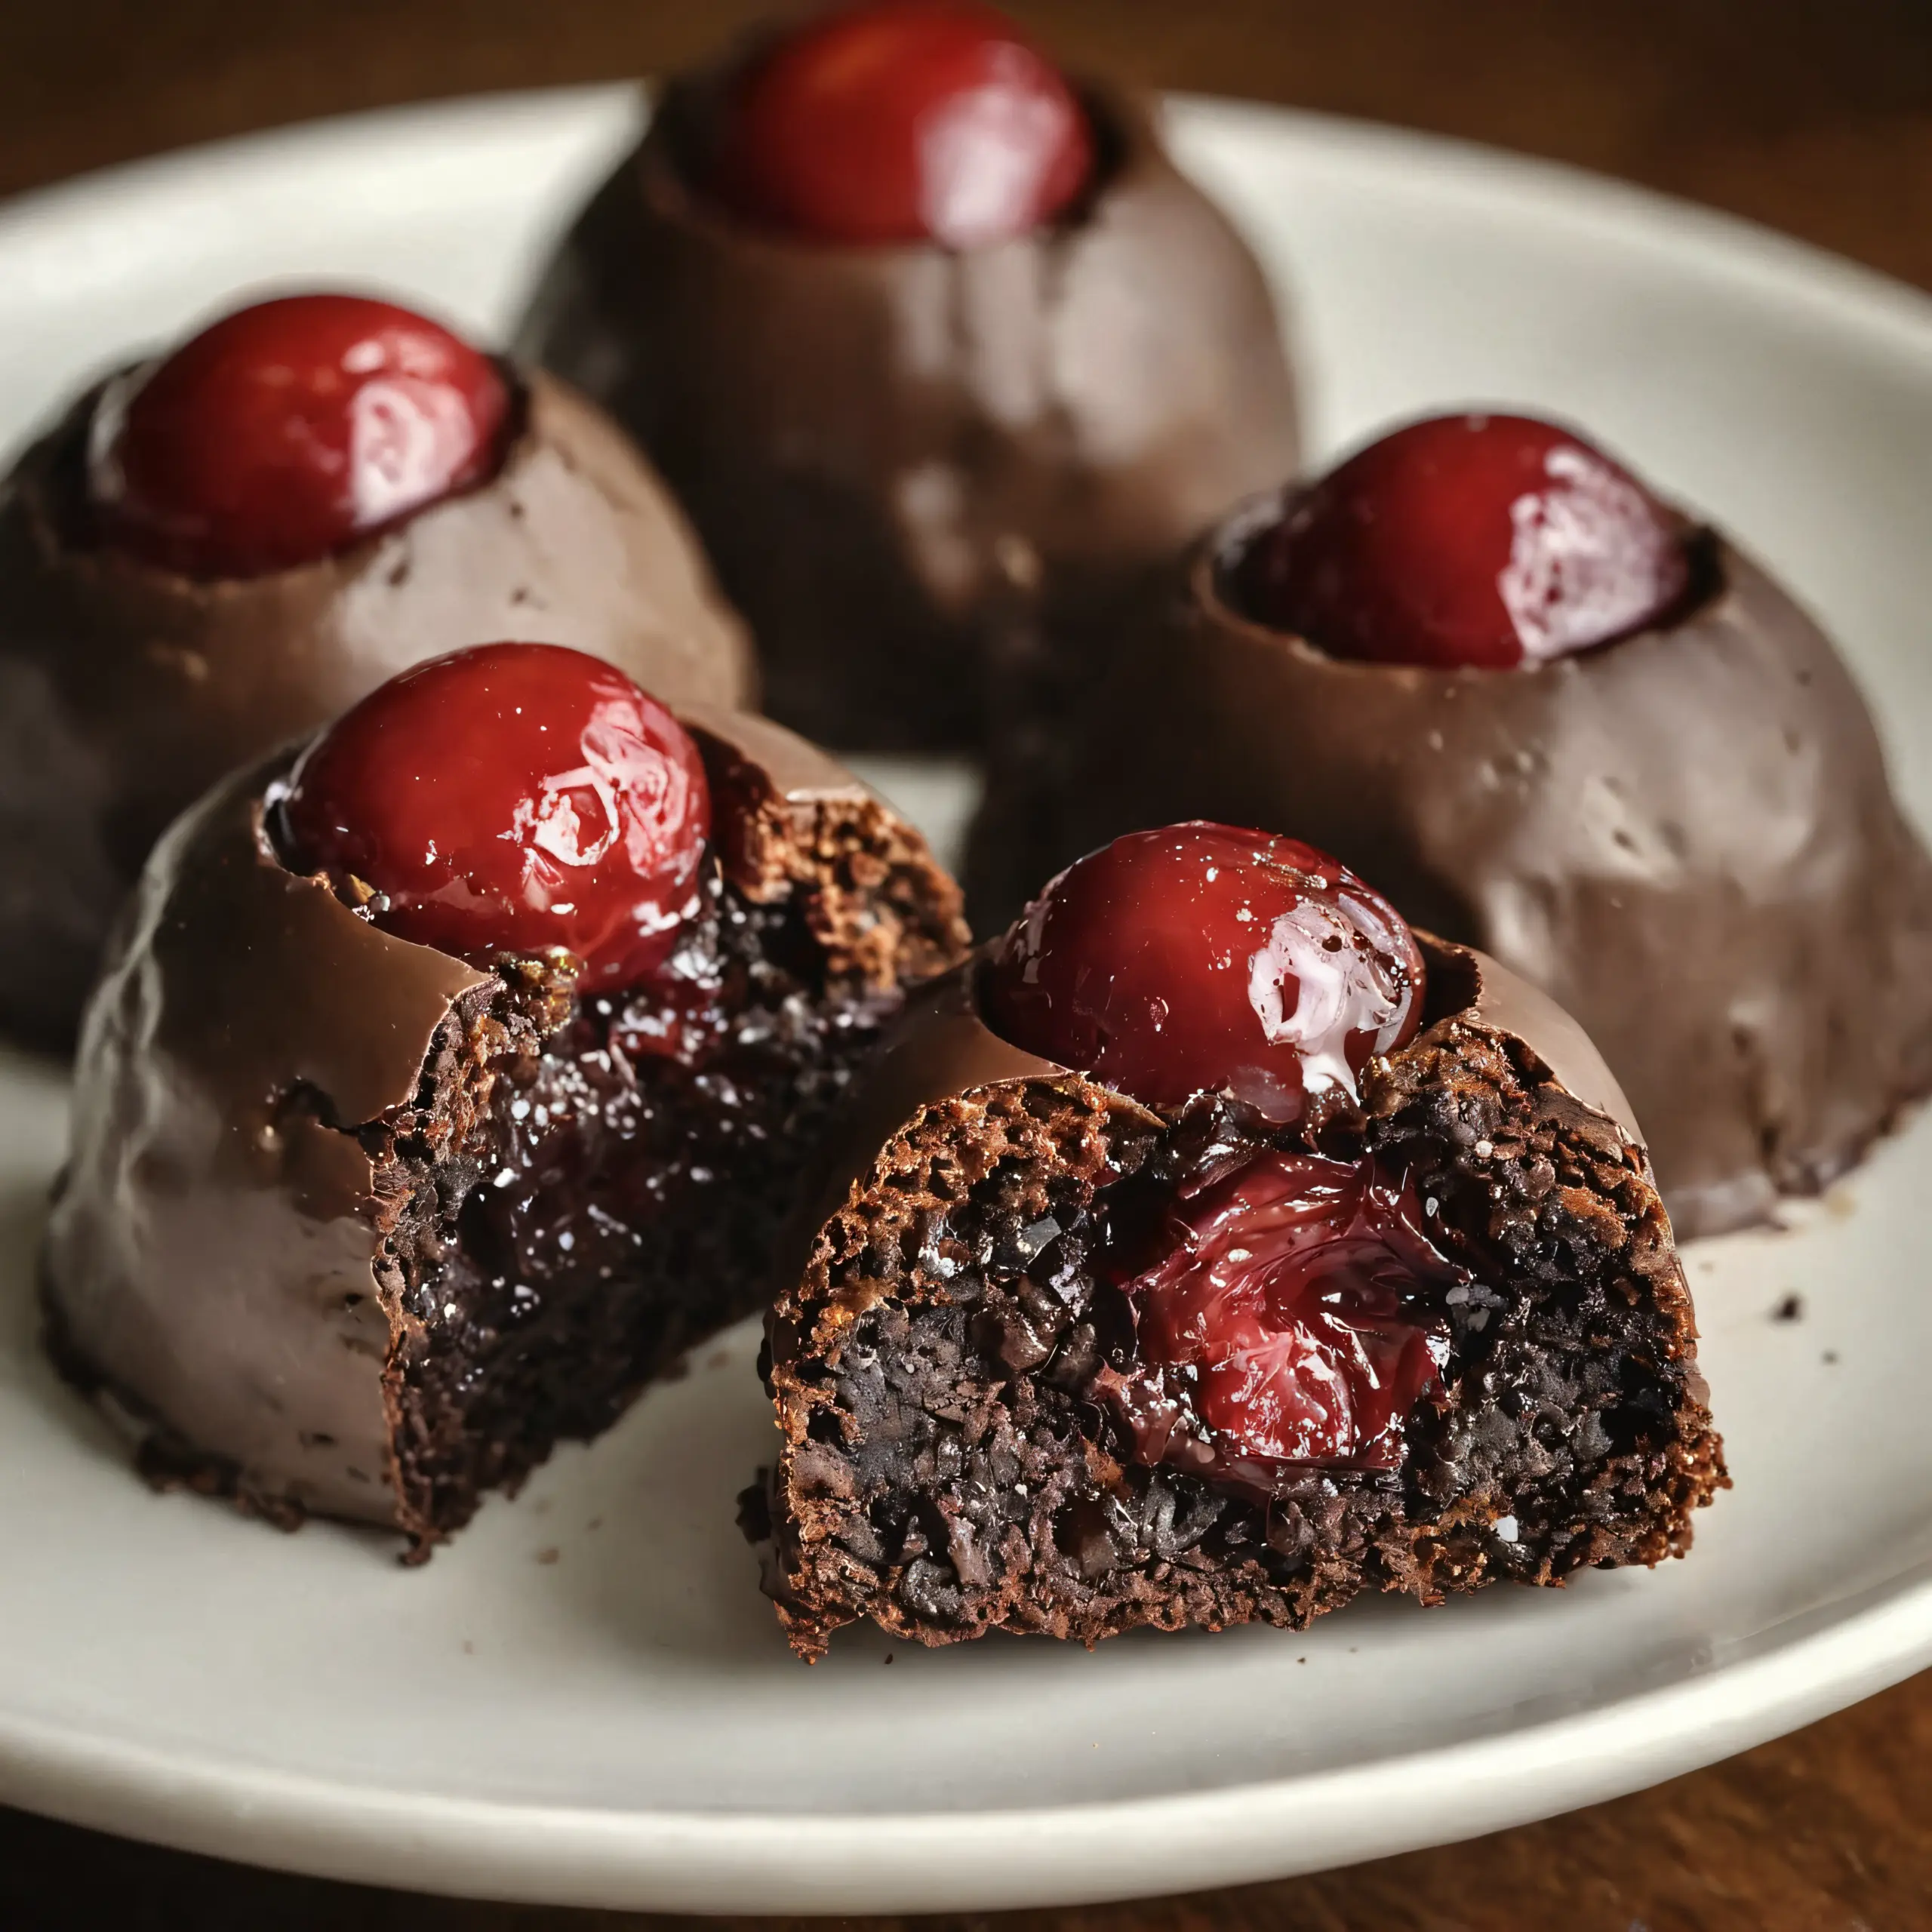
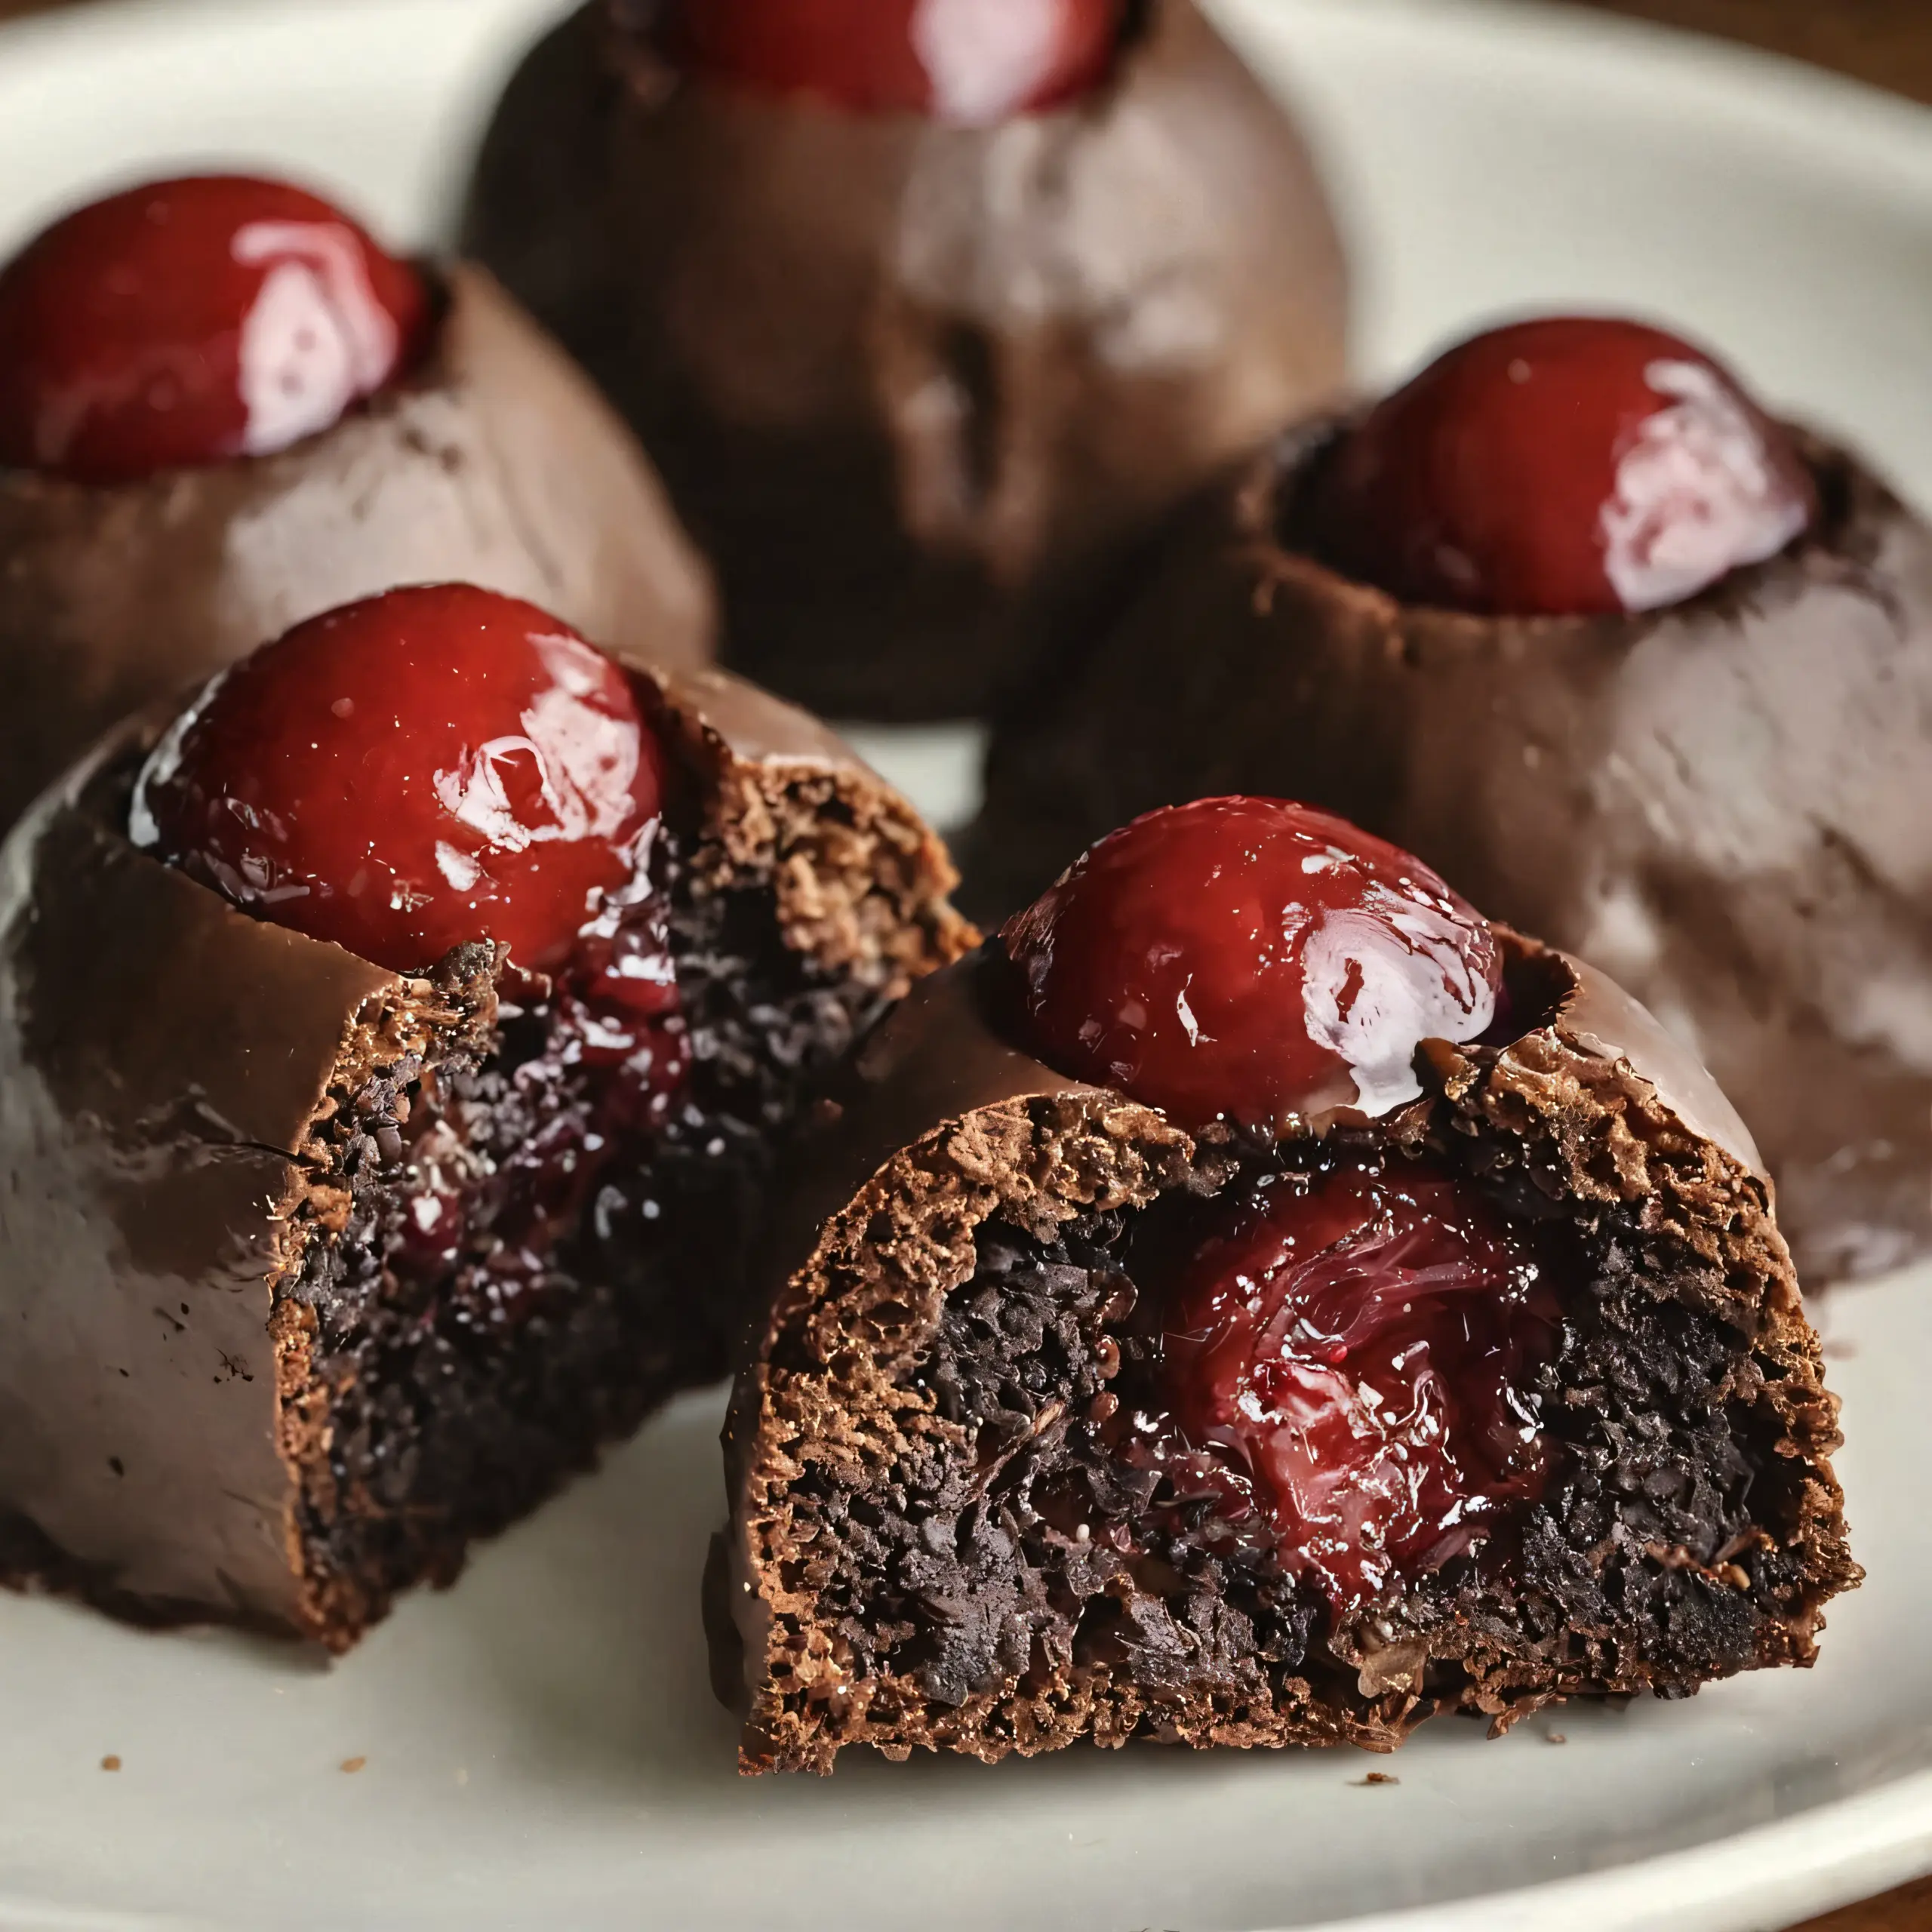
Imagine biting into a soft, fudgy brownie that hides a burst of sweet‑tart cherry, all wrapped in a glossy coat of chocolate. Rich Chocolate Covered Cherry Brownie Bombs turn an ordinary boxed mix into an indulgent party treat that looks as impressive as it tastes.
[tasty-recipe id=”9509″]
These bite‑size marvels are perfect for holiday gatherings, potlucks, or a decadent after‑dinner surprise. The recipe balances convenience with a touch of gourmet flair, using pantry staples and a few fresh ingredients.
Follow this detailed guide to master the texture, flavor, and finish, ensuring every bomb is a miniature masterpiece that will wow your guests.
Ingredients
- 1 box brownie mix (any brand) — base for the fudgy interior
- 1/4 cup vegetable oil — adds moisture and richness
- 2 large eggs — bind the batter and give structure
- 1 cup cherries (pitted and chopped) — fresh bursts of tartness
- 1 cup cherry pie filling (or homemade cherry filling) — sweetens and moistens the center
- 1 cup chocolate chips (semi‑sweet or dark) — melty pockets throughout the brownie
- 1 cup melting chocolate (for coating) — creates the glossy outer shell
- sprinkles or chopped nuts (for decoration) — adds visual sparkle and crunch
Instructions
Preparation
- Preheat the oven to 350°F (175°C). Line a 9×13‑inch baking pan with parchment paper, allowing excess to hang over the sides for easy removal.
- In a large mixing bowl, combine the brownie mix, vegetable oil, and eggs. Stir until just blended; over‑mixing can make the brownies tough.
- Fold in the chocolate chips and chopped cherries, distributing them evenly throughout the batter.
- Spread the batter into the prepared pan, smoothing the top with a spatula. The batter should be about 1‑inch thick for a dense, fudgy texture.
Baking the Brownie Base
- Place the pan in the preheated oven and bake for 20‑25 minutes, or until a toothpick inserted near the center comes out with a few moist crumbs.
- Remove the pan and let the brownie cool completely on a wire rack; this may take 30‑45 minutes. Cooling fully prevents the chocolate coating from melting later.
- Once cooled, lift the brownie out using the parchment overhang and place it on a cutting board.
- Using a small ice‑cream scoop or a melon baller, cut out uniform circles about 1½ inches in diameter. You should obtain roughly 24‑30 brownie “bombs” depending on size.
Creating the Cherry Core
- In a small saucepan, gently heat the cherry pie filling over low heat until it becomes pourable but not boiling.
- Using a teaspoon, spoon a dollop of warm cherry filling onto the center of each brownie circle. Be careful not to overfill, as the filling will expand slightly when chilled.
- Place a second brownie circle on top of each filled disc, gently pressing to seal the edges. This creates a sandwich with a hidden cherry core.
Coating the Bombs
- Line a baking sheet with parchment paper. Set aside for the coating process.
- In a microwave‑safe bowl, melt the coating chocolate in 30‑second intervals, stirring between each, until smooth and glossy.
- Using a fork or a dipping tool, submerge each brownie sandwich into the melted chocolate, allowing excess to drip back into the bowl.
- Place the coated bombs onto the prepared parchment sheet. While the chocolate is still wet, sprinkle with colorful sprinkles or chopped nuts for added texture and visual appeal.
- Allow the chocolate coating to set at room temperature for 15‑20 minutes, or speed up the process by refrigerating for 10 minutes.
Finishing Touches
- Once the coating is firm, transfer the bombs to an airtight container. Store at room temperature for up to two days, or refrigerate for longer freshness.
- Before serving, let the bombs sit for a few minutes at room temperature to soften the chocolate slightly, enhancing the bite experience.
Tips for Perfect Bombs
- Use a high‑quality dark or semi‑sweet melting chocolate; it sets with a brilliant shine and offers a balanced flavor.
- If fresh cherries are out of season, frozen pitted cherries work well—just thaw and pat dry before chopping.
- For an extra‑gooey center, mix a tablespoon of corn syrup into the cherry filling before heating.
- When cutting the brownie circles, keep the cutter wet to prevent sticking and achieve clean edges.
- To avoid a grainy coating, ensure the melted chocolate is completely smooth and free of water droplets.
- For a festive twist, add a pinch of sea salt on the chocolate before it sets; the contrast heightens the chocolate‑cherry pairing.
- If you prefer a nutty crunch, roll the bombs in finely chopped toasted almonds instead of sprinkles.
- These bombs can be made a day ahead; just keep them in a cool, dry place and they’ll retain their texture.
Frequently Asked Questions
Can I use fresh cherries instead of canned?
Yes, fresh pitted cherries add a brighter flavor and firmer texture, but they should be chopped finely to distribute evenly.
What if I don’t have a boxed brownie mix?
You can substitute a homemade brownie batter made with flour, cocoa, sugar, butter, and eggs; follow a standard recipe and keep the ratios similar.
How long can the bombs be stored?
At room temperature, they stay fresh for up to two days. In the refrigerator, they can last up to a week, though the chocolate may become slightly dull.
Can I make a gluten‑free version?
Swap the regular brownie mix for a certified gluten‑free blend and ensure the chocolate coating is also gluten‑free.
Is it possible to add a different filling?
Absolutely—raspberry jam, caramel, or even peanut butter can replace the cherry filling for new flavor profiles.
Conclusion
Rich Chocolate Covered Cherry Brownie Bombs combine the comfort of a classic brownie with the surprise of a luscious cherry core, all encased in a silky chocolate shell. By following each step carefully, you’ll create a crowd‑pleasing treat that looks as impressive as it tastes.
Experiment with toppings, fillings, or even a drizzle of white chocolate to make these bombs uniquely yours. Serve them at your next gathering and watch them disappear in seconds.