Introduction
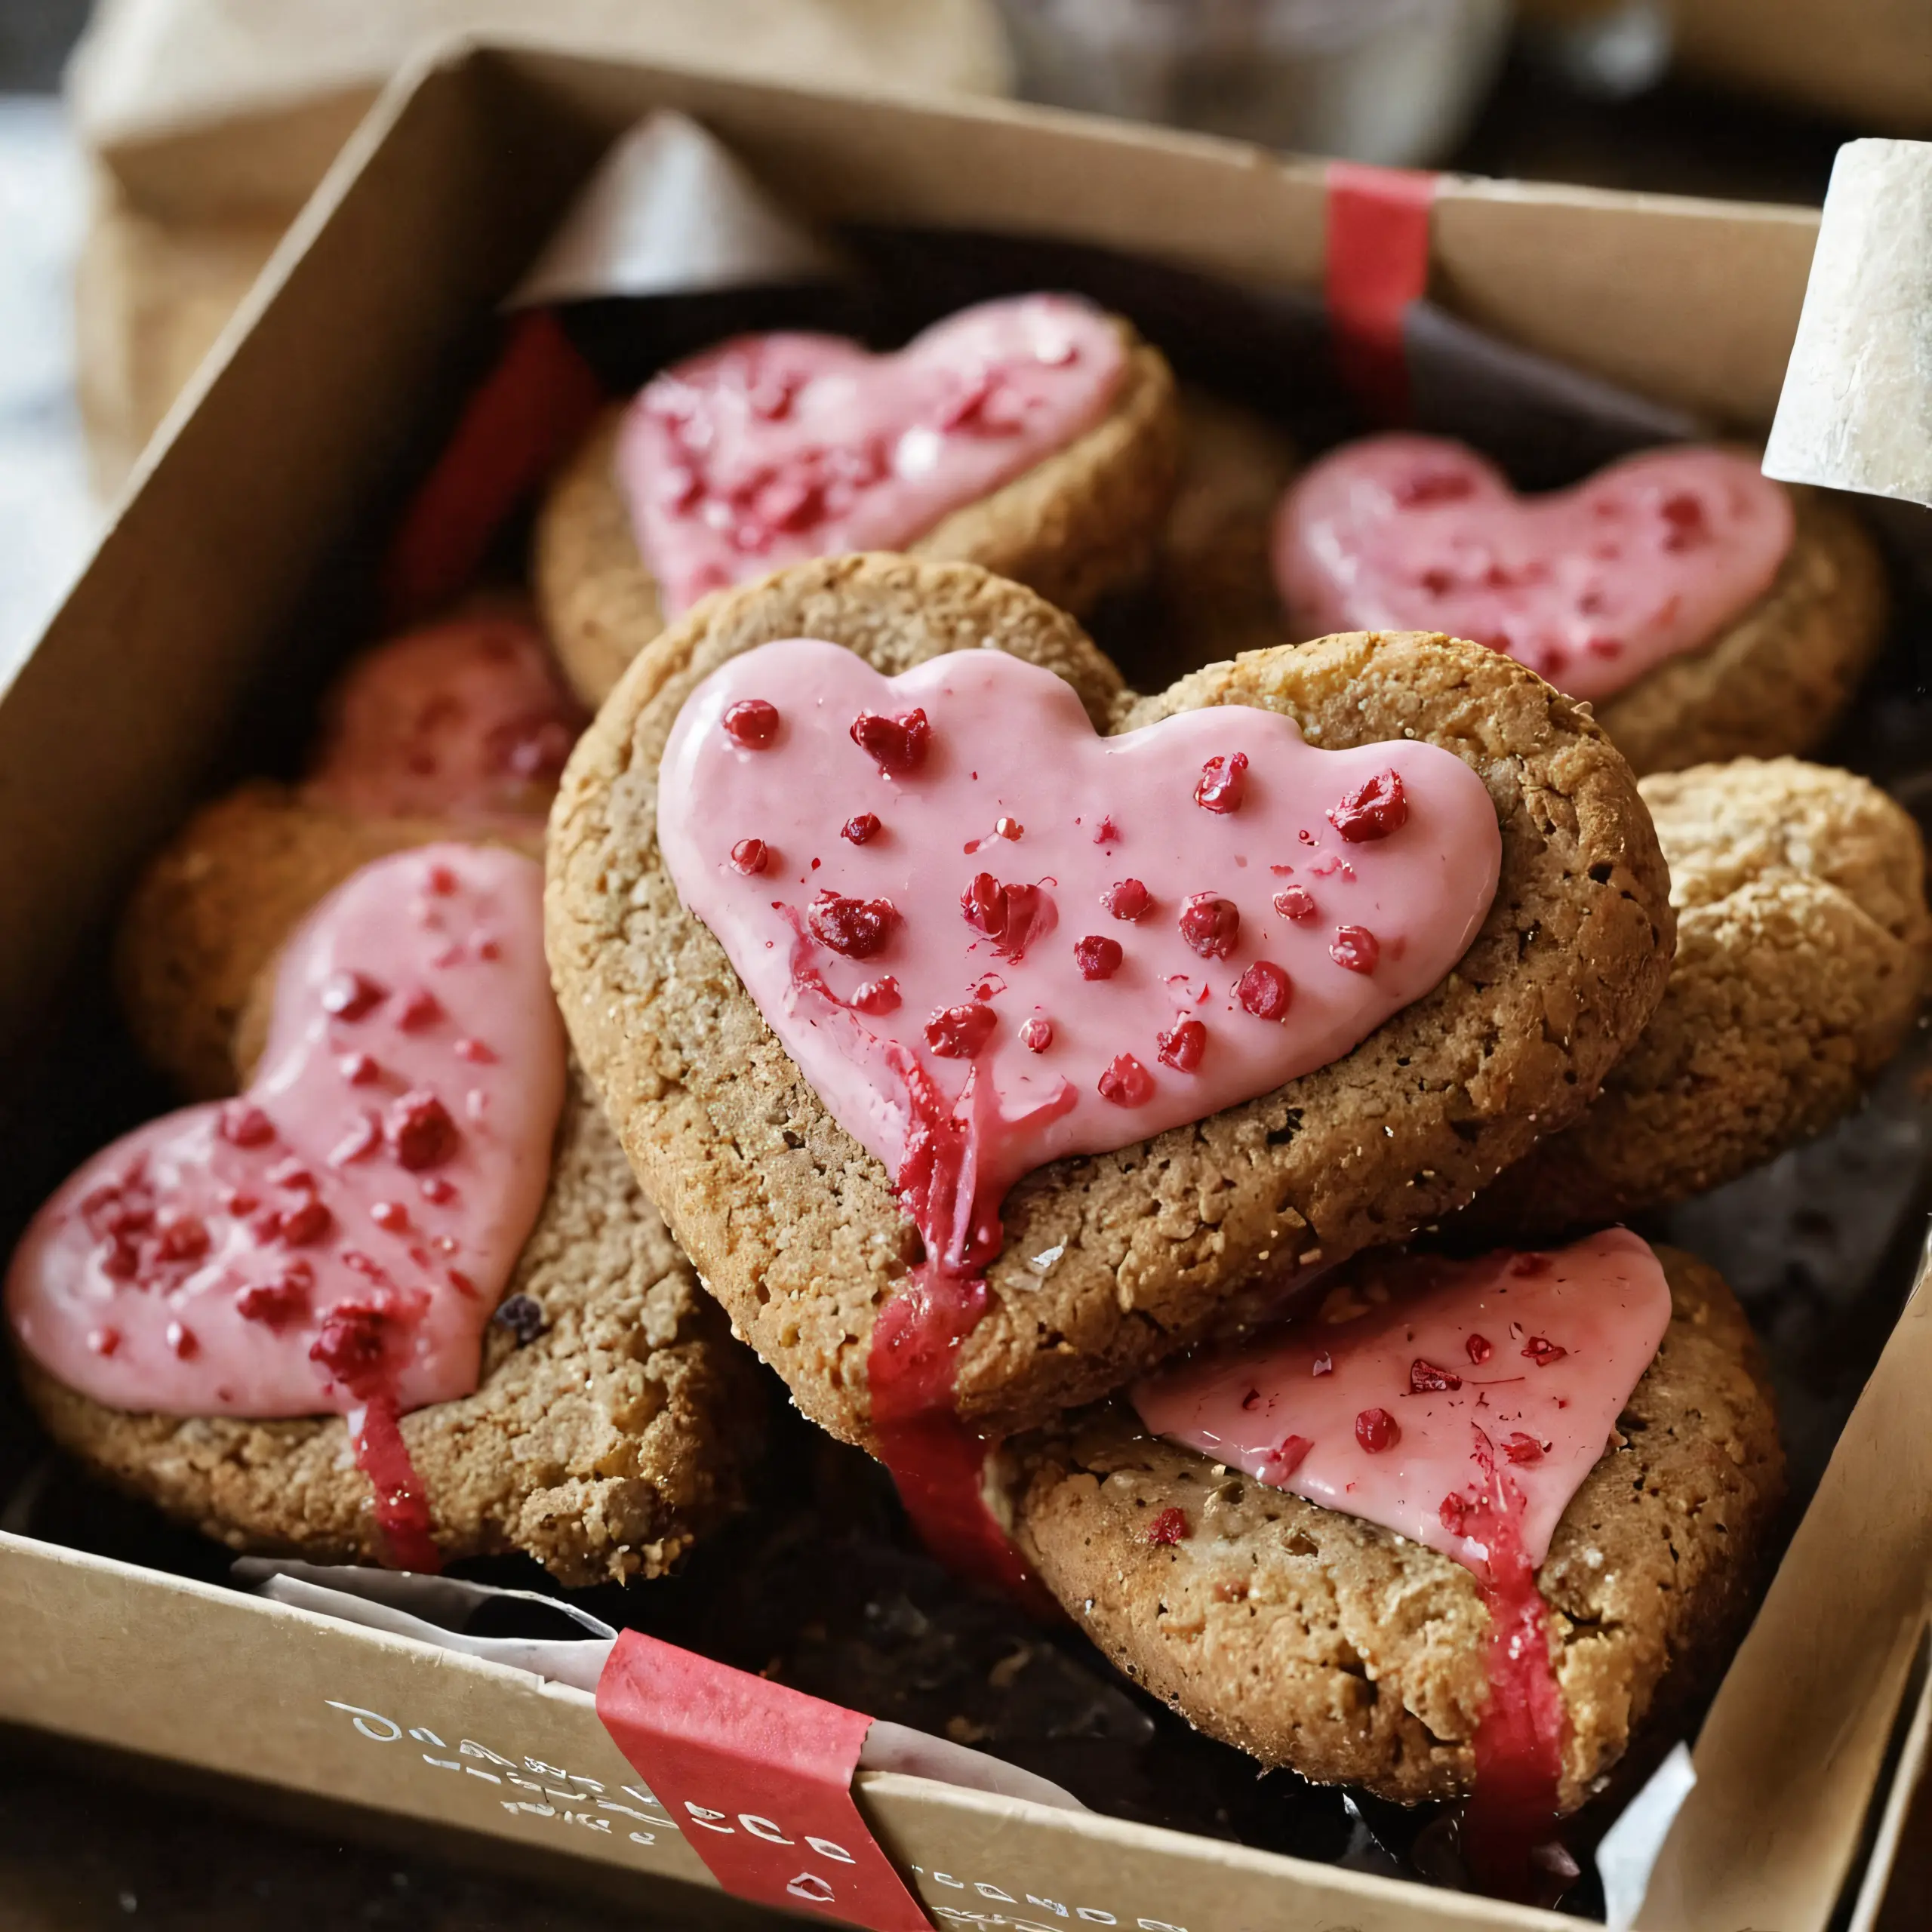
Valentine’s Day is the perfect excuse to turn ordinary cookies into heartfelt gifts that speak love at first bite. Creative packaging adds a personal touch that can make even store‑bought treats feel handmade. Below you’ll find five adorable packaging ideas that are simple, budget‑friendly, and sure to impress.
[tasty-recipe id=”9566″]
Each idea uses everyday craft supplies, so you won’t need to hunt for specialty items. The designs focus on soft pinks, classic reds, and playful details that capture the romance of the holiday. Let’s dive into the materials you’ll need and the step‑by‑step assembly for each look.
Materials Needed
- Assorted sizes and styles Decorative Boxes — provide a sturdy base and can be chosen to match any color scheme.
- 1 pack Cellophane Bags (Clear bags for a chic look) — showcase the cookies while keeping them fresh.
- Variety Ribbons and Twine (Various colors to match your theme) — add a soft, romantic flourish.
- As needed Stickers or Labels (For personal messages) — let you write sweet notes or names.
- As needed Tissue Paper (To line the inside of the boxes) — cushions the cookies and adds a pop of color.
- As needed Markers (For writing messages on the packaging) — perfect for hand‑drawn hearts or initials.
- As needed Washi Tape (Decorative tape for added flair) — introduces patterns without permanent glue.
Idea 1: Classic Red Box with Heart Ribbon
This timeless look pairs a bold red decorative box with a matching heart‑shaped ribbon for maximum Valentine vibes. Inside, line the box with pink tissue paper to create a soft backdrop for your cookies. Add a small sticker that reads “Love Bites” for an extra personalized touch.
How to Assemble
- Choose a red box that fits your cookie batch and open the lid.
- Place a sheet of pink tissue paper inside, folding the edges neatly.
- Arrange the cookies in a single layer, leaving a small gap between each.
- Cut a length of red ribbon, form a heart knot, and secure it around the box’s lid.
- Apply a “Love Bites” sticker to the front of the lid, aligning it with the ribbon.
- Write a short message with a marker on the ribbon if desired.
Idea 2: Clear Cellophane Bag with Pink Confetti
For a modern, minimalist presentation, use a clear cellophane bag filled with pink confetti and a few tissue paper squares. The transparency lets the cookies shine, while the confetti adds a festive sparkle. Finish with a pink ribbon bow for a sweet, cohesive look.
How to Assemble
- Open a cellophane bag and lay a few pink tissue squares at the bottom.
- Scatter pink confetti over the tissue, creating a light “snowfall” effect.
- Gently place the cookies inside, arranging them in a visually pleasing pattern.
- Seal the bag with a twist tie or a small piece of washi tape.
- Wrap a pink ribbon around the sealed top and tie a neat bow.
- Attach a small sticker with the recipient’s name for a personal touch.
Idea 3: Miniature Tin with Custom Sticker
Mini tins are perfect for a vintage‑inspired gift that can be reused long after Valentine’s Day. Choose a tin in a soft pastel shade, line it with tissue paper, and seal it with a custom sticker featuring a cute heart graphic. This option is ideal for delicate cookies that need extra protection.
How to Assemble
- Select a pastel tin that comfortably holds your cookie selection.
- Cut a piece of tissue paper to fit the bottom and sides of the tin.
- Place the tissue inside, smoothing out any wrinkles.
- Arrange the cookies on top of the tissue, ensuring they don’t touch the lid.
- Close the lid and press a custom heart sticker onto the front.
- Use a marker to add a short, handwritten note on the sticker’s border.
Idea 4: Hand‑Tied Twine Bundle
This rustic‑chic option uses a simple cardboard box, twine, and a few decorative accents. The twine is wrapped around the box in a criss‑cross pattern, creating a charming, handcrafted feel. Finish with a tiny heart tag for an extra dose of love.
How to Assemble
- Place a plain cardboard box on a clean surface.
- Line the interior with a sheet of pink tissue paper.
- Arrange the cookies inside, leaving a small space at the top.
- Cut two lengths of twine, each long enough to wrap around the box twice.
- Cross the twine over the lid, tie a secure knot, and trim excess.
- Attach a tiny heart‑shaped tag using a small piece of washi tape.
Idea 5: DIY Pop‑Up Card Box
Combine a greeting card with a small box for a truly interactive gift. The pop‑up mechanism reveals a hidden compartment where the cookies sit, making the unboxing experience memorable. Decorate the card with stickers, markers, and a splash of washi tape for a polished finish.

How to Assemble
- Fold a sturdy cardstock into a card shape, leaving a pocket on the inside.
- Cut a small square out of the pocket to create a pop‑up opening.
- Line the interior pocket with a piece of tissue paper.
- Place the cookies inside the pocket, ensuring they sit flat.
- Secure the pop‑up flap with a dab of glue, allowing it to stand when opened.
- Decorate the front of the card with heart stickers, a handwritten message, and a strip of washi tape.
Tips for Perfect Presentation
- Choose a color palette of two to three shades to keep the look cohesive.
- Match the ribbon or twine color to the box or bag for a unified design.
- Use a light hand with confetti; too much can overwhelm the cookies.
- Write messages in a legible, elegant font using fine‑point markers.
- Seal bags or boxes tightly to keep the cookies fresh until gifting.
- Consider adding a tiny edible garnish, like a chocolate‑covered strawberry, for extra flair.
- Test the fit of your cookies before final assembly to avoid crushing.
- Personalize each package with the recipient’s name for a truly thoughtful touch.
Frequently Asked Questions
Can I use these ideas for other holidays?
Absolutely—swap the color scheme and stickers to suit birthdays, anniversaries, or baby showers.
Do I need special tools to assemble the packaging?
No special tools are required; a pair of scissors, a glue stick, and a marker are enough.
How far in advance can I prepare the packages?
You can assemble the packaging up to two days ahead, storing the cookies in an airtight container.
Are the materials reusable?
Many of the boxes, tins, and ribbons can be repurposed for future gifts or décor.
What if my cookies are crumbly?
Line the interior with extra tissue paper or a thin layer of parchment to protect delicate cookies.
Can I add a personalized scent?
Yes—place a small scented sachet in the box for a subtle, romantic aroma.