Introduction
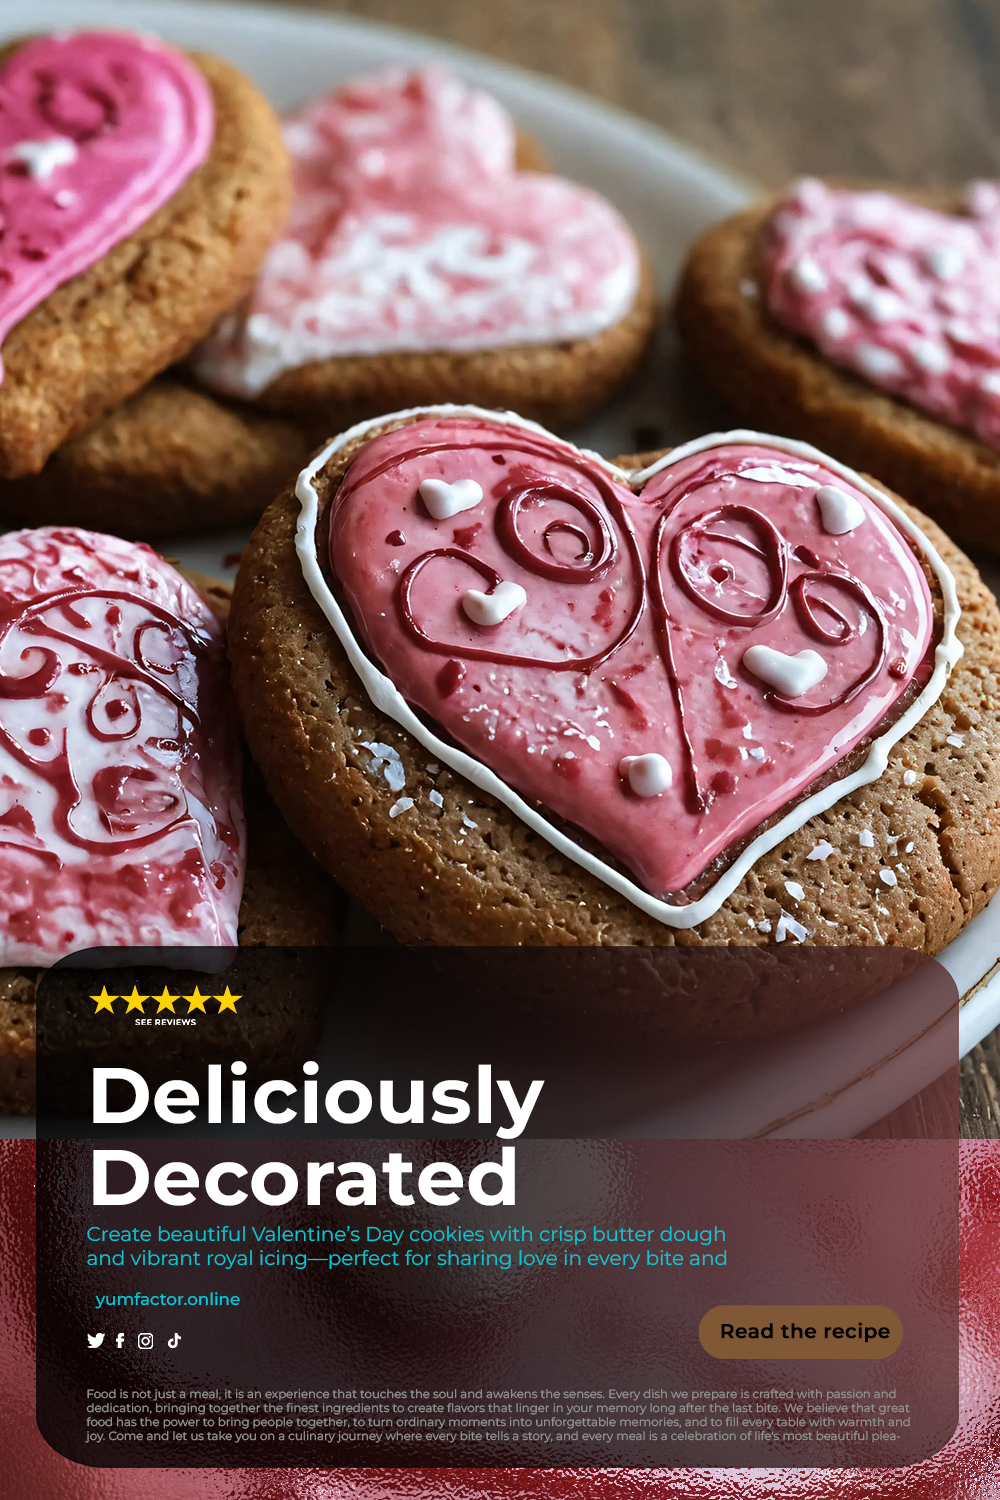
Valentine’s Day is the perfect excuse to turn a simple cookie into a work of edible art. With a buttery base and dazzling royal icing, these treats become heartfelt gifts.
[tasty-recipe id=”9583″]
In this guide we will walk you through every step, from mixing the dough to painting intricate designs. Even if you have never decorated a cookie before, you will finish with confidence and a tray of love‑filled confections.
Beyond the romance, these cookies are a wonderful way to involve friends or children in the kitchen. Their bright colors and sweet aromas create a festive atmosphere that lasts all day.
Ingredients
- 2 3/4 cups all-purpose flour — Can substitute with gluten‑free all‑purpose flour.
- 1 teaspoon baking soda — Helps the cookies spread evenly.
- 1/2 teaspoon baking powder — Adds a subtle lift for a tender crumb.
- 1 cup unsalted butter, softened — Can be replaced with margarine or plant‑based alternative.
- 1 1/2 cups white sugar — Provides sweetness and assists in browning.
- 1 large egg — Can be replaced with a flaxseed egg for a vegan option.
- 1 teaspoon vanilla extract — Enhances the overall flavor profile.
- 1 teaspoon almond extract — Adds a gentle nutty note that pairs well with icing.
- 3 cups royal icing — The canvas for your decorative designs.
- Food coloring (optional) — Recommended to use gel food coloring for vivid hues.
- Sprinkles (optional) — Adds texture and sparkle to finished cookies.
Instructions
Preparation
- Preheat your oven to 350°F (175°C) and line two baking sheets with parchment paper.
- In a medium bowl whisk together the flour, baking soda, and baking powder; set aside.
- Allow the softened butter to sit at room temperature for at least 15 minutes if it has been refrigerated.
Mixing the Dough
- In a large mixing bowl, cream the butter and sugar together until the mixture is light and fluffy, about 3–4 minutes.
- Add the egg, vanilla extract, and almond extract; beat until fully incorporated.
- Gradually add the dry flour mixture, mixing on low speed until a smooth dough forms.
- Divide the dough into two portions, flatten each into a disc, and wrap in plastic wrap.
- Chill the dough for 30 minutes to firm up, which makes rolling easier.
Shaping and Baking
- On a lightly floured surface, roll out one disc of dough to about ¼‑inch thickness.
- Use heart‑shaped cookie cutters to press out shapes; gather scraps, re‑roll, and cut additional hearts.
- Place the hearts on the prepared baking sheets, leaving a small gap between each.
- Bake for 9–11 minutes, or until the edges turn a light golden brown.
- Remove from the oven and let the cookies cool on the sheet for 5 minutes before transferring to a wire rack.
- Repeat the rolling, cutting, and baking process with the second disc of dough.
Decorating with Royal Icing
- While the cookies cool completely, divide the royal icing into separate bowls for each color you plan to use.
- Add a few drops of gel food coloring to each bowl, stirring until the color is uniform.
- Transfer the colored icings into piping bags fitted with small round tips for fine detail work.
- Outline each heart with a thin line of icing to create a border that will hold the fill.
- Fill the interior of the hearts with a slightly thicker consistency of icing, using a back‑and‑forth motion.
- Allow the icing to set for at least 30 minutes; this prevents smudging when adding sprinkles.
- Once the base icing is firm, sprinkle decorative non‑pareils or edible glitter onto the wet icing for extra sparkle.
- Let the fully decorated cookies dry for an additional hour before storing or gifting.
Tips for Perfect Valentine’s Cookies
- Use a silicone mat instead of parchment for an even smoother release of the dough.
- Chill the dough longer in a warm kitchen; a firmer dough cuts cleaner shapes.
- For a glossy finish, add a tiny amount of glycerin to the royal icing.
- Mix food coloring gradually; a little goes a long way with gel colors.
- Practice piping on a piece of parchment before decorating the actual cookies.
- Store finished cookies in an airtight container with a paper towel layer to absorb excess moisture.
- If you prefer a softer cookie, reduce the baking time by a minute and keep an eye on the edges.
- Heart shapes can be varied by using different cutter sizes for a tiered presentation.
Frequently Asked Questions
Can I make the dough ahead of time?
Yes, the dough can be wrapped tightly and refrigerated for up to three days, or frozen for up to one month.

How do I prevent the royal icing from cracking?
Maintain a consistent humidity level and avoid over‑drying; a small amount of corn syrup in the icing helps retain flexibility.
What if my icing is too runny?
Add a pinch of powdered sugar and beat until the desired consistency returns; be careful not to add too much.
Can I use natural food coloring instead of gel?
Natural powders work, but they may produce muted shades and affect the icing texture; gel colors give the brightest results.
How long will the decorated cookies stay fresh?
When stored in a cool, dry place, the cookies keep their flavor and texture for up to one week.

Storage and Serving Suggestions
Place the cooled, decorated cookies in a single layer inside a sealed container; separate layers with parchment to avoid sticking.
Serve them on a decorative platter with fresh strawberries or chocolate‑dipped pretzels for a complete Valentine’s spread.
For a romantic touch, arrange the cookies in the shape of a heart on a white plate and drizzle with a thin ribbon of melted white chocolate.
Conclusion
These Valentine’s Day cookies combine a buttery, melt‑in‑your‑mouth crumb with eye‑catching, personalized icing. They are as delightful to make as they are to eat.
Whether you gift them to a loved one or enjoy them at a cozy dinner, each bite conveys affection and creativity.