Introduction
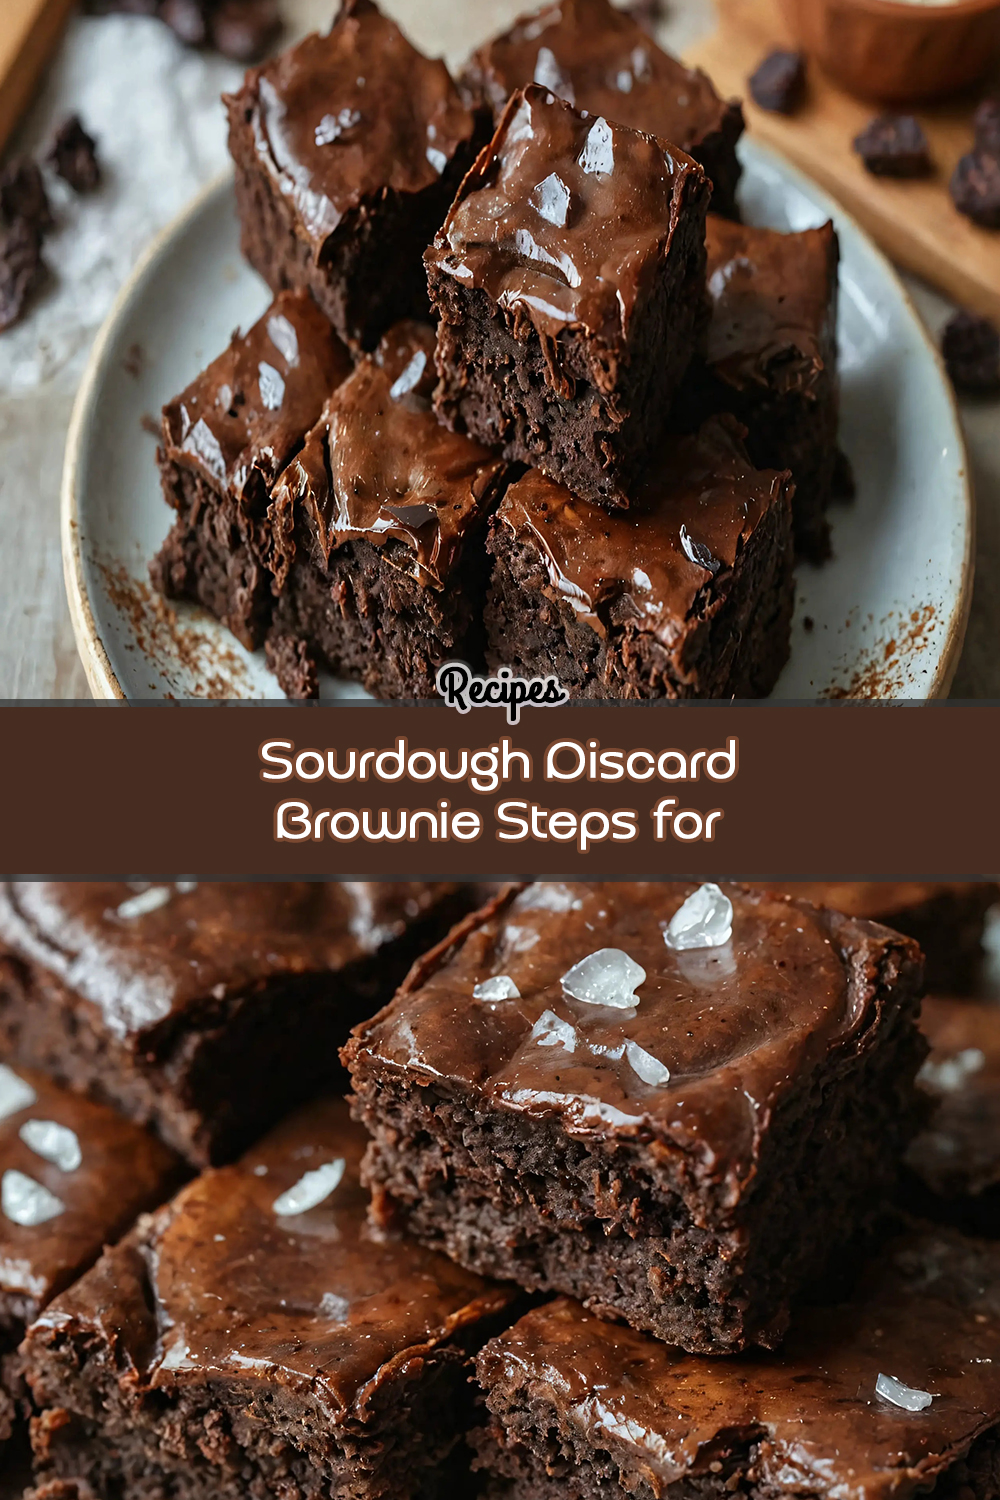
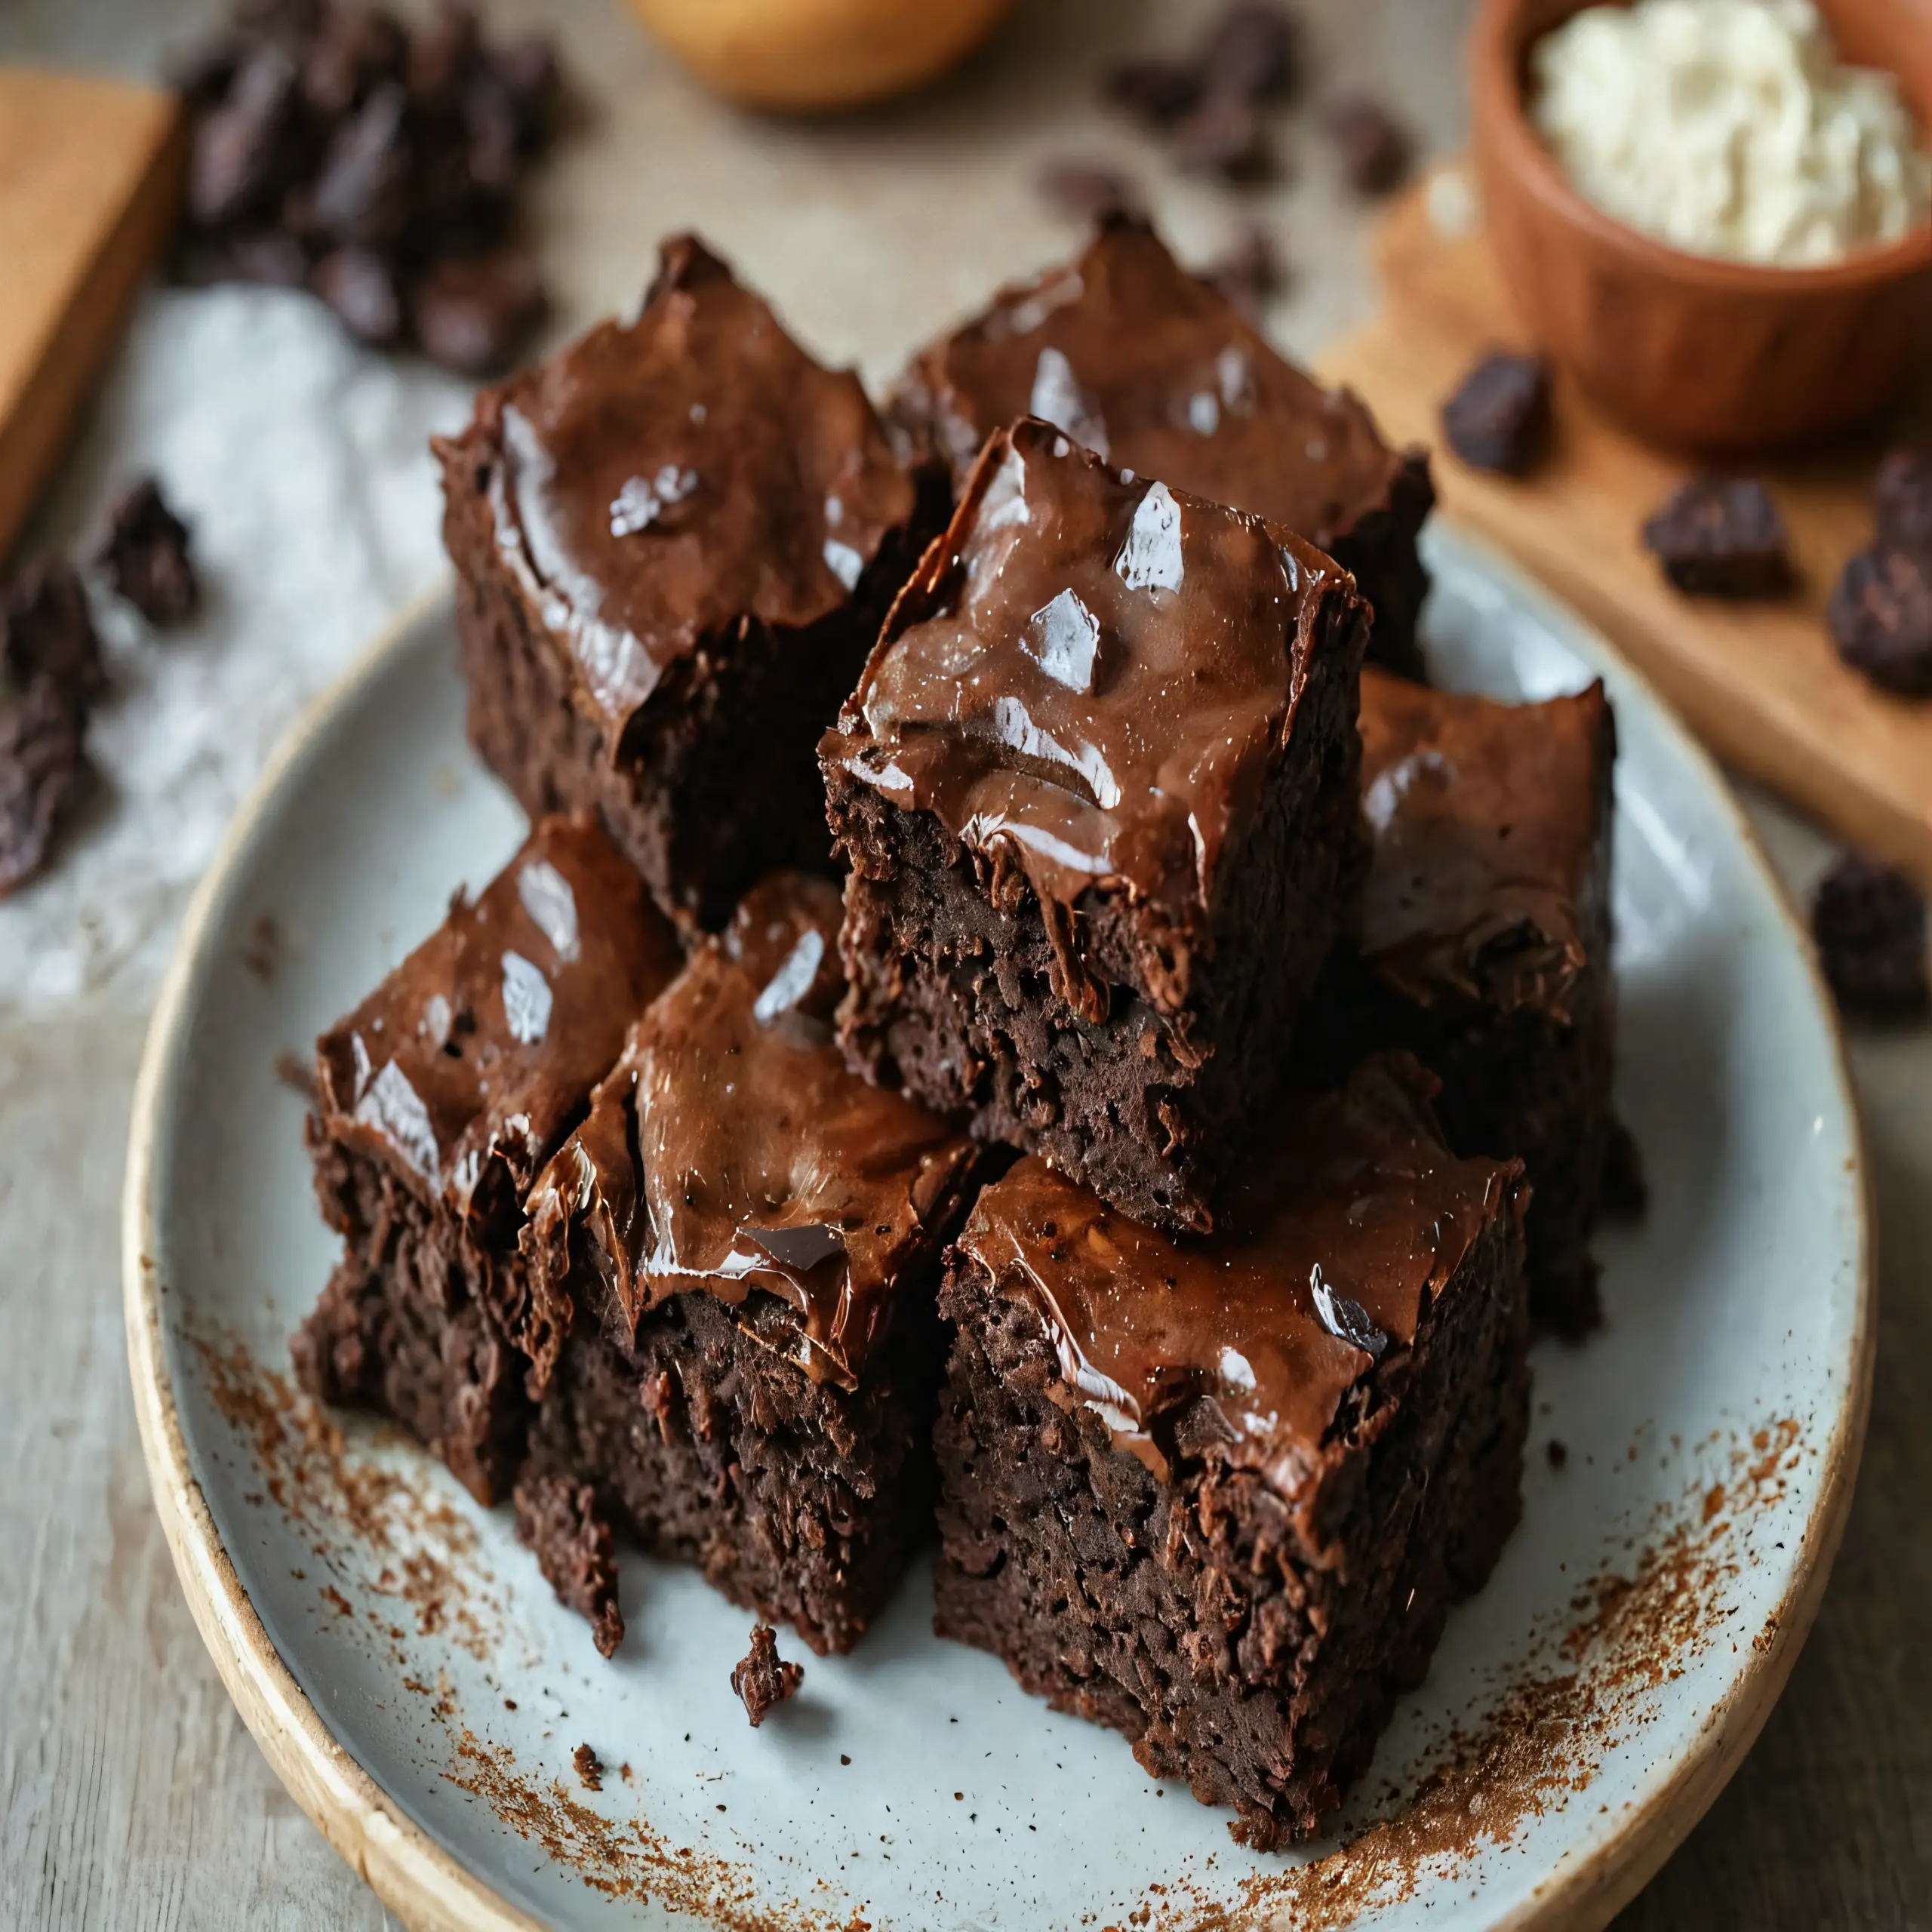
Brownies are a timeless favorite, but when you add sourdough discard, they become a sustainable, flavor‑rich treat. Using discard reduces waste and adds a subtle tang that elevates the chocolate depth.
[tasty-recipe id=”9443″]
This guide walks you through every step, from handling the discard to achieving a perfectly fudgy crumb. Follow the detailed instructions and you’ll master the art of sourdough discard brownies.
Why Use Sourdough Discard?
The liquid starter contains natural acids and wild yeasts that interact with cocoa and sugar, creating a richer mouthfeel. These microbes also help the batter rise slightly, giving the brownies a tender interior.
Beyond flavor, repurposing discard cuts down on food waste and saves you a trip to the grocery store for extra flour or butter. It’s a win‑win for taste and sustainability.
Equipment
- 8‑by‑8 inch aluminum baking pan — Ensures even cooking for perfect brownies
- Parchment paper — Facilitates easy removal and clean‑up
- Kitchen scale — Provides precise measurements for consistent results
- Large mixing bowl — Allows thorough incorporation of wet and dry components
- Rubber spatula — Ideal for folding batter without over‑mixing
Ingredients
- 1 cup sourdough discard — Adds tang and moisture
- ½ cup unsalted butter — Gives richness and a glossy crust
- 200 g dark chocolate (70% cacao) — Deep chocolate flavor and fudgy texture
- 1 cup granulated sugar — Sweetness and caramelization
- ½ cup packed brown sugar — Moisture and a hint of molasses
- 2 large eggs — Bind the batter and add lift
- 1 tsp vanilla extract — Enhances overall aroma
- ¾ cup all‑purpose flour — Structure without making them cakey
- ¼ cup cocoa powder — Intensifies chocolate flavor
- ½ tsp baking powder — Lightens the crumb
- ¼ tsp salt — Balances sweetness
- ½ cup chopped walnuts (optional) — Crunch and nutty contrast
Preparation
1. Preheat and Line the Pan
- Preheat the oven to 350°F (175°C). Place parchment paper inside the aluminum pan, allowing excess to hang over the edges for easy lift‑out.
2. Prepare the Sourdough Discard
- Stir the sourdough discard in its container to recombine any separated liquid and starter. Measure exactly one cup using a kitchen scale for accuracy.
- If the discard is very thick, whisk in a tablespoon of warm water to achieve a pourable consistency.
3. Melt Chocolate and Butter
- Combine butter and dark chocolate in a heat‑proof bowl. Melt over a simmering pot of water (double boiler) while stirring gently.
- Remove from heat and let the mixture cool slightly, preventing the eggs from scrambling when added.
4. Mix Wet Ingredients
- In the large mixing bowl, whisk together the sourdough discard, melted chocolate‑butter, eggs, vanilla, granulated sugar, and brown sugar until smooth.
- Scrape the sides with a rubber spatula to ensure no streaks remain.
5. Combine Dry Ingredients
- Sift flour, cocoa powder, baking powder, and salt into a separate bowl. This removes lumps and evenly distributes leavening.
- Fold the dry mixture into the wet batter using the spatula, mixing just until incorporated. Over‑mixing can develop gluten and make brownies tough.
6. Add Optional Mix‑Ins
- If using walnuts, gently fold them in now, reserving a handful for topping.
- Spread the batter evenly in the prepared pan, smoothing the top with the spatula.
7. Bake to Perfection
- Place the pan on the middle rack and bake for 22–25 minutes, or until a toothpick inserted near the center comes out with a few moist crumbs.
- Rotate the pan halfway through baking for uniform browning.
8. Cool and Serve
- Allow the brownies to cool in the pan on a wire rack for at least 15 minutes. This helps them set and prevents breakage.
- Lift the parchment paper to release the slab, cut into squares, and serve warm or at room temperature.
Tips for Success
- Use high‑quality dark chocolate; the higher the cacao percentage, the richer the flavor.
- Do not over‑bake; brownies continue to cook slightly from residual heat after removal.
- If your discard is very sour, add a pinch more sugar to balance the tang.
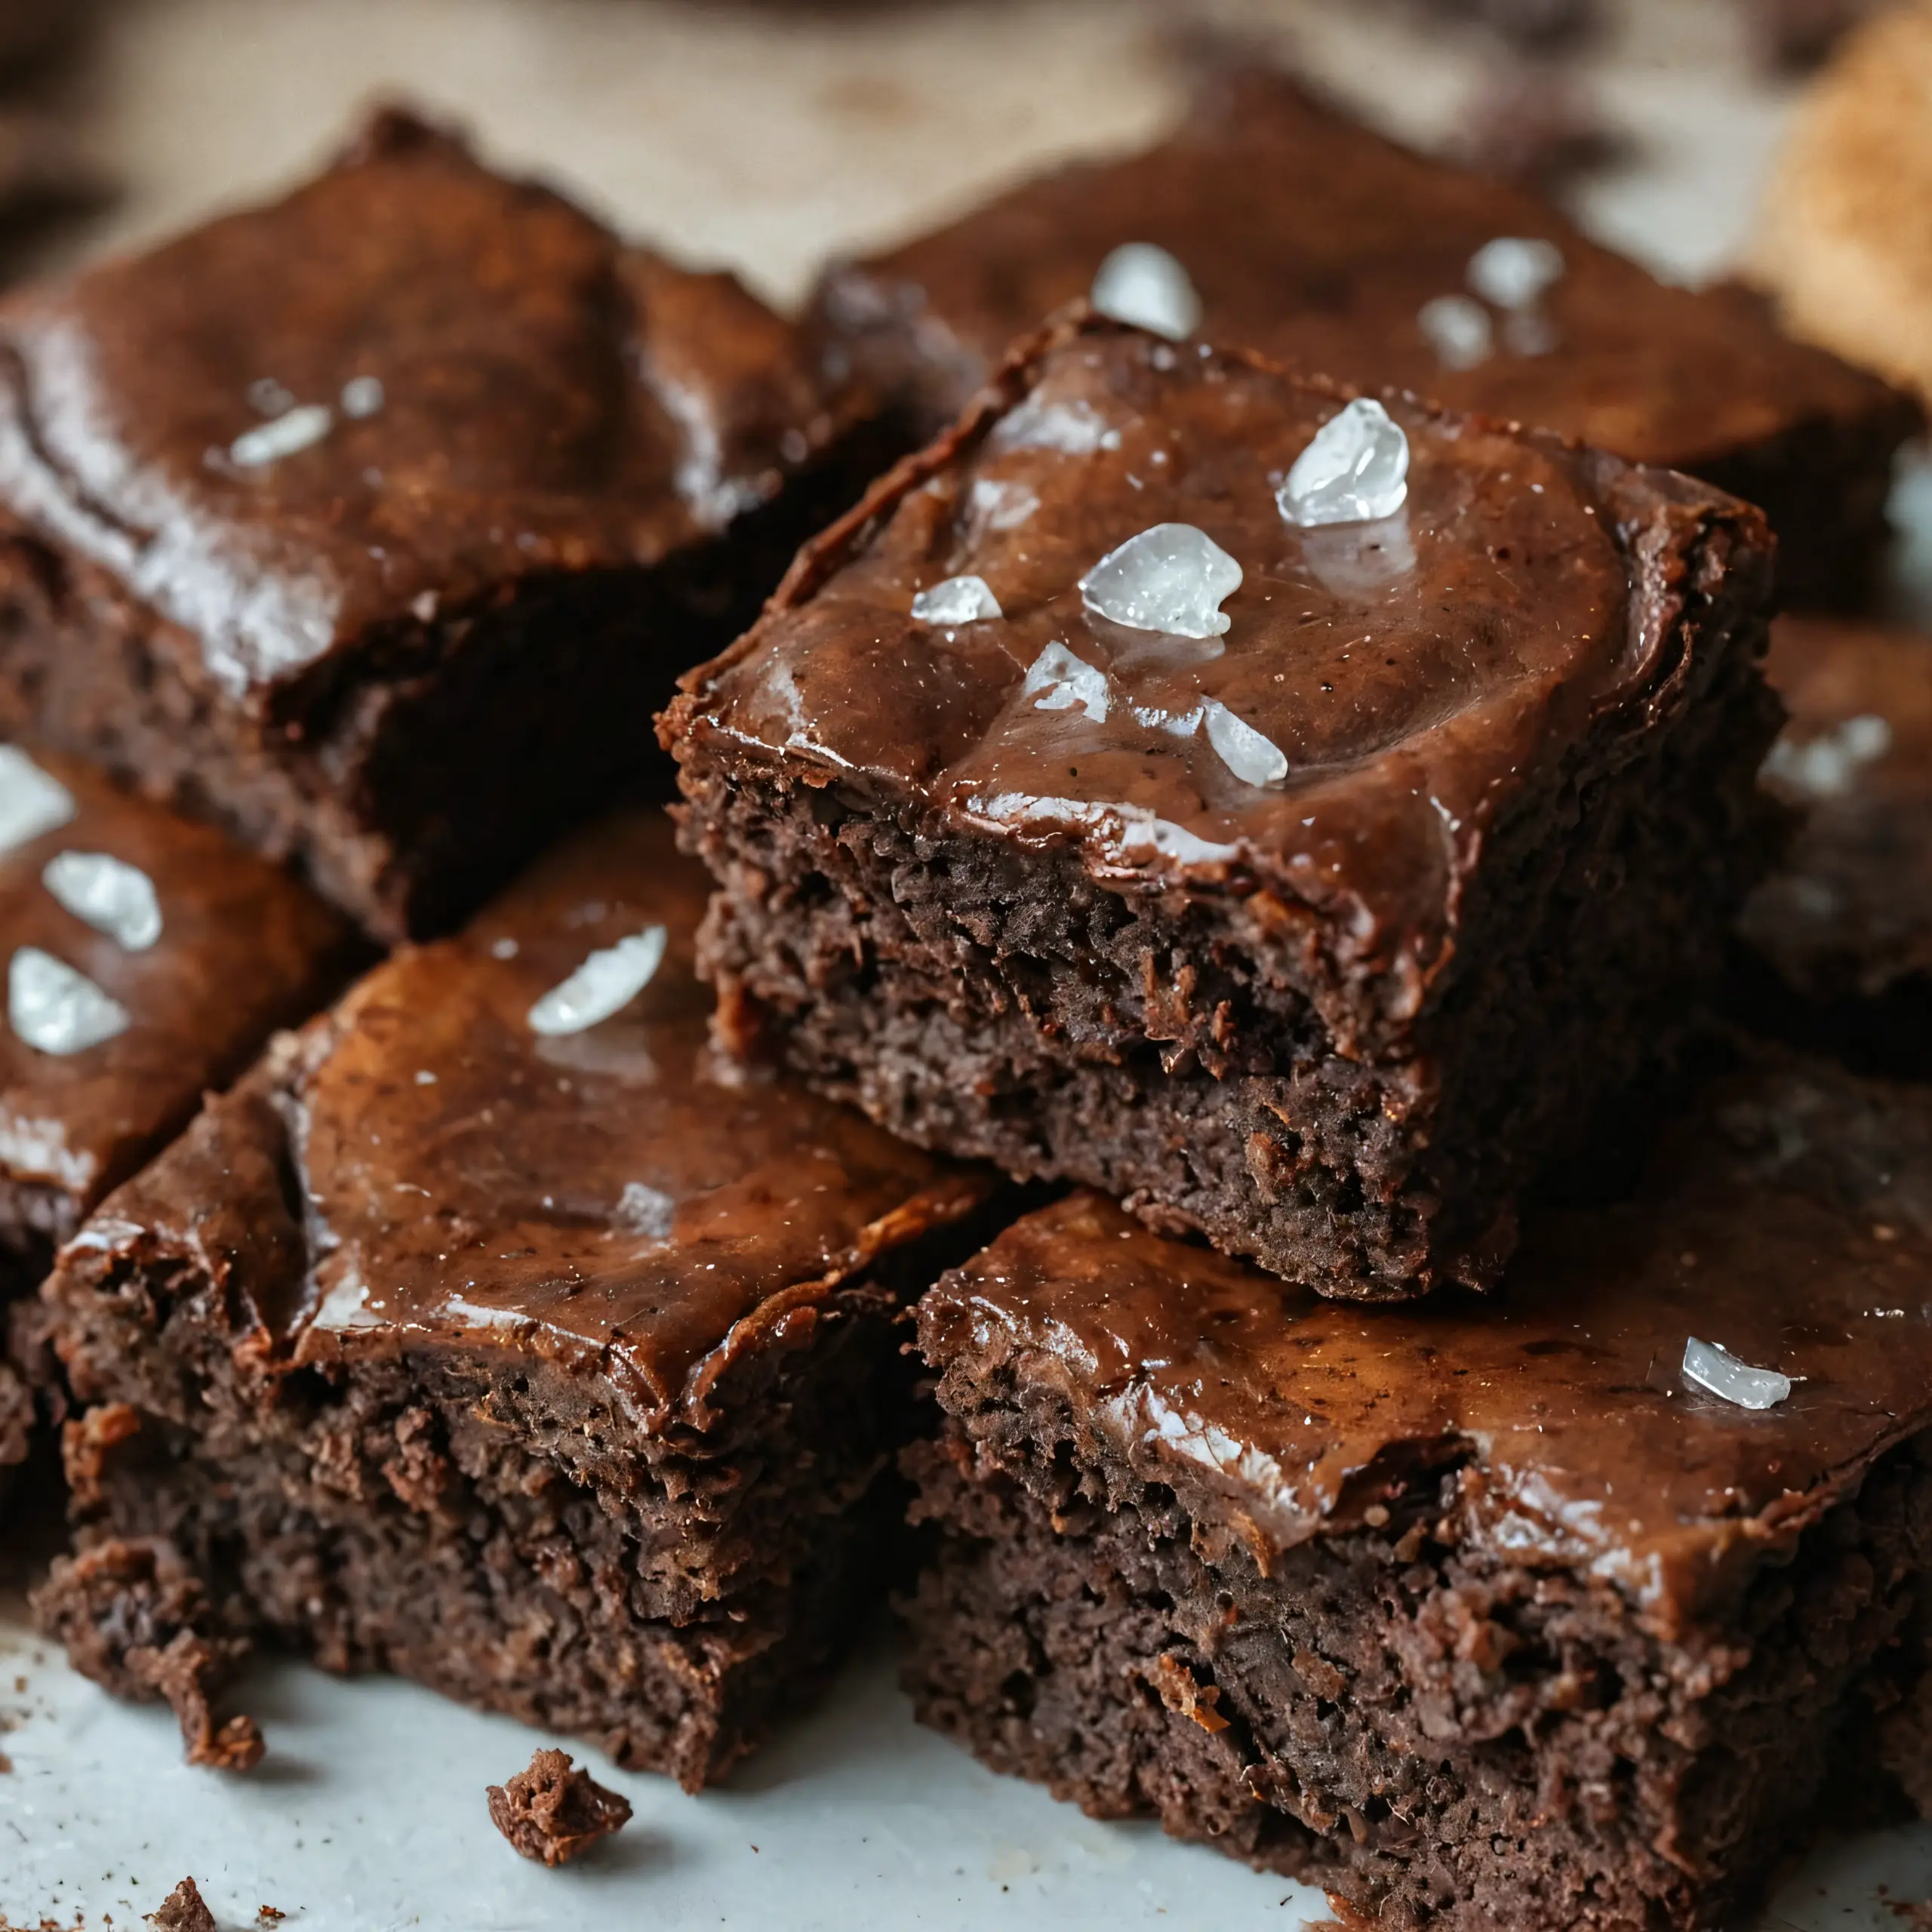
- For a glossy top, sprinkle a thin layer of sea salt just before baking.
- Store leftovers in an airtight container at room temperature for up to three days.
Variations and Flavor Twists
- Swap walnuts for toasted pecans or almonds for a different crunch.
- Add a swirl of peanut butter or caramel for a marbled effect.
- Incorporate a teaspoon of espresso powder to intensify chocolate notes.
- Replace part of the flour with oat flour for a slightly nutty texture.
- Mix in shredded coconut for a tropical hint.
Frequently Asked Questions
Can I use a starter that’s been refrigerated?
Yes, but bring it to room temperature and stir well before measuring. Cold starter may separate, affecting the batter’s consistency.
Do I need to feed the discard before using it?
No feeding is required; the discard’s acidity is what gives the brownies their signature tang.
Will the brownies rise a lot because of the starter?
Expect a modest rise—just enough to keep the crumb tender without becoming cake‑like.
Can I make these brownies gluten‑free?
Replace the all‑purpose flour with a 1‑to‑1 gluten‑free flour blend and ensure the chocolate is certified gluten‑free.
How long can I freeze the brownies?
Wrap individual squares tightly in plastic wrap and foil; they’ll keep for up to three months in the freezer.
Conclusion
With these detailed steps, turning sourdough discard into decadent brownies is straightforward and rewarding. Enjoy the balance of tangy starter, rich chocolate, and optional nutty crunch.
Experiment with mix‑ins and toppings to make the recipe your own, and share the sustainable delight with friends and family.