
Introduction
The kitchen fills with the unmistakable aroma of cocoa melting into butter, a scent that promises indulgence before a single bite arrives. No-Bake Oreo Balls capture that moment, delivering a crunchy cookie core wrapped in silky chocolate without ever touching an oven. Perfect for busy weeknights, last‑minute gatherings, or a make‑ahead treat, these bite‑size delights satisfy both the eyes and the palate.
[tasty-recipe id=”9955″]
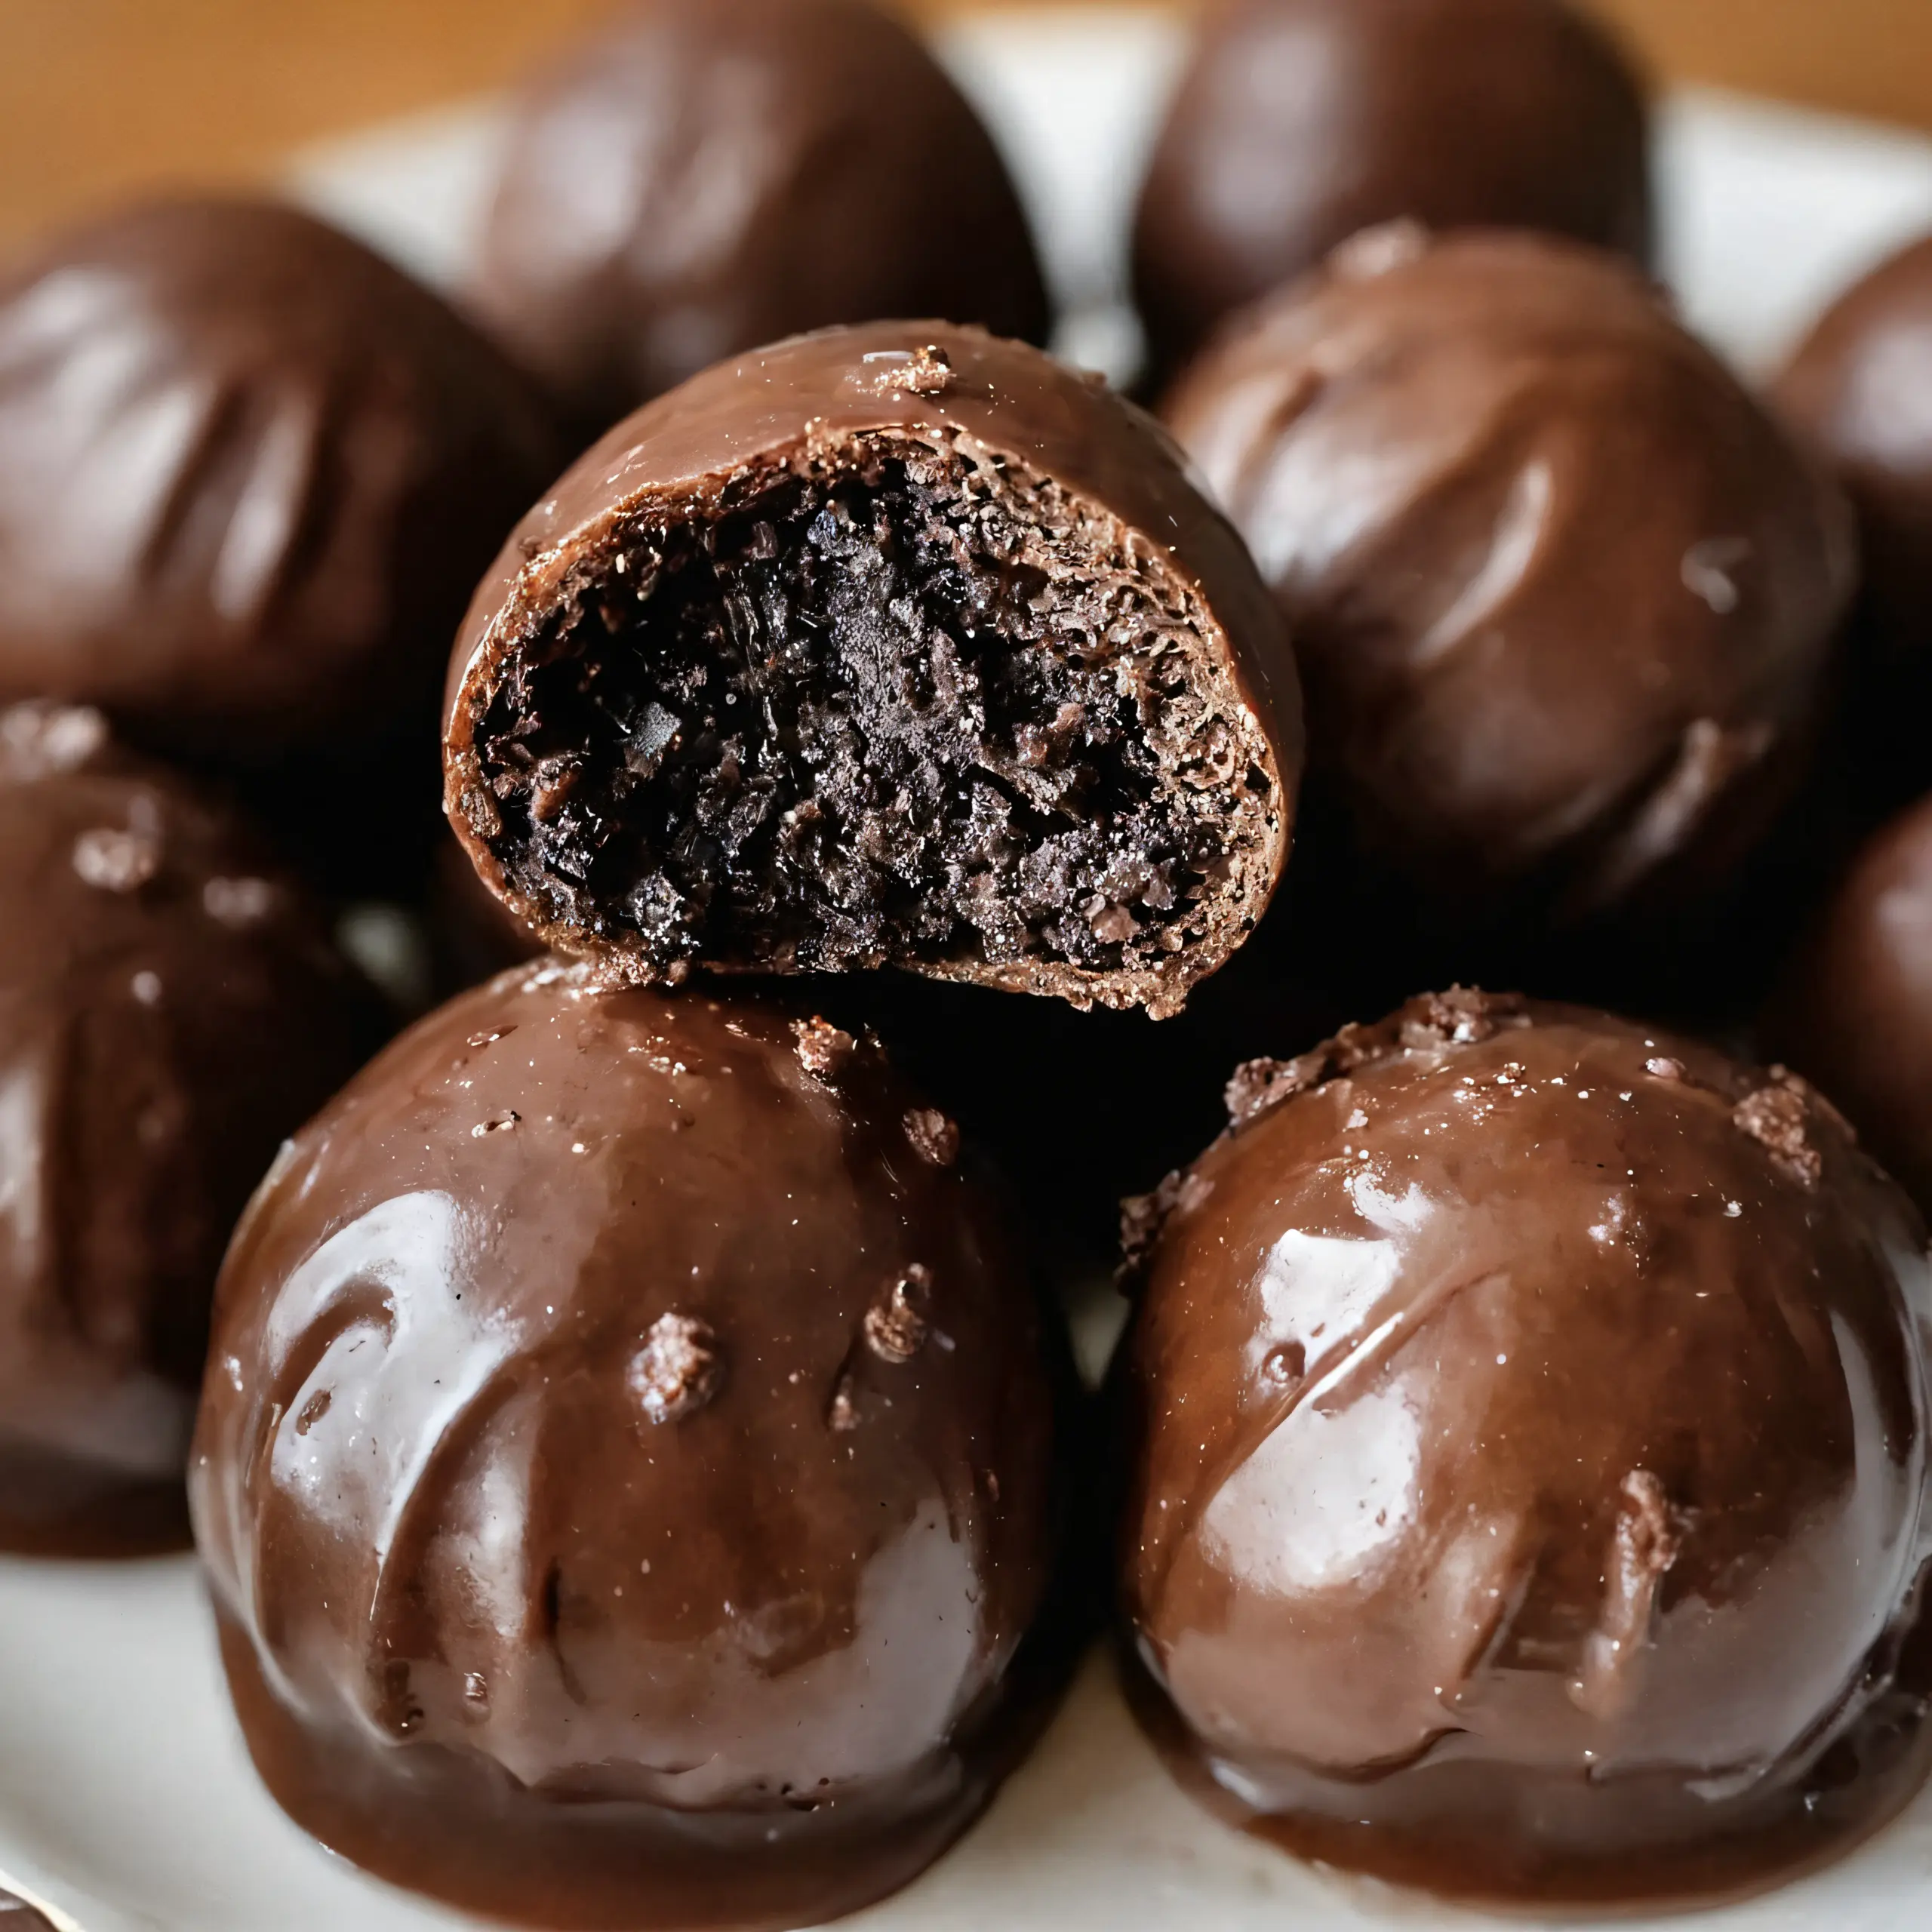
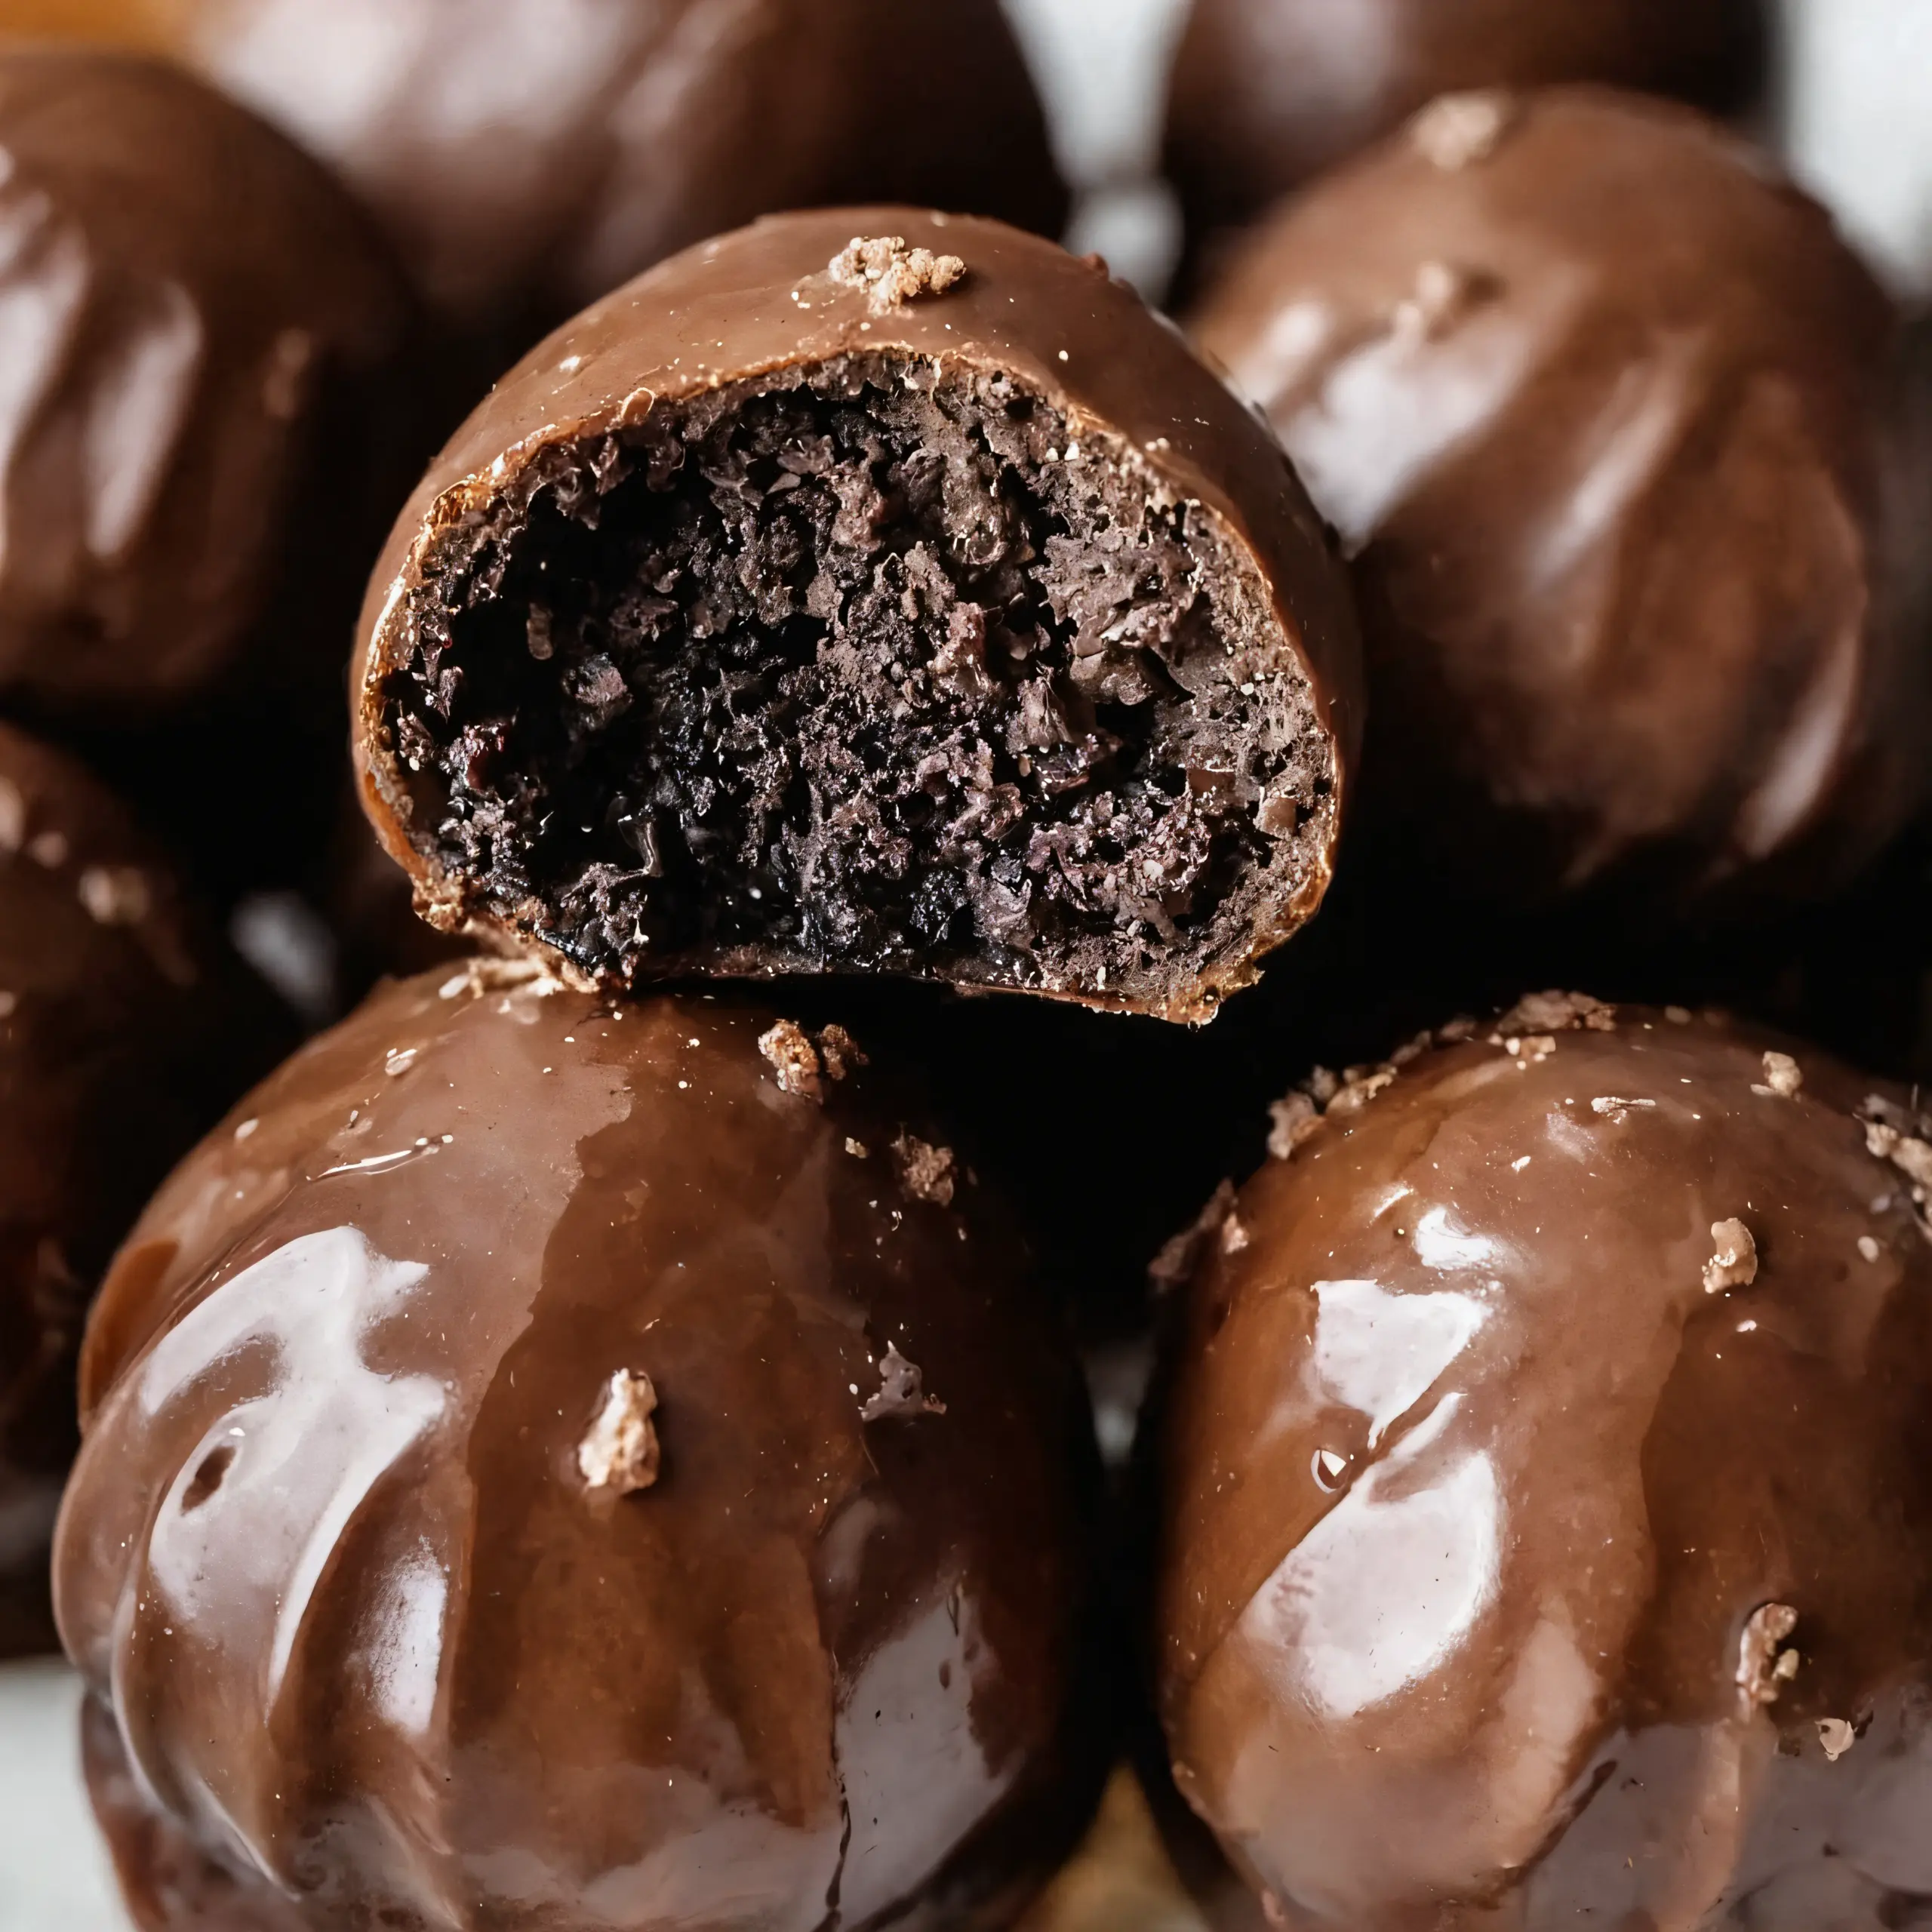
Imagine a bite that first yields a crisp chocolate shell, then gives way to a creamy, slightly tangy center studded with familiar chocolate‑and‑cream cookie crumbs. The contrast of textures—smooth coating, firm interior, and the occasional snap of a cookie fragment—creates a multi‑layered experience that feels both nostalgic and sophisticated. Home cooks of any skill level can master this recipe, and the result is a crowd‑pleasing dessert that looks as impressive as it tastes.
Ready to discover the exact steps that turn pantry staples into a party‑ready confection? Scroll down to the ingredient list and start assembling your own batch of No-Bake Oreo Balls now.
Ingredients
- 1 package Oreos (approximately 36 cookies) – provides crumb base; substitute chocolate wafer cookies.
- 8 oz cream cheese, softened – binds crumbs and adds tang; substitute mascarpone for a richer mouthfeel.
- 1–2 cups melting chocolate or chocolate chips – forms coating; substitute dark, milk, or white chocolate according to preference.
- Sprinkles, to taste – adds visual crunch; optional for decoration.
This precise combination balances crunchy texture, creamy richness, and a glossy chocolate finish, ensuring each ball holds its shape while delivering maximum flavor.
Step‑by‑Step Instructions
Preparation
- Heat 300 °F (150 °C) oven briefly to warm a large mixing bowl (do not exceed 5 minutes); the bowl should feel warm to the touch, not hot.
- Mix the Oreo cookies in a food processor until they become fine crumbs; stop when the texture resembles coarse sand.
- Fold the softened cream cheese into the cookie crumbs using a rubber spatula; continue until the mixture is uniformly moist and no white streaks remain (Do not overmix – excess gluten development can make the interior gritty).
- Form the mixture into 1‑inch balls, placing them on a parchment‑lined tray; the balls should feel firm but not crumble.
- Refrigerate the tray for at least 30 minutes to allow the balls to set; they will firm up and be easier to coat.
Cooking
- Heat a double boiler or microwave‑safe bowl to melt the chocolate; melt at 120 °F (49 °C) or until smooth, stirring every 20 seconds if using a microwave.
- Dip each chilled ball into the melted chocolate, rotating to coat evenly; a thin, glossy layer should cling without pooling.
- Allow excess chocolate to drip back into the bowl; the coating should be uniform and not clump.
- Place the coated balls back onto the parchment sheet, spacing them to prevent sticking.
- Optional: Sprinkle decorative sprinkles over the still‑wet chocolate; the sprinkles should adhere without sliding.
Assembly
- Let the chocolate set at room temperature for 10 minutes, then transfer the tray to the refrigerator for an additional 15 minutes to fully harden the coating.
- Inspect each ball; the chocolate should be firm to the touch and display a subtle shine.
Serving
- Arrange the finished No-Bake Oreo Balls on a serving platter; they can be served immediately or stored chilled.
The No-Bake Oreo Balls are ready when the chocolate coating is set and glossy, and the centers feel firm to the touch.
Why This Recipe Works
Chilling the crumb‑and‑cream mixture before coating is essential because it solidifies the butter and cream cheese, preventing the balls from falling apart during the chocolate dip. The low‑temperature melt of the chocolate preserves its temper, giving the coating a snap and a glossy finish rather than a dull, soft glaze.
Combining Oreo crumbs with cream cheese creates a stable emulsion; the fat from the cheese binds the dry crumbs, while the slight acidity balances the sweetness of the cookies and chocolate. This synergy results in a texture that is neither crumbly nor overly dense, allowing the chocolate shell to be thin yet sturdy.
Finally, the brief refrigeration after coating lets the chocolate crystallize properly, locking in the flavor and providing a satisfying snap when bitten. Skipping any of these steps would lead to a soggy interior, a dull coating, or balls that lose their shape.
Tips for Reliable Results
- If the crumb mixture feels too dry and crumbles when forming balls, add a tablespoon of softened cream cheese at a time until the consistency becomes pliable.
- When the dough cracks while rolling, let it rest at room temperature for 5 minutes; the butter will soften slightly, reducing brittleness.
- Use a silicone spatula for folding the cream cheese; metal utensils can over‑heat the mixture, causing it to become too soft for shaping.
- For a smoother chocolate coating, temper the chocolate using the seeding method: melt two‑thirds, then add the remaining third off‑heat, stirring until the temperature drops to 88 °F (31 °C) for dark chocolate.
- If the chocolate coating pools excessively, reduce the chocolate amount by ¼ cup; too much chocolate can cause uneven layers and longer setting times.
- Equipment matters: a small offset spatula works best for dipping, allowing precise control and minimal waste.
- Make‑ahead tip: prepare the balls up to the coating stage and store them in an airtight container in the fridge for up to 24 hours; coat them just before serving for maximum freshness.
- Storage: once coated, keep the balls refrigerated in a single layer to avoid sticking; they will stay fresh for 3 days. For longer storage, freeze them in a zip‑top bag for up to 2 weeks, then thaw in the fridge before serving.
Variations
- Peanut Butter Swirl – before forming the balls, blend 2 tablespoons of creamy peanut butter into the crumb mixture; the peanut flavor adds depth and the balls take on a subtle marbled appearance.
- White Chocolate & Raspberry – use white chocolate for coating and drizzle a thin ribbon of raspberry puree over each ball after the coating sets; the tart berry contrasts the sweet base.
- Gluten‑Free – substitute Oreos with certified gluten‑free chocolate sandwich cookies; maintain the same ratio of crumbs to cream cheese for texture consistency.
- Vegan – replace cream cheese with a plant‑based cream cheese alternative and use dairy‑free chocolate chips; the result is a fully vegan indulgence that still holds its shape.
Time and Yield
Prep time: 20 minutes
Cook time: 0 minutes (no baking)
Chilling time: 45 minutes total
Total time: 1 hour 5 minutes
Yield: approximately 24 one‑inch balls
Frequently Asked Questions
- Can I use a different type of cookie instead of Oreos? Yes, chocolate wafer cookies or even chocolate graham crackers work well; just process them to a fine crumb and keep the same quantity.
- Why did my chocolate coating turn grainy? Graininess occurs when chocolate is overheated or not properly tempered; melt chocolate gently and avoid stirring once it begins to set.
- How long can the balls be stored in the freezer? They freeze nicely for up to 2 weeks; wrap the tray in plastic wrap before sealing in a freezer bag to prevent freezer burn.
- Can I skip the refrigeration step before coating? Skipping it makes the balls too soft, causing them to fall apart in the chocolate; a brief chill solidifies the interior for a clean dip.
- What if I want a dairy‑free version? Substitute cream cheese with a vegan cream cheese and use dairy‑free chocolate chips; the texture remains similar, though the flavor will be slightly different.
Conclusion
The magic of No-Bake Oreo Balls lies in a simple sequence of chilling, coating, and setting, each step reinforcing the next to produce a dessert that feels both effortless and refined. By mastering the balance of crumb, cream cheese, and tempered chocolate, home cooks can reliably recreate this indulgent treat any time the pantry calls for a quick, crowd‑pleasing sweet.
Feel free to experiment with the suggested variations, but the core technique remains unchanged, guaranteeing consistent results. With a few minutes of preparation and a brief chill, these chocolate‑kissed delights are ready to brighten any gathering.


